Affective Gun
I wanted to challenge people - I dont want them to walk past. Perhaps you dont like guns? Perhaps not. Will it rush and greet you? Remain shy and run away... or just dance.
produced by: James Tregaskis
Introduction
Affect “a bloc of sensations, waiting to be reactivated by a spectator or participant”
Deleuze and Guattari[1]
The idea evolved originally was inspired by the Sand Table [2][3][4]examples I have seen on the web. Given the time frame limitations and the lack of originality I decided to look at the idea of movement incorporating stepper motors as my starting point. Although the sand table ‘meme’ is attractive enough to make and play with, it did not provide me with a creative space for me to express myself, albeit I could have designed some patterns originating from programming on my part. Although not a complete success, mechanically and electronically, I have learnt a lot and I have undertaken a complete redesign of the carriage and re-thinking on the interactivity. Next goal is to have the Mk II version running in the May popup ehibition.
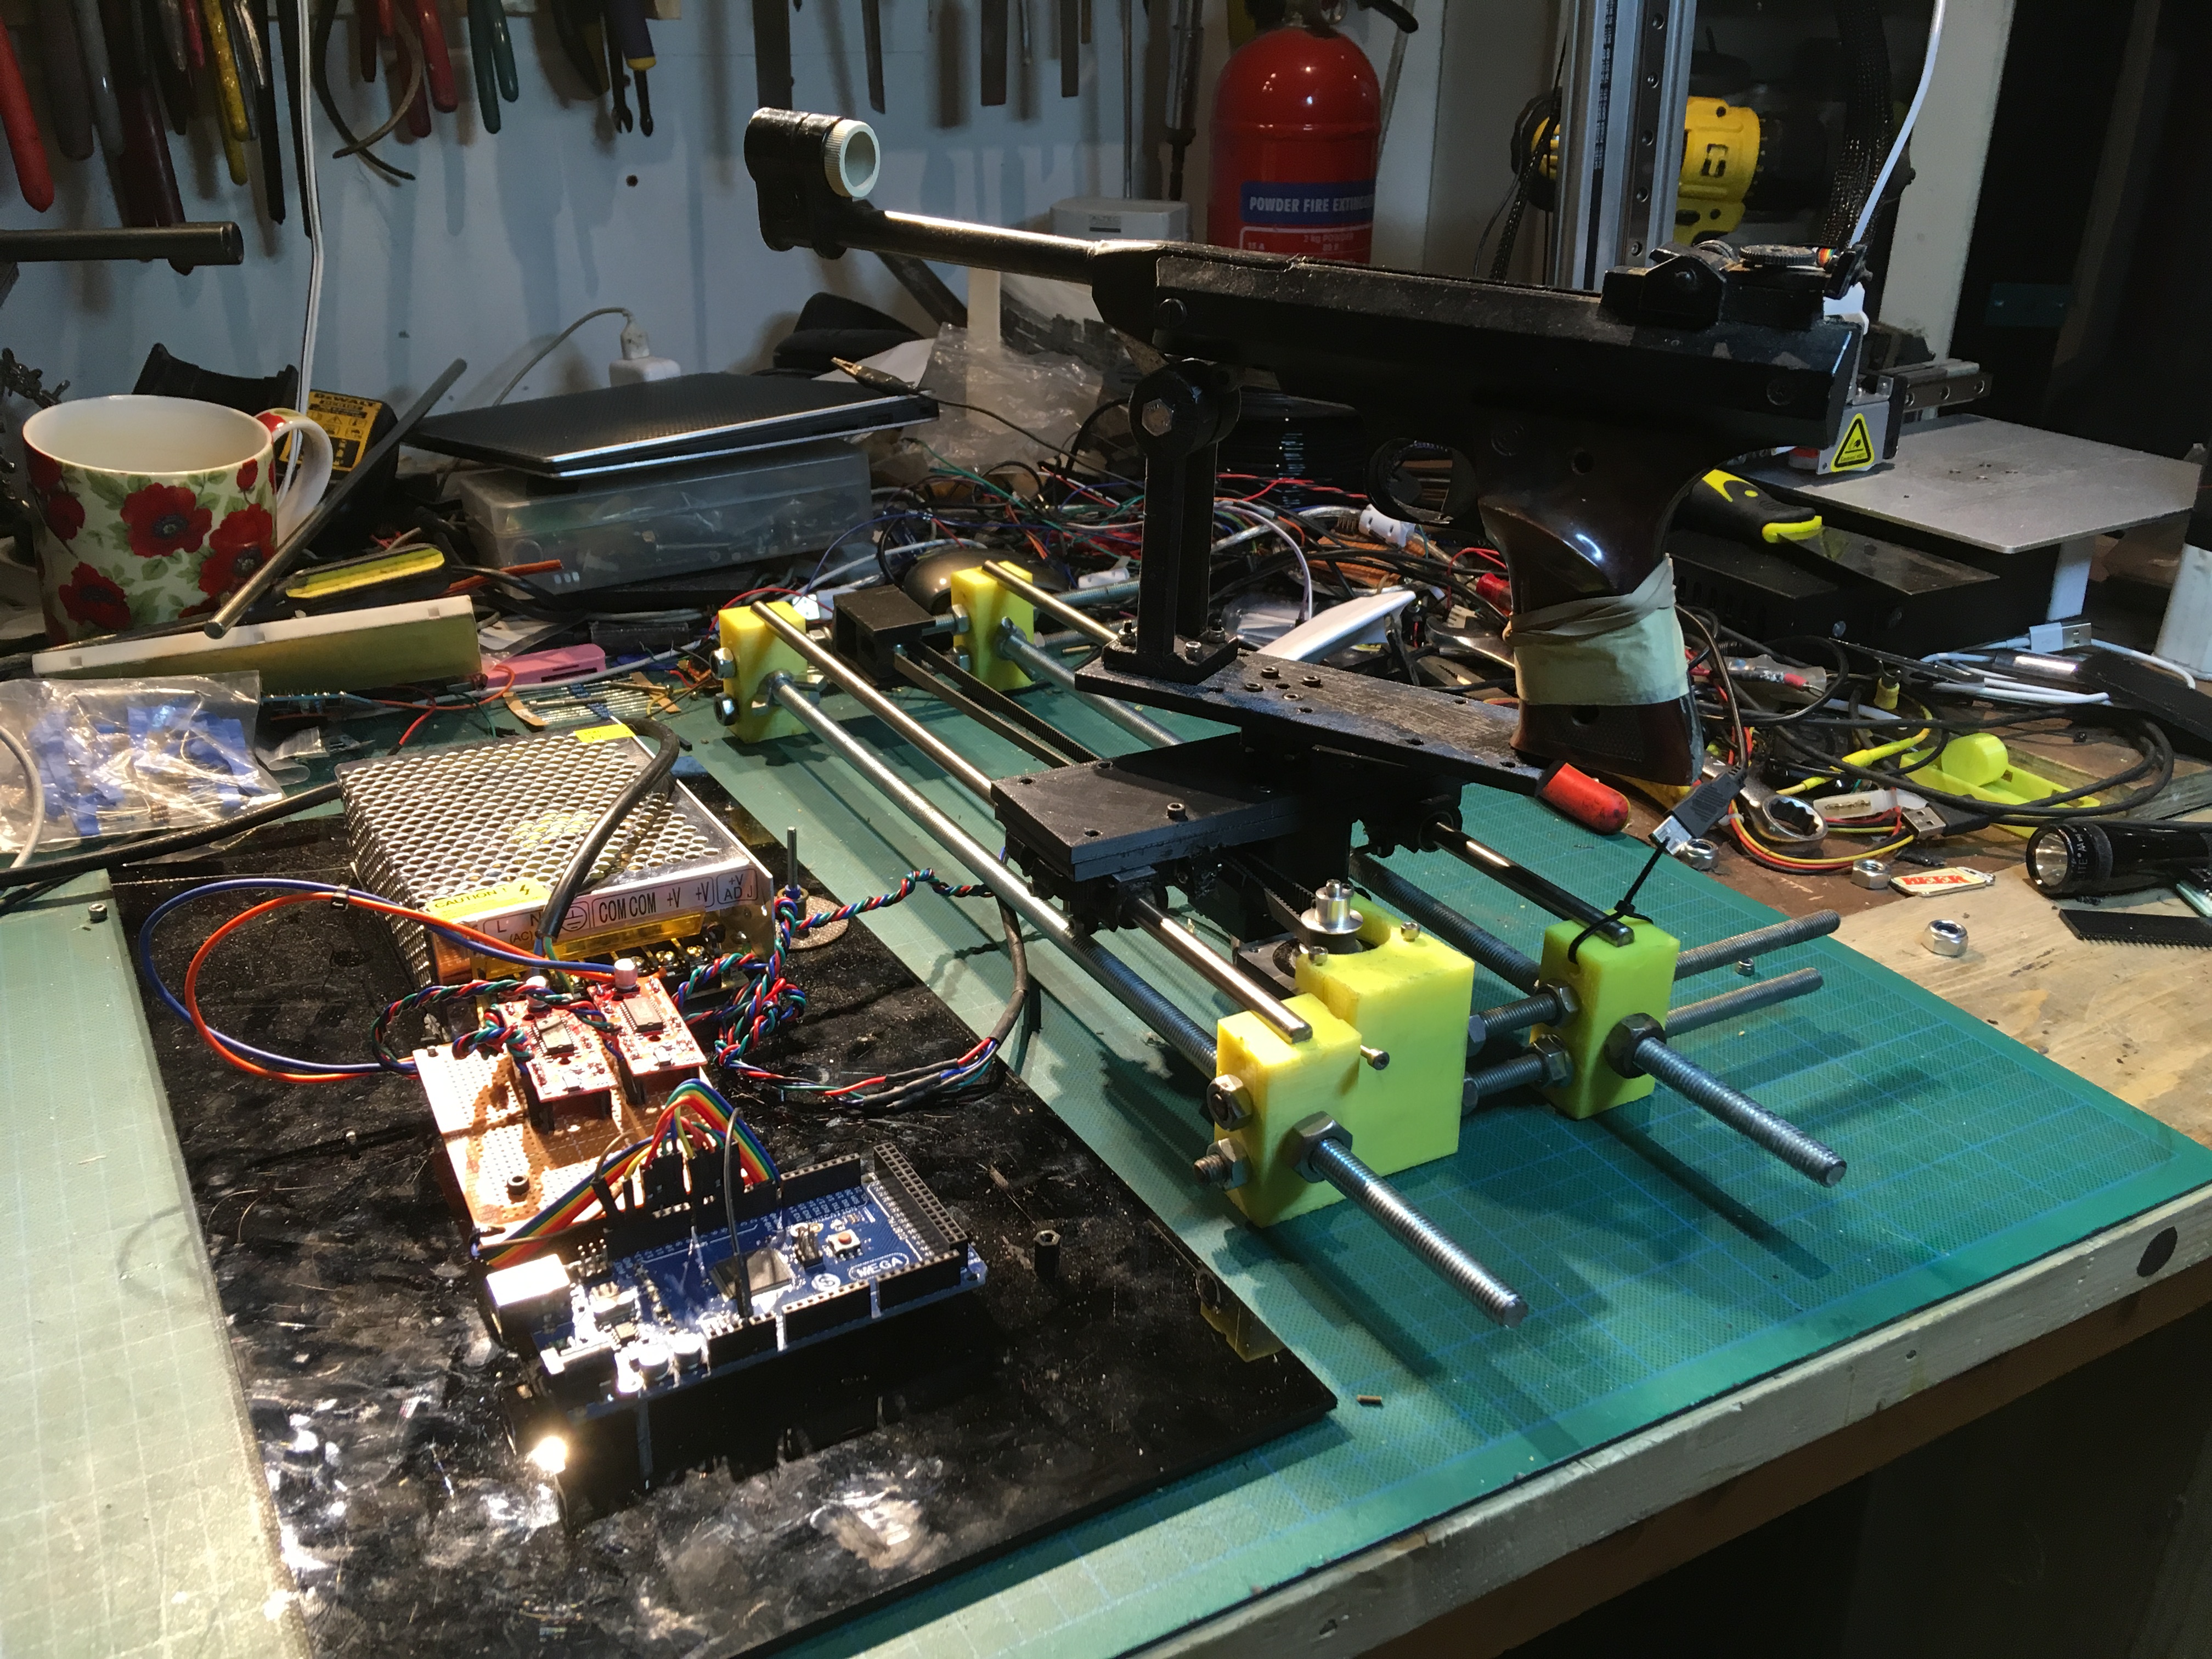
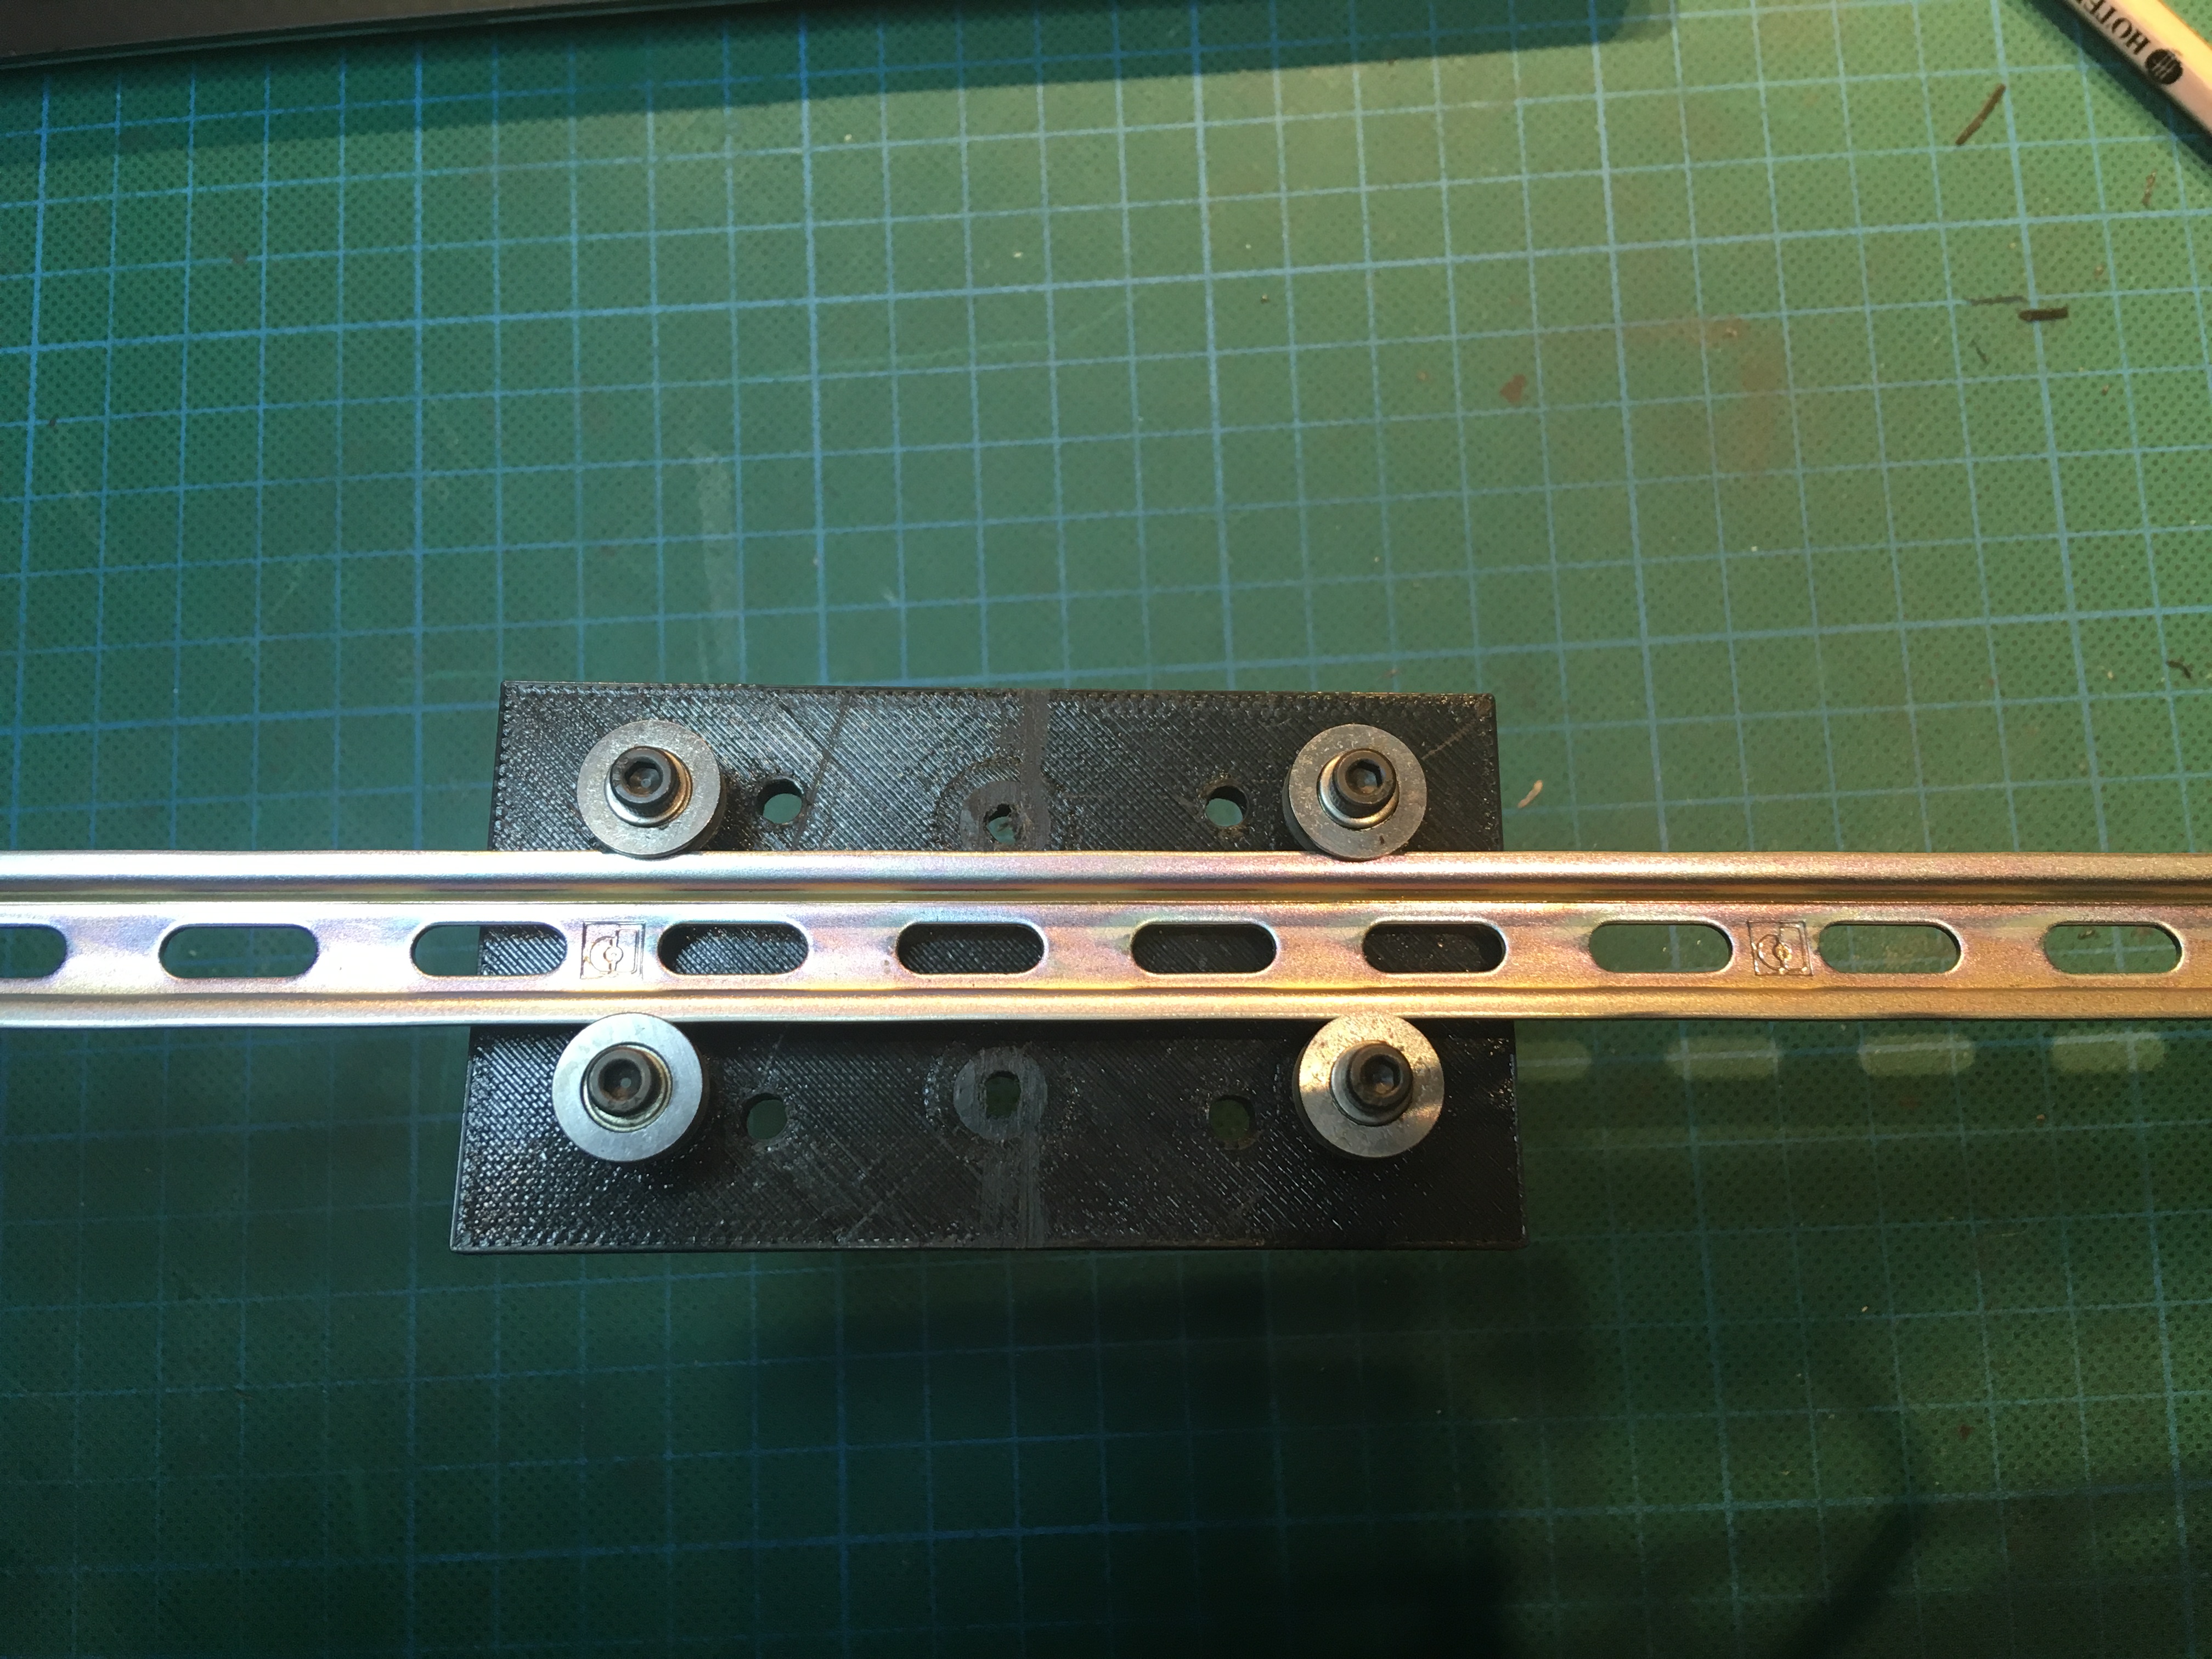
I took the basic skeleton of the Y axis of a plotter/3d printer as the stating point for my fabrication. This has proven to be less than ideal as the friction I encountered using rods and linear bearings was higher than anticipated. One improvement will be to use din rails [5]and v-bearings[6].
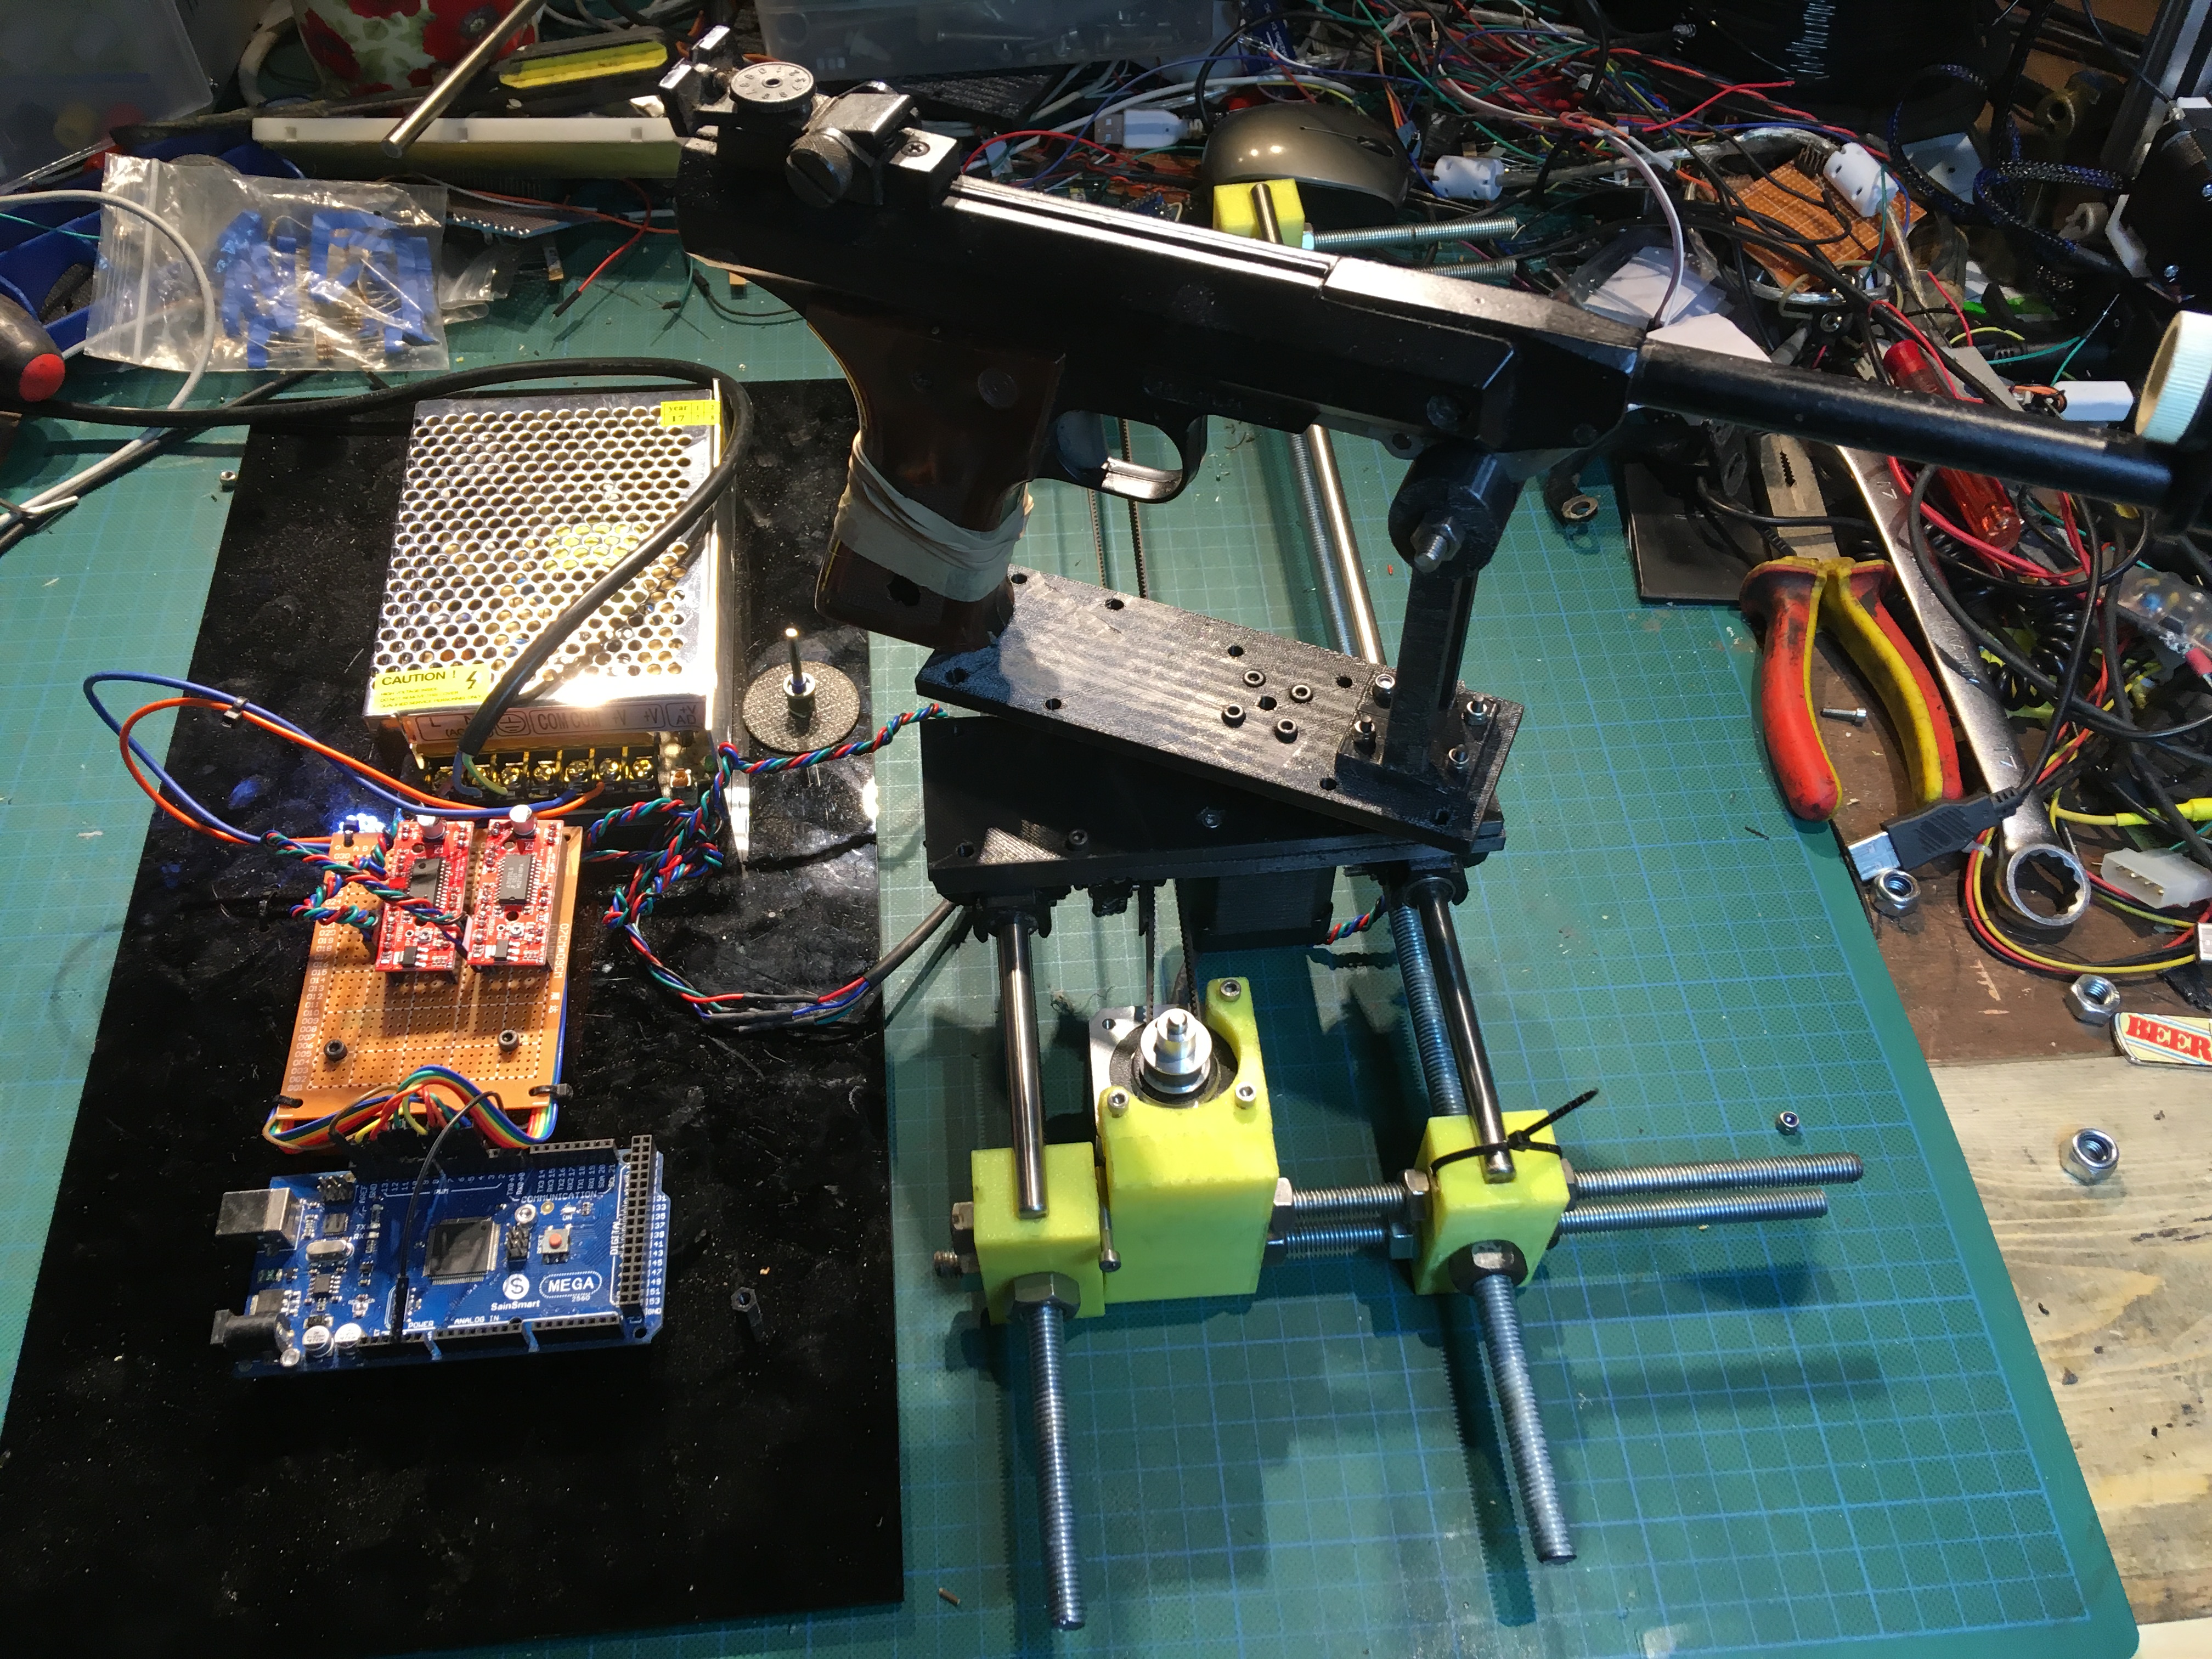
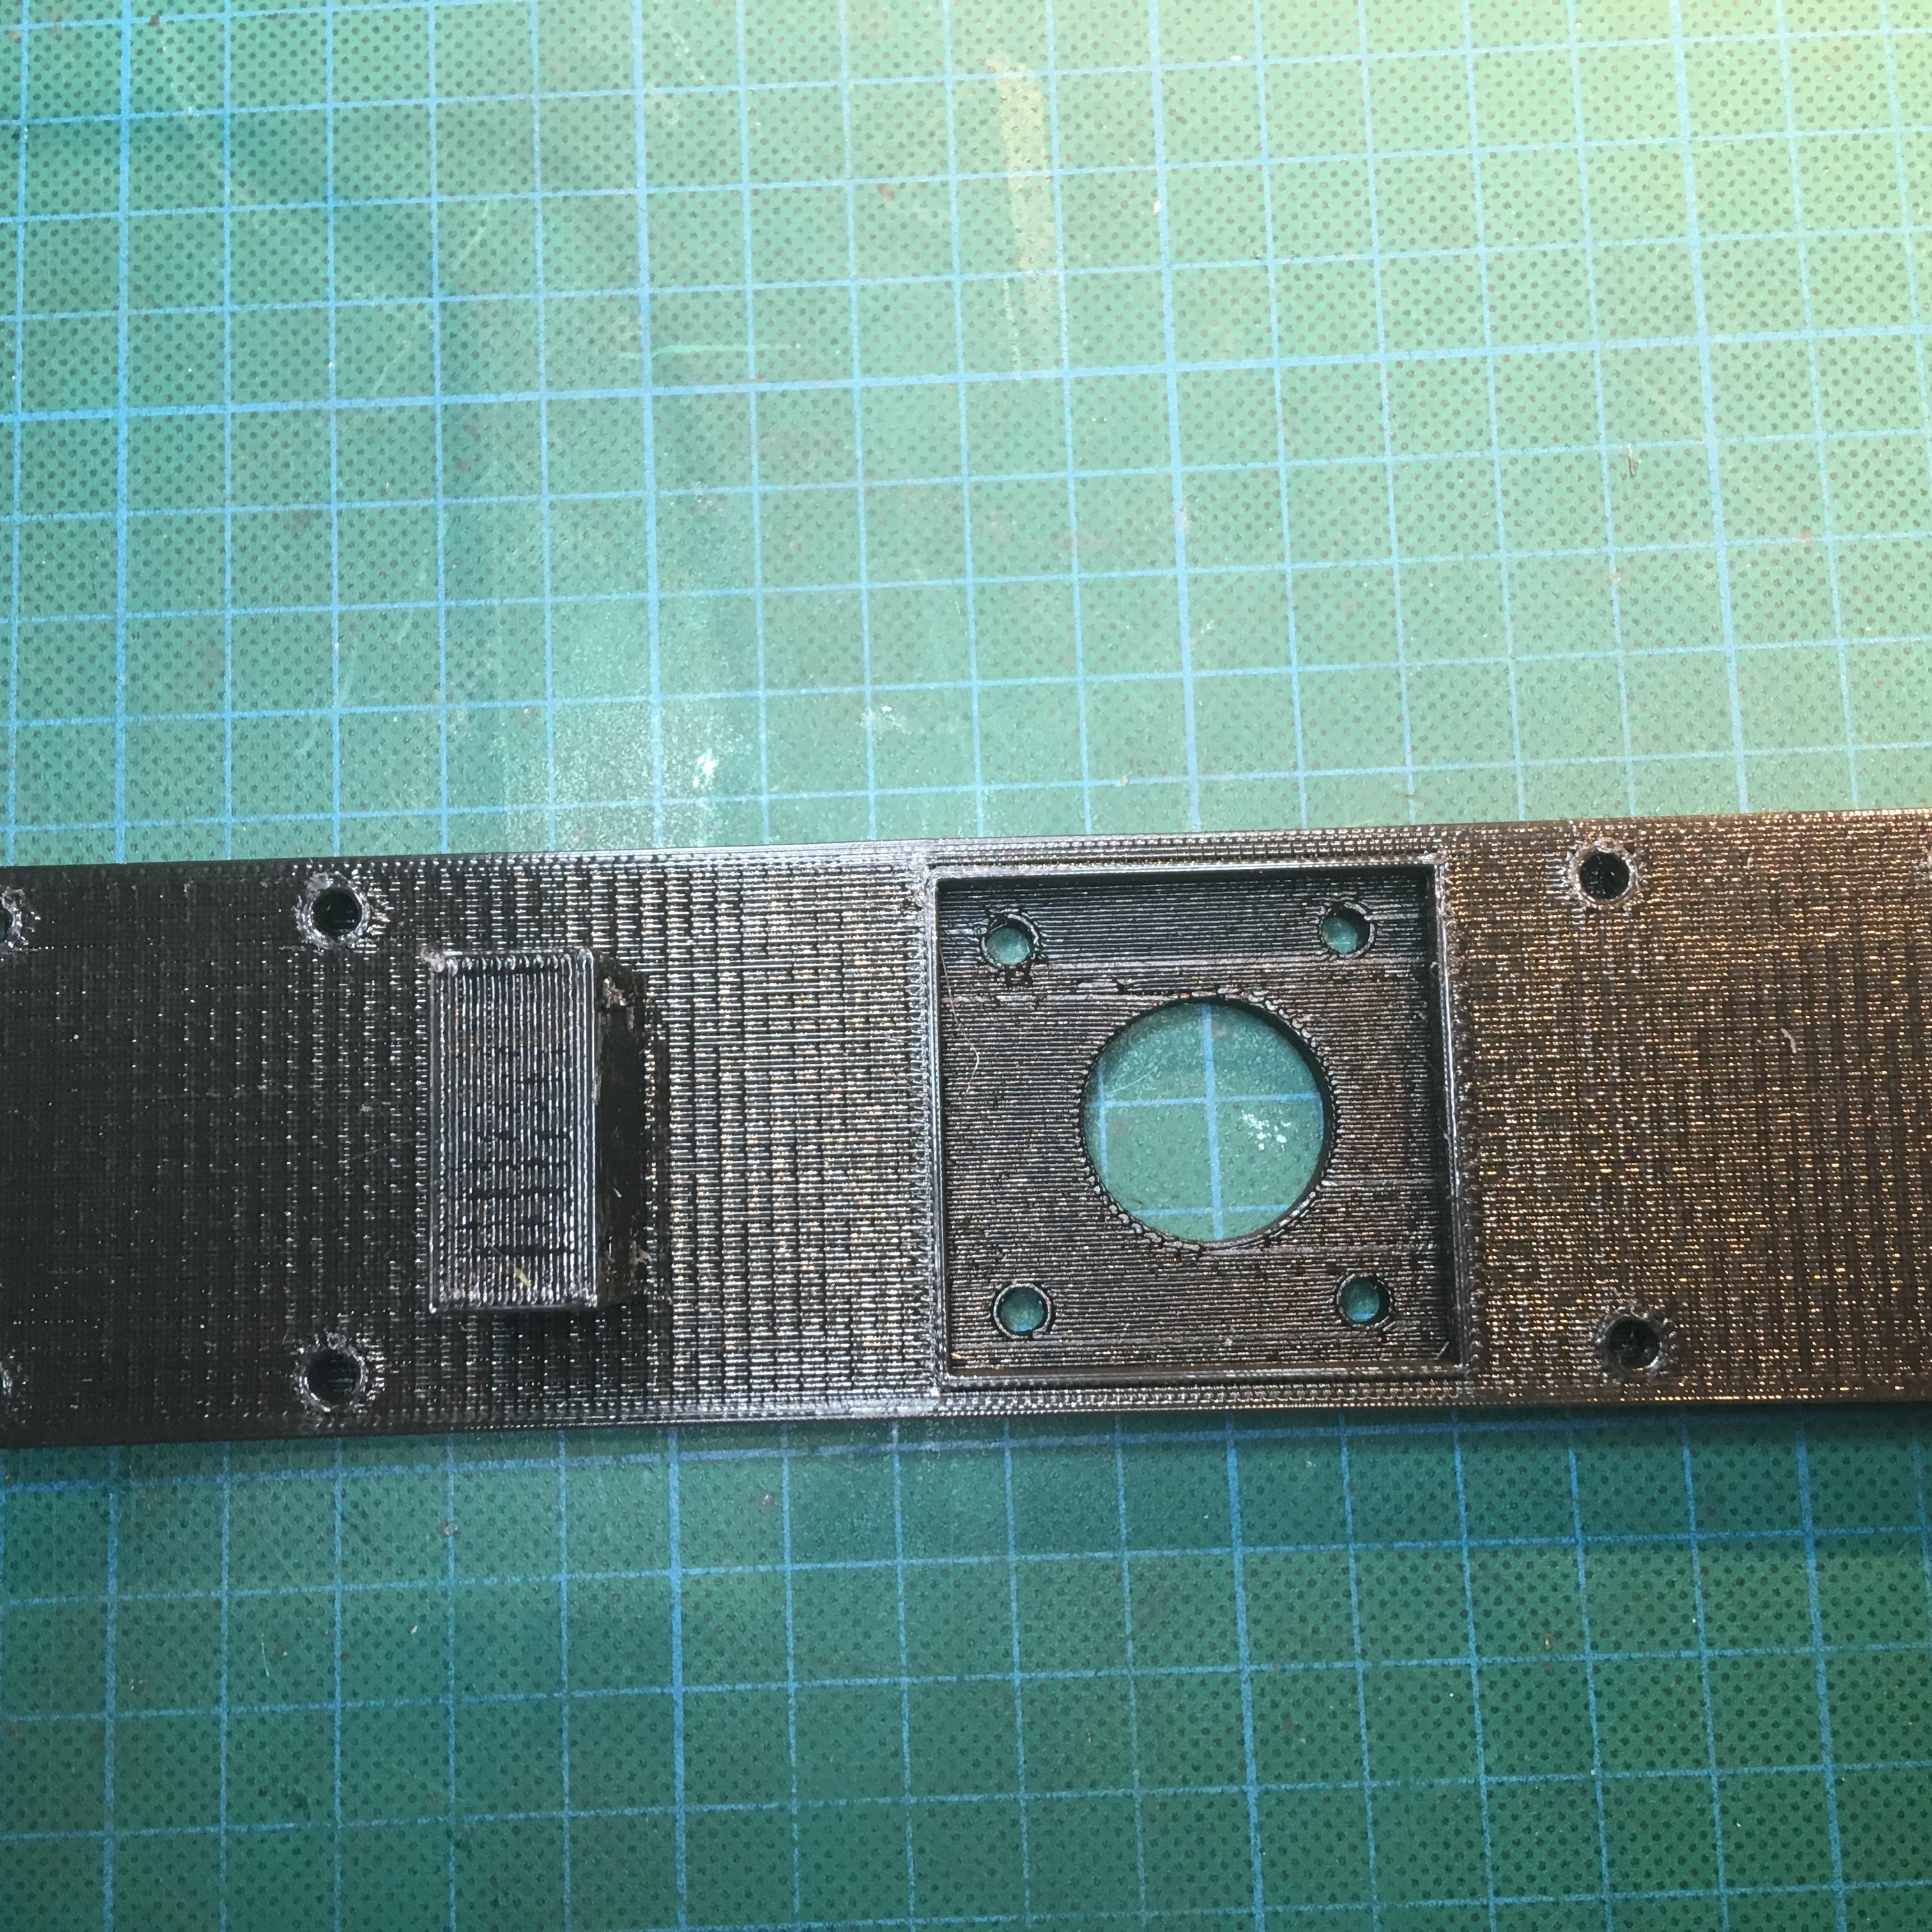
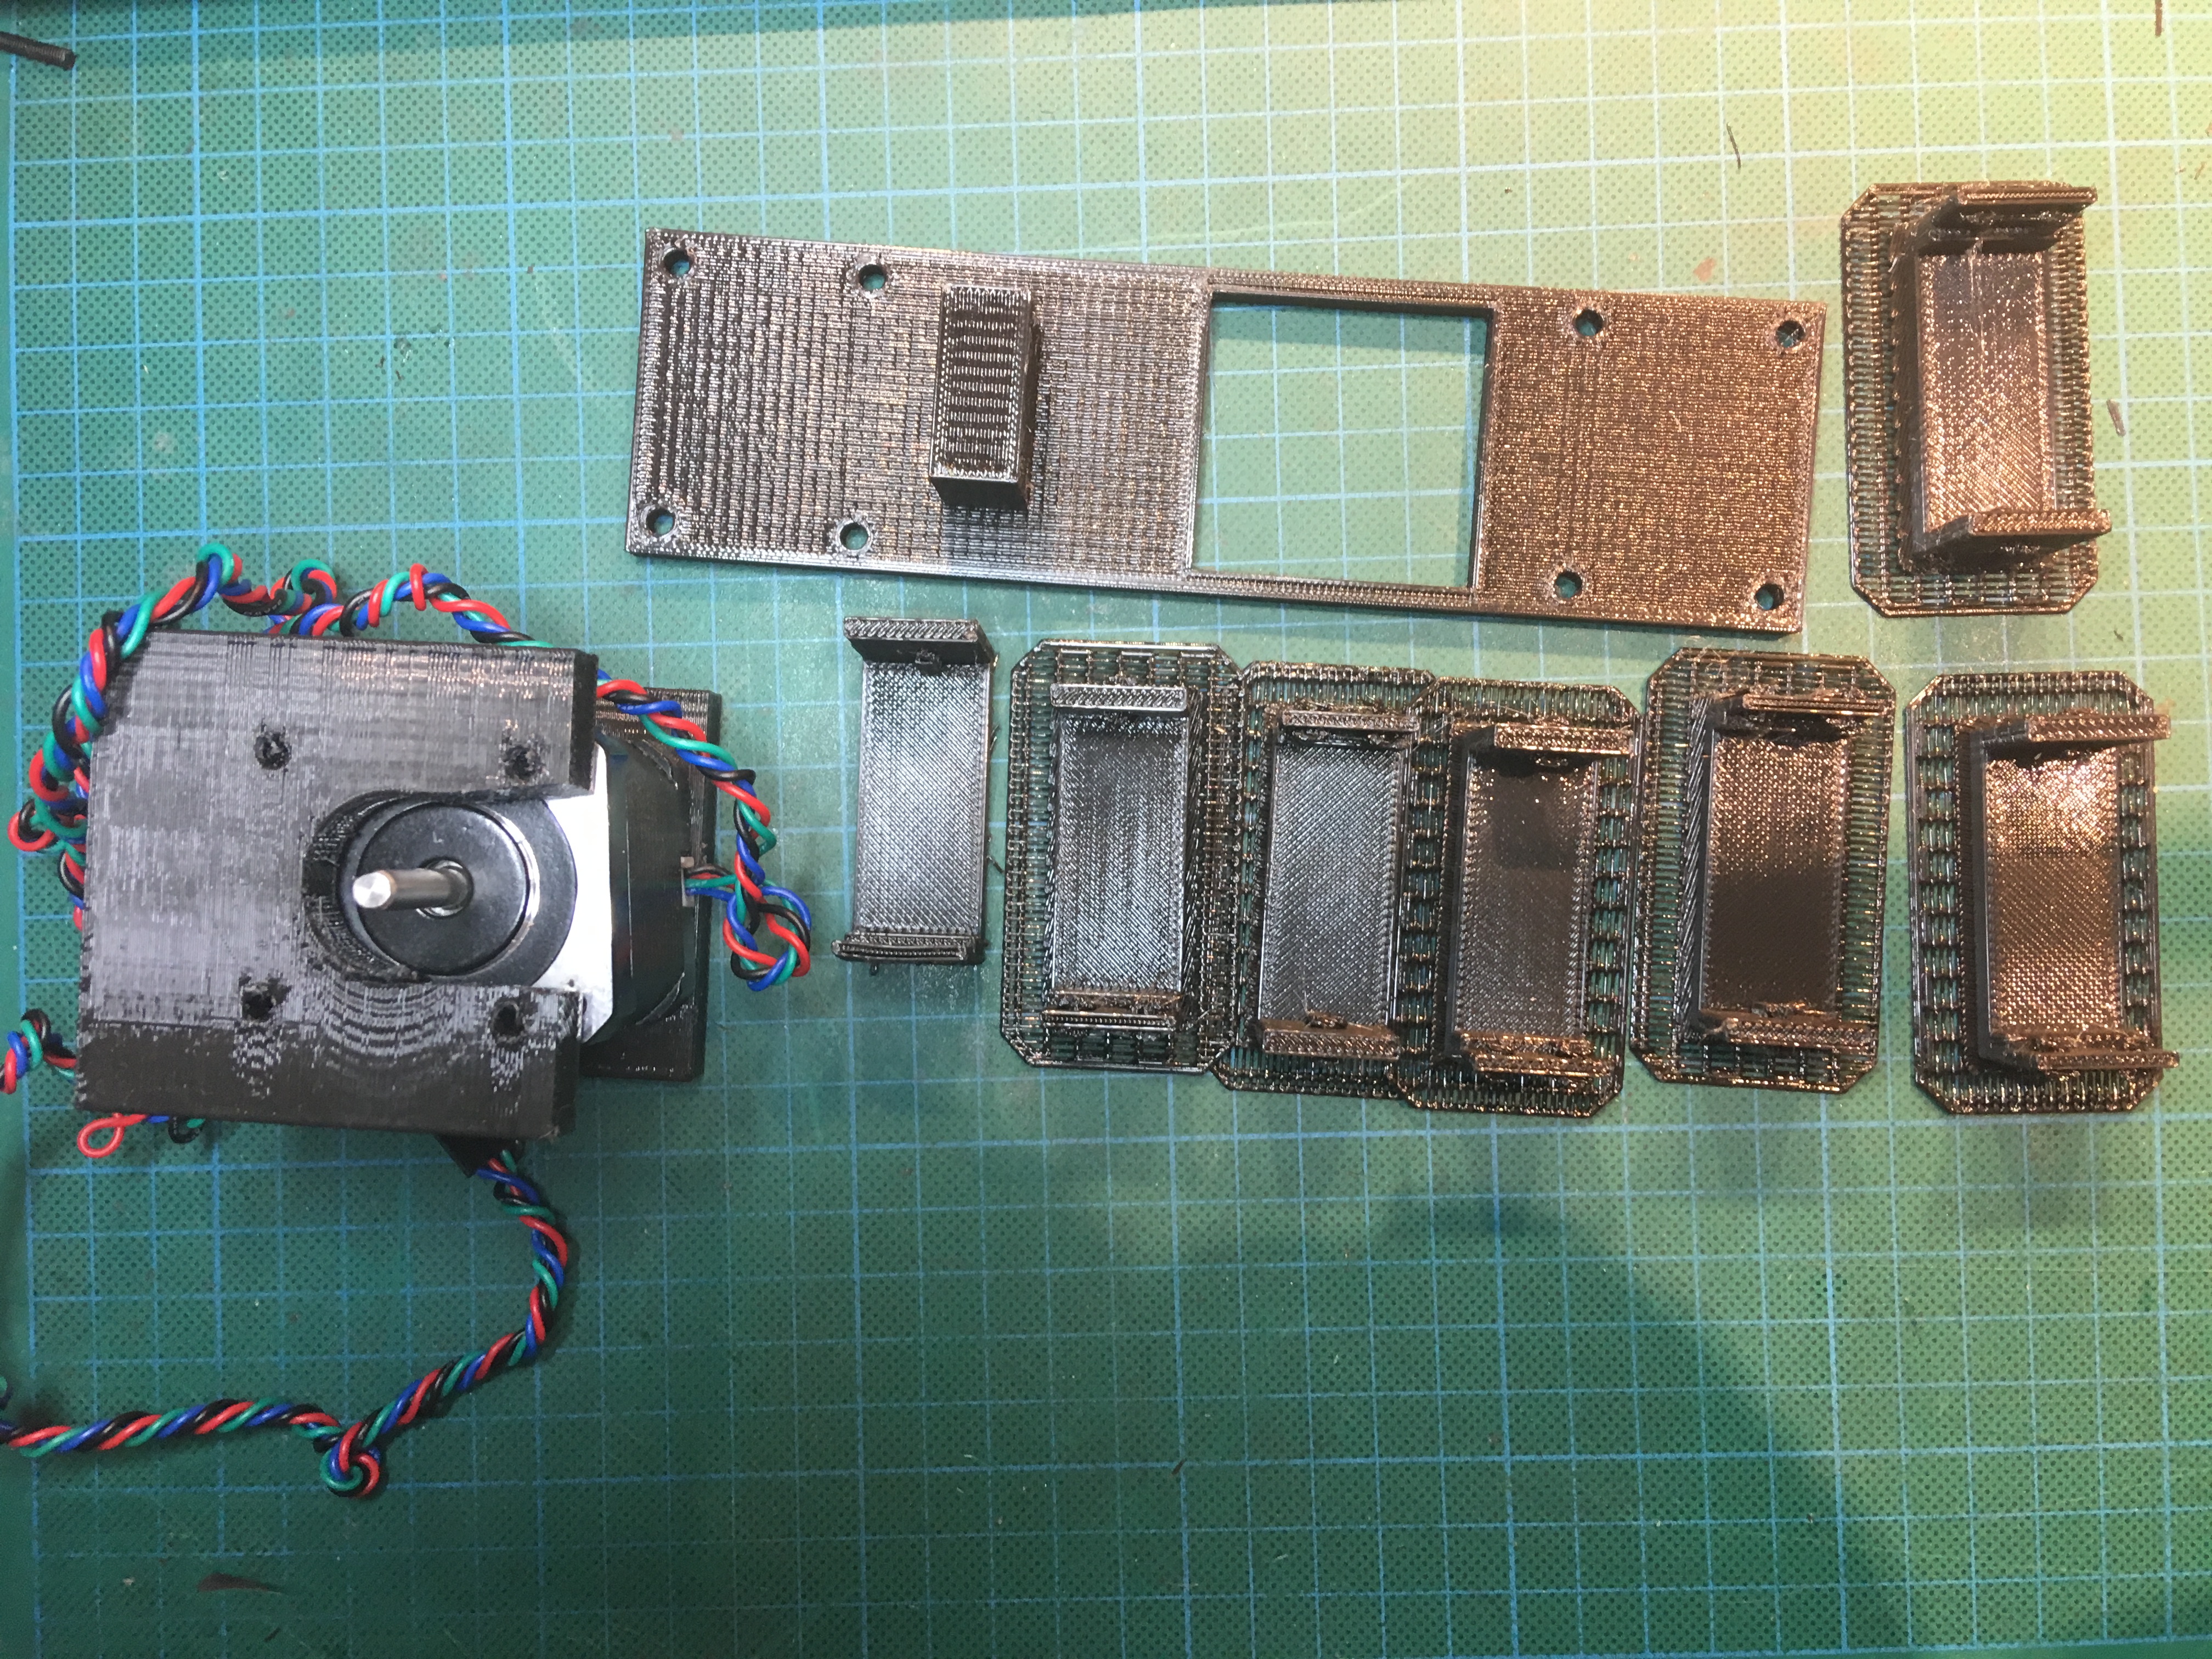
The fabrication as in the last project in December was mostly with 3D printed components. At the demonstration I only showed the project with movement in the Y axis. I decided to remake most of the project and fabricate parts to enable the movement about the Z axis. (This was always my intention, time being short this was completed after the demonstration).
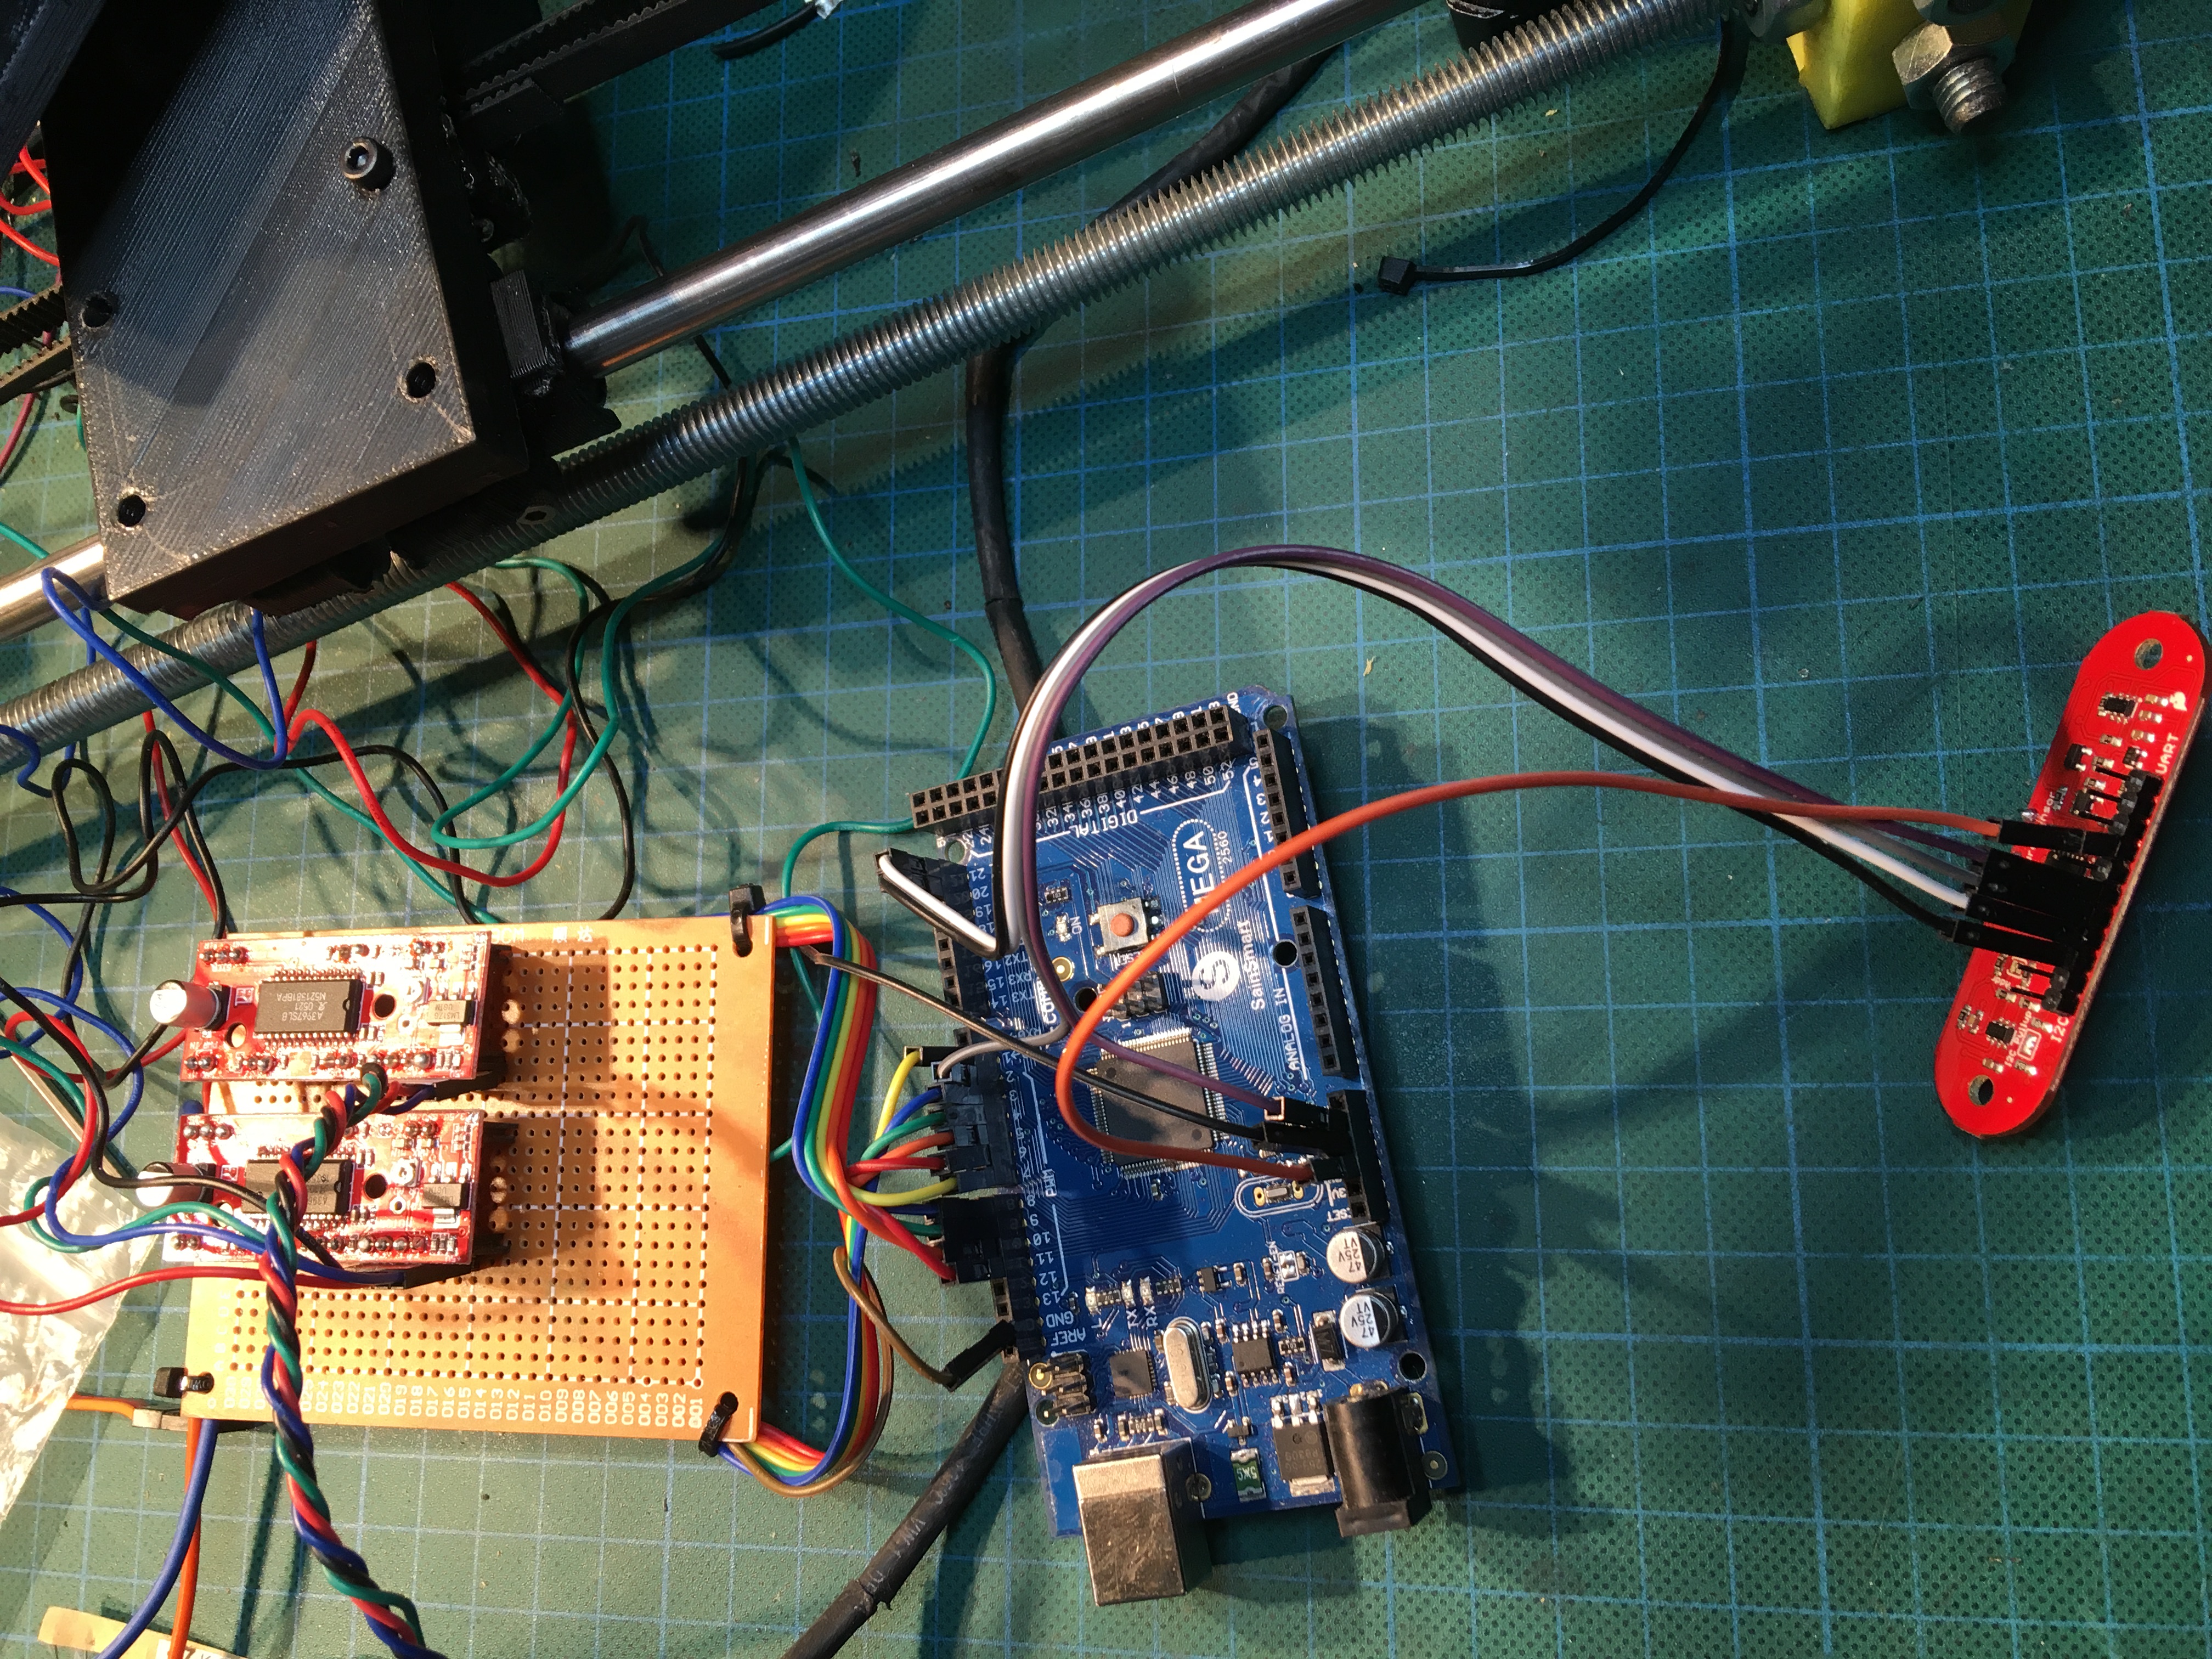
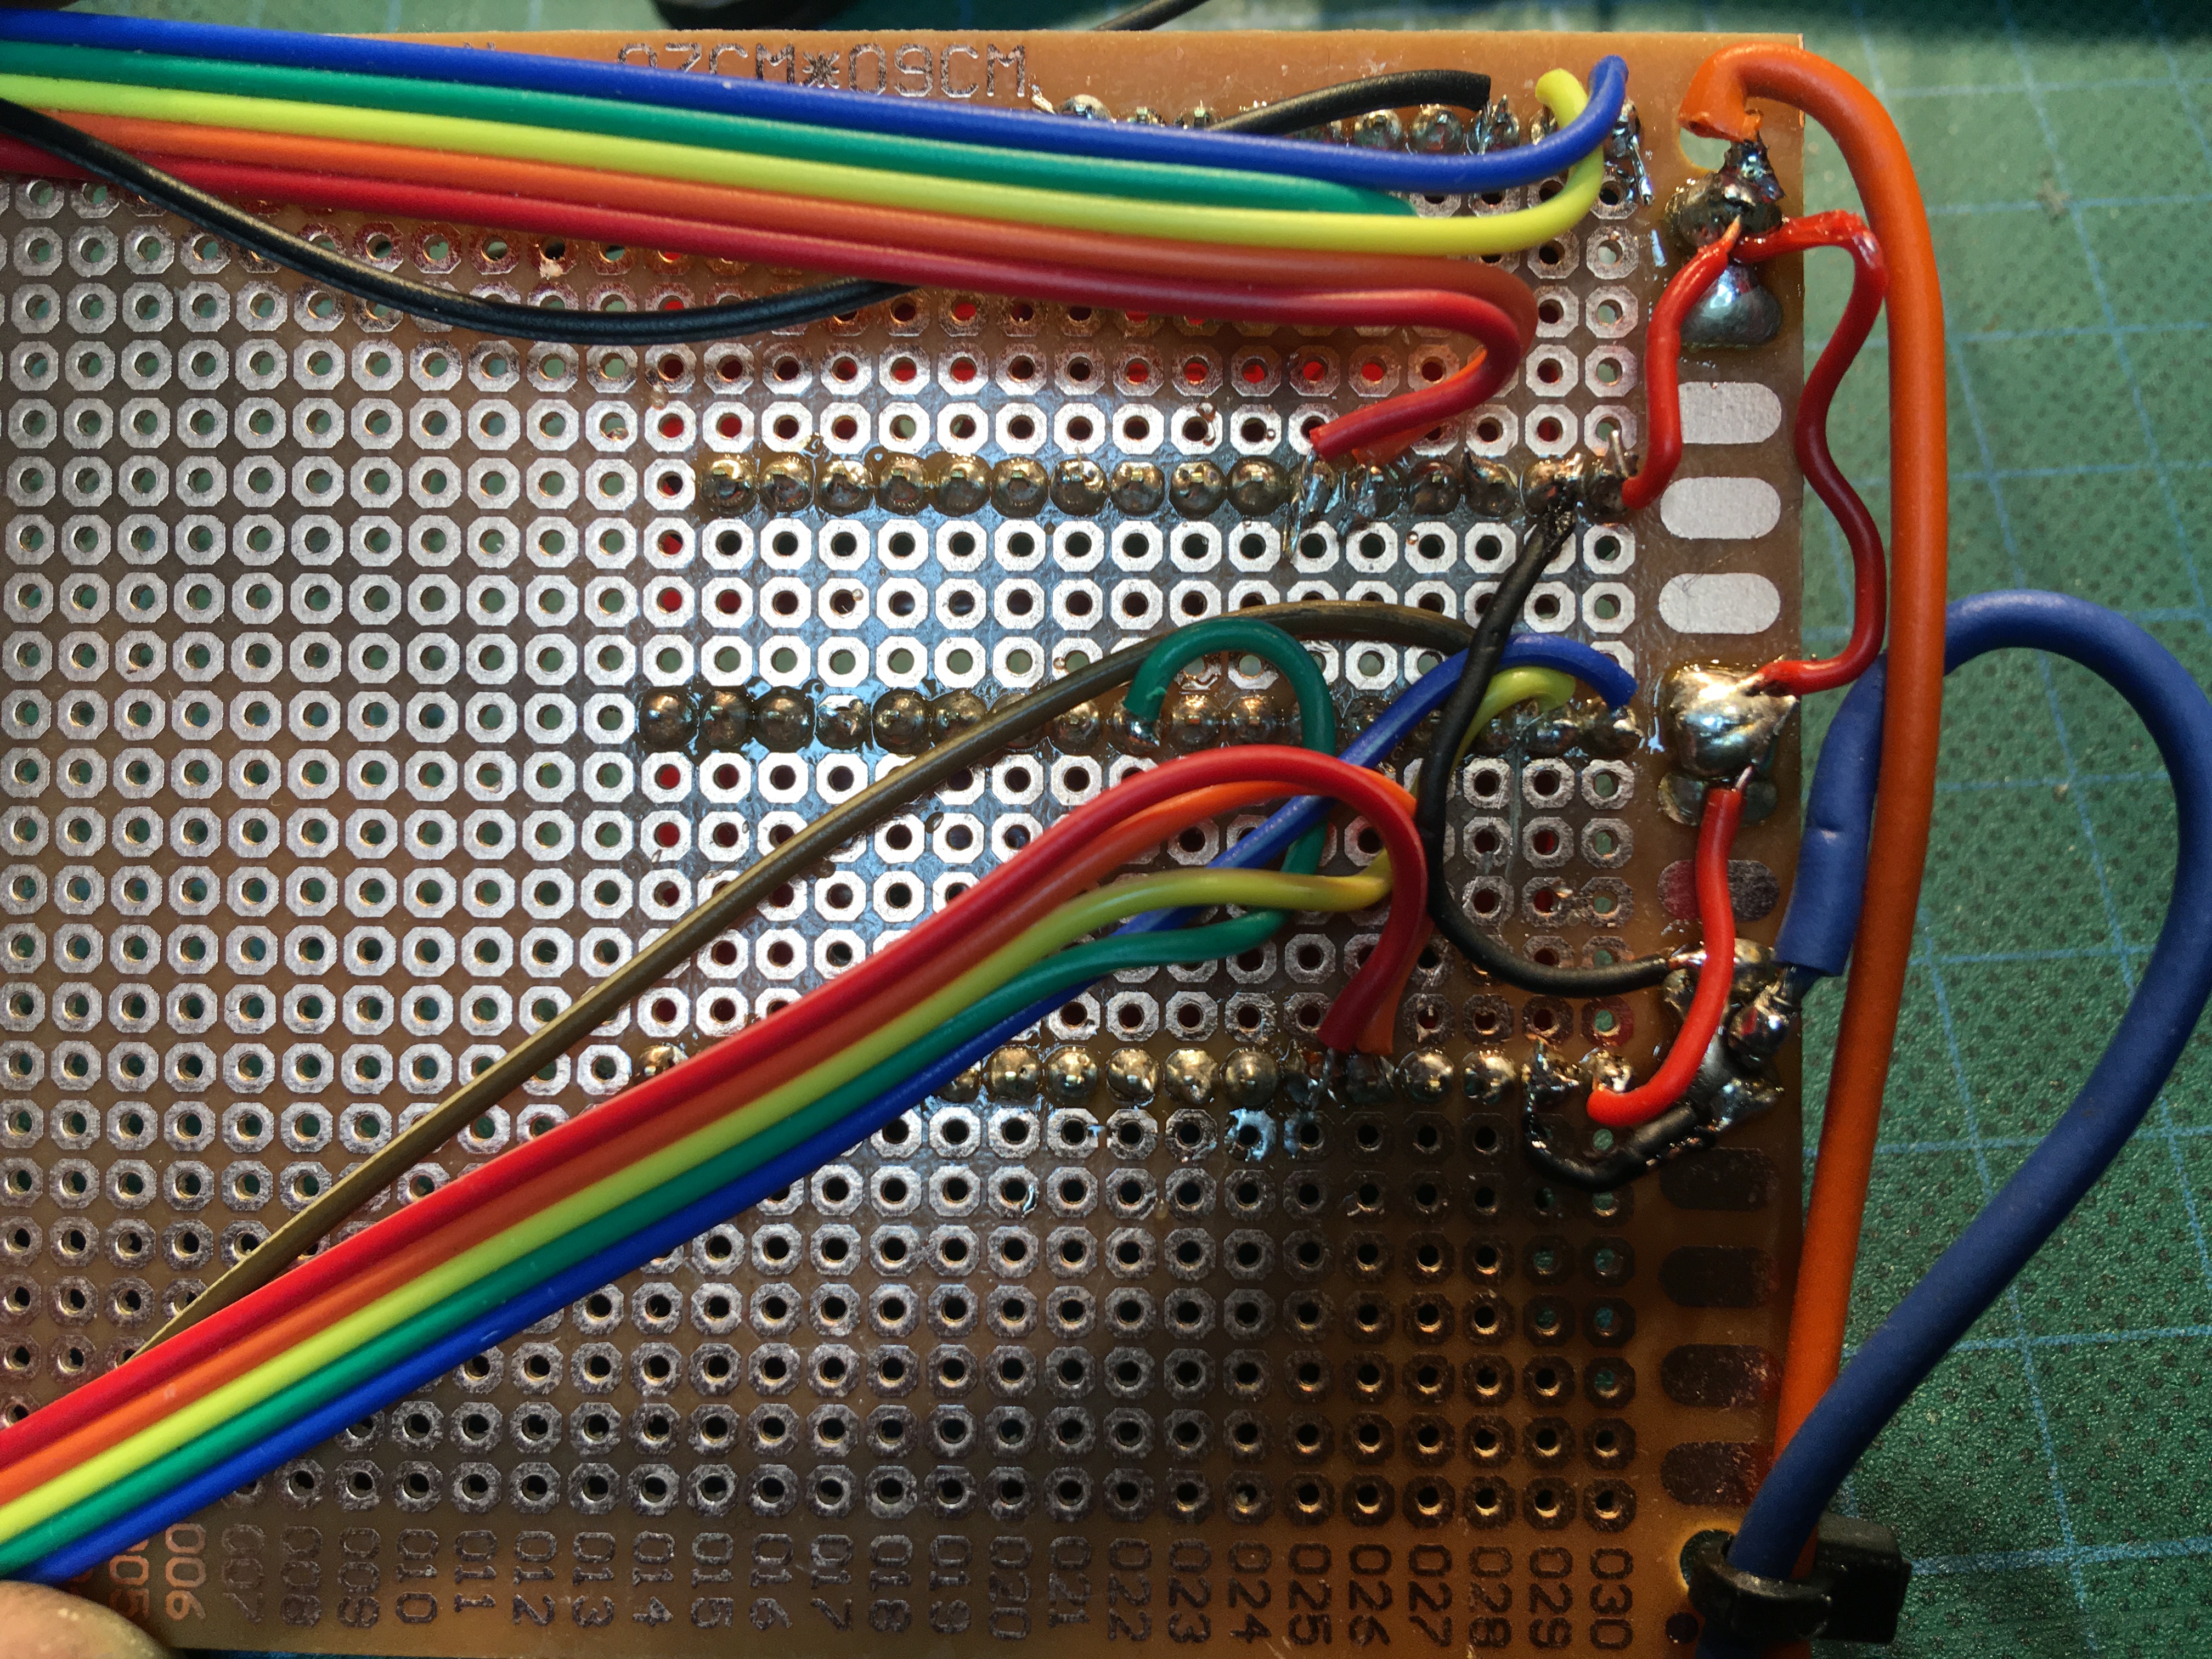
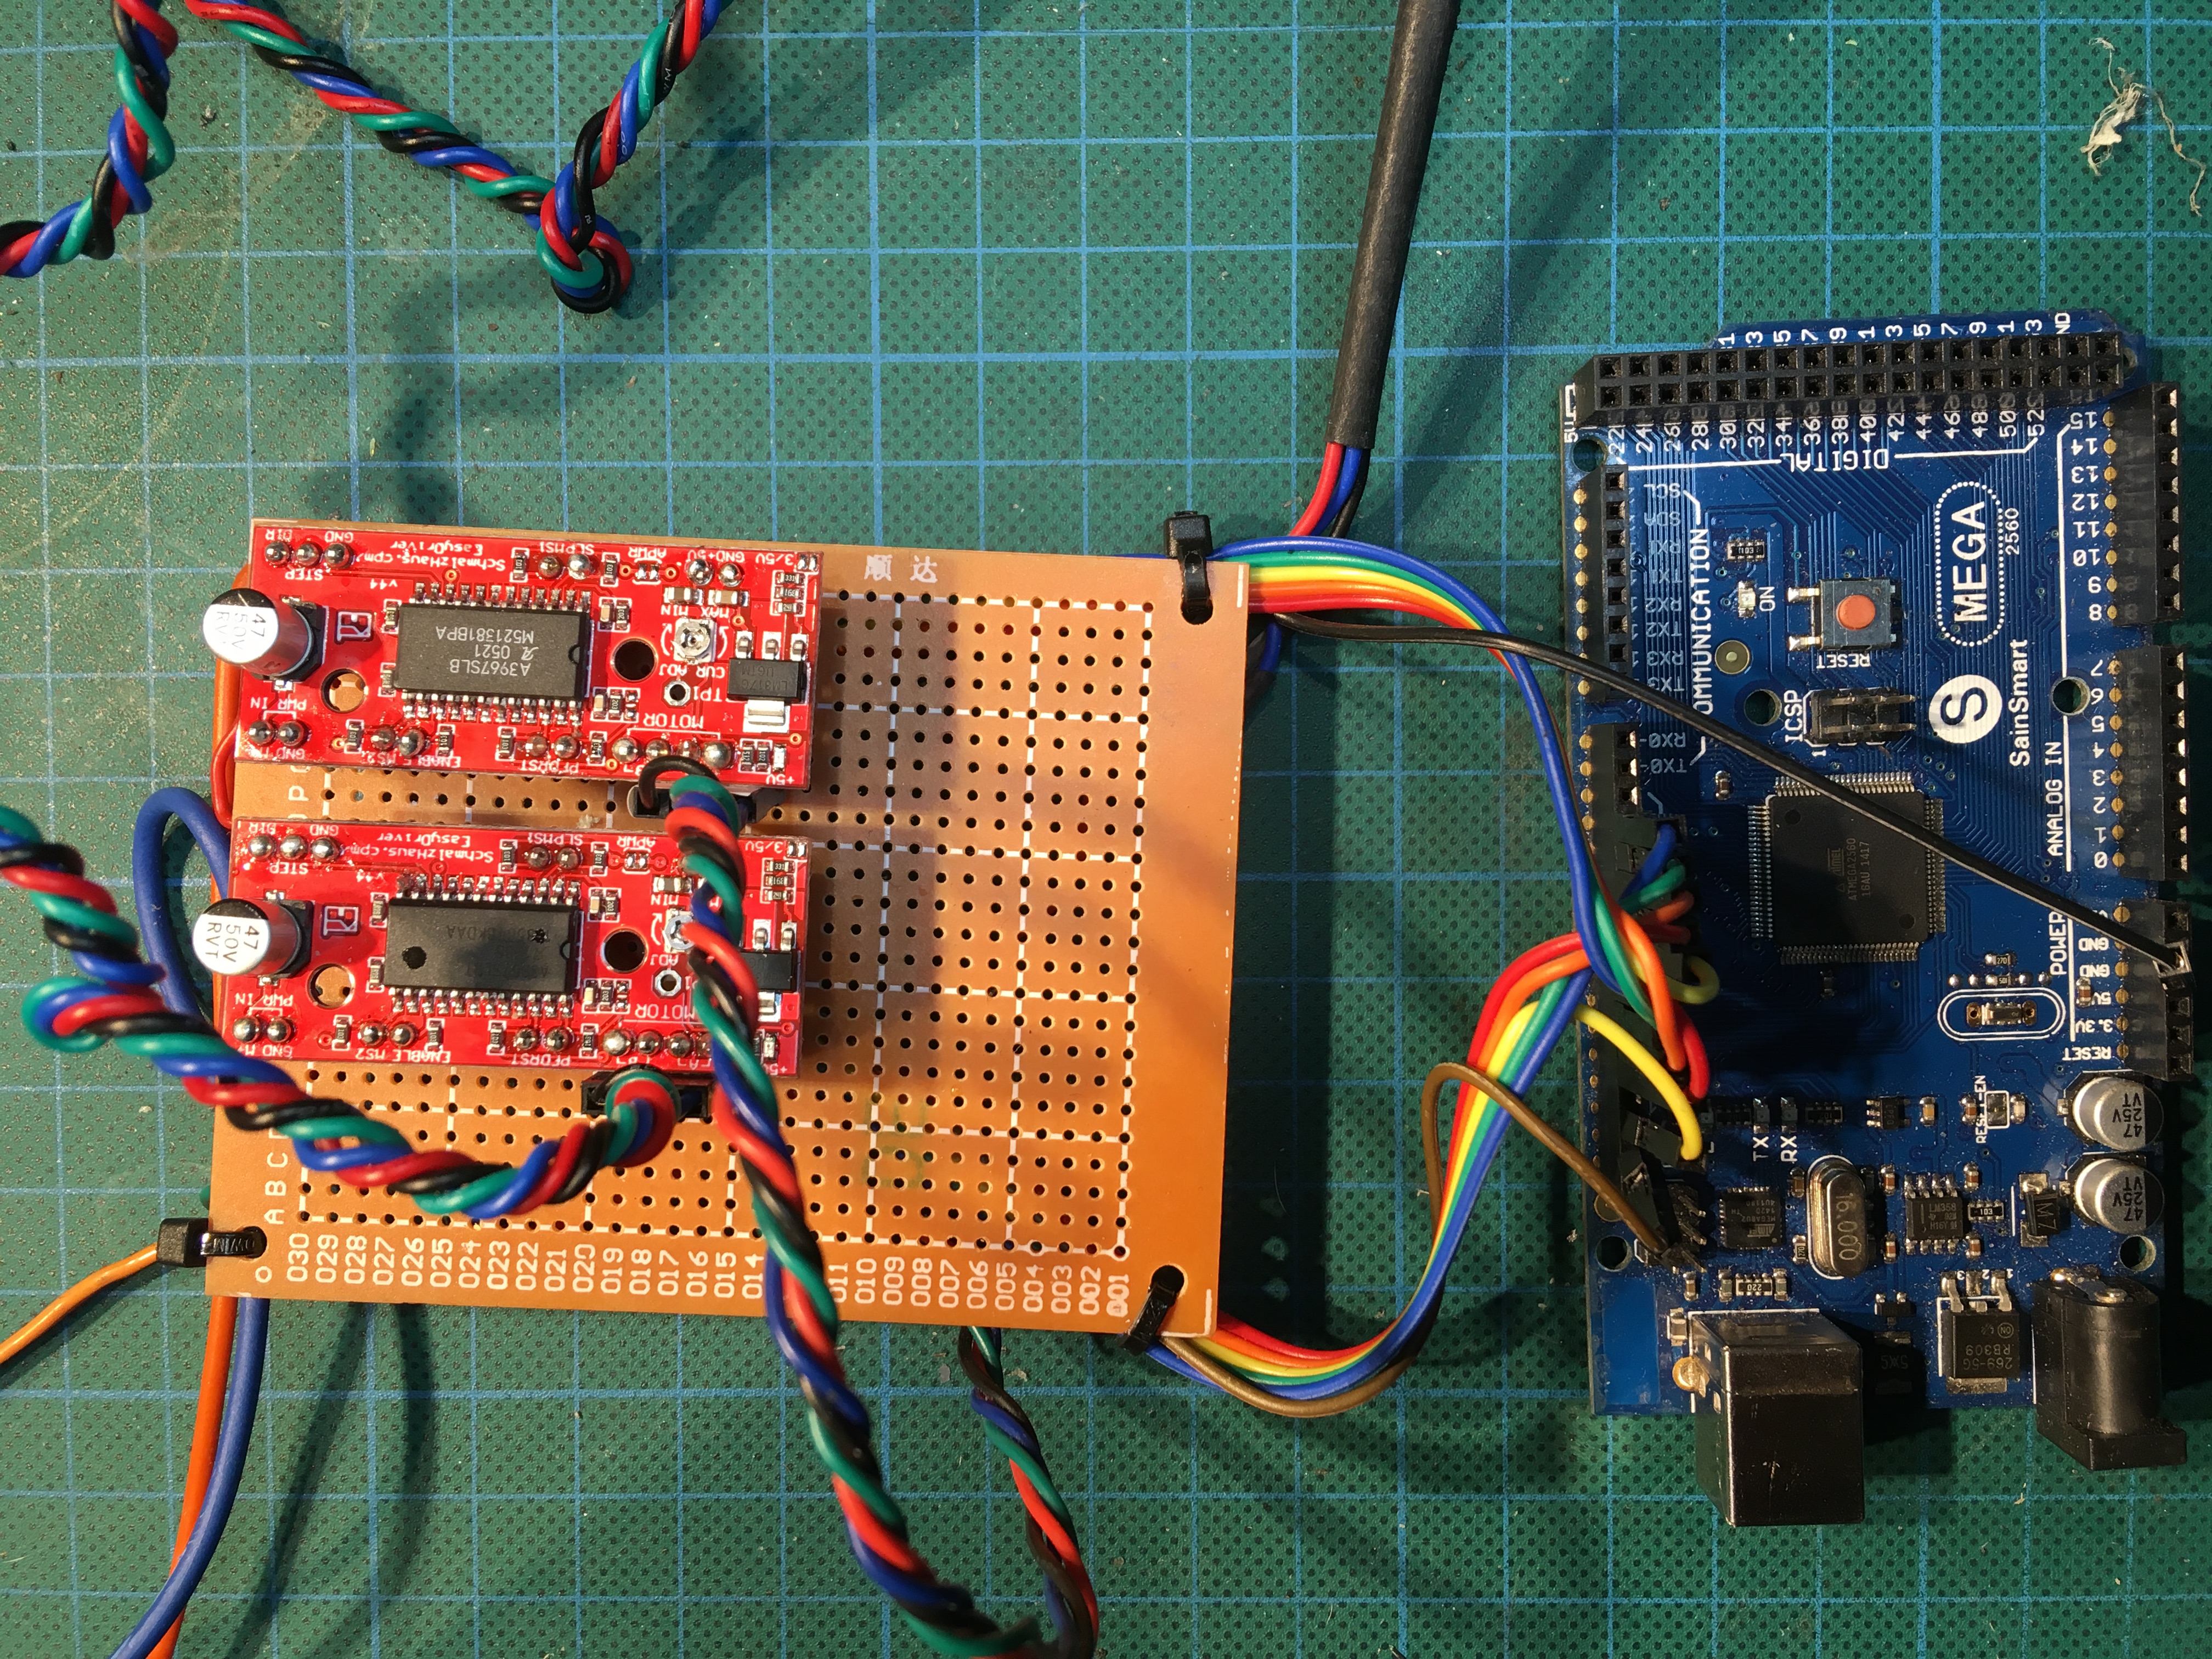
The electronics used are 2 x Nema-17 stepper motors, 2 x Easydrivers (Sparkfun) and an Arduino Mega 2560. I used a 12V power supply and project board to solder the main components together, mounted on a sheet of acrylic. I have used threaded rod and steel round bar, linear bearings and PLA for the construction of the artefact. An Italian 0.22 air pistol was used as the (affective) object.
All the parts were drafted in Blender[7], previously I have used OpenScad [8]but Blender proved to be far more efficient in my work flow. I include the Blender files and .stl files I used to construct the gun mount.
Power is delivered to the steppers via a 12V power supply, this is required as 5V (independent to powering the Arduino Mega) would not be enough
Aesthetics
I decided I would make something compelling and memorable for my object that would be mounted on my mobile platform. I also wanted something that would create affect [9]for the observer.
Guns have been a hot topic lately, the demonstrations in the US following so many killings in US schools and the US president’s lack of will to ban automatic weapons.
The gun rotates quite fast and can be operated manually for the moment, in Y, Z and Y+Z axes.
I want to create a reaction, to draw attention to how disturbing weaponry is - also alarming when in movement.
Videos:
Prototype testing proximity sensor with stepper motor
Testing proximity sensor with stepper
Next Steps
I wanted to create this as an interactive piece but had some problems is merging code for the Sparkfun ZX sensor [10](I used with my previous exhibit with more success), as well as the Open Source design [11] Easydriver [12] by Brian Schmalz in the same installation. The operator must press keys to initiate movement, this is disappointing to me, but I am determined to get this part working in time for the exhibition (popup) in early May.
As already stated, a better system with less friction can be achieved with din rails and v-bearings. I only came across them in my research after fabricating all the other parts
Lastly, I suspect I could make the operation of the stepper motors quieter with less vibration with the incorporation of smoothing diodes[13], this remains to be established.
Postscript
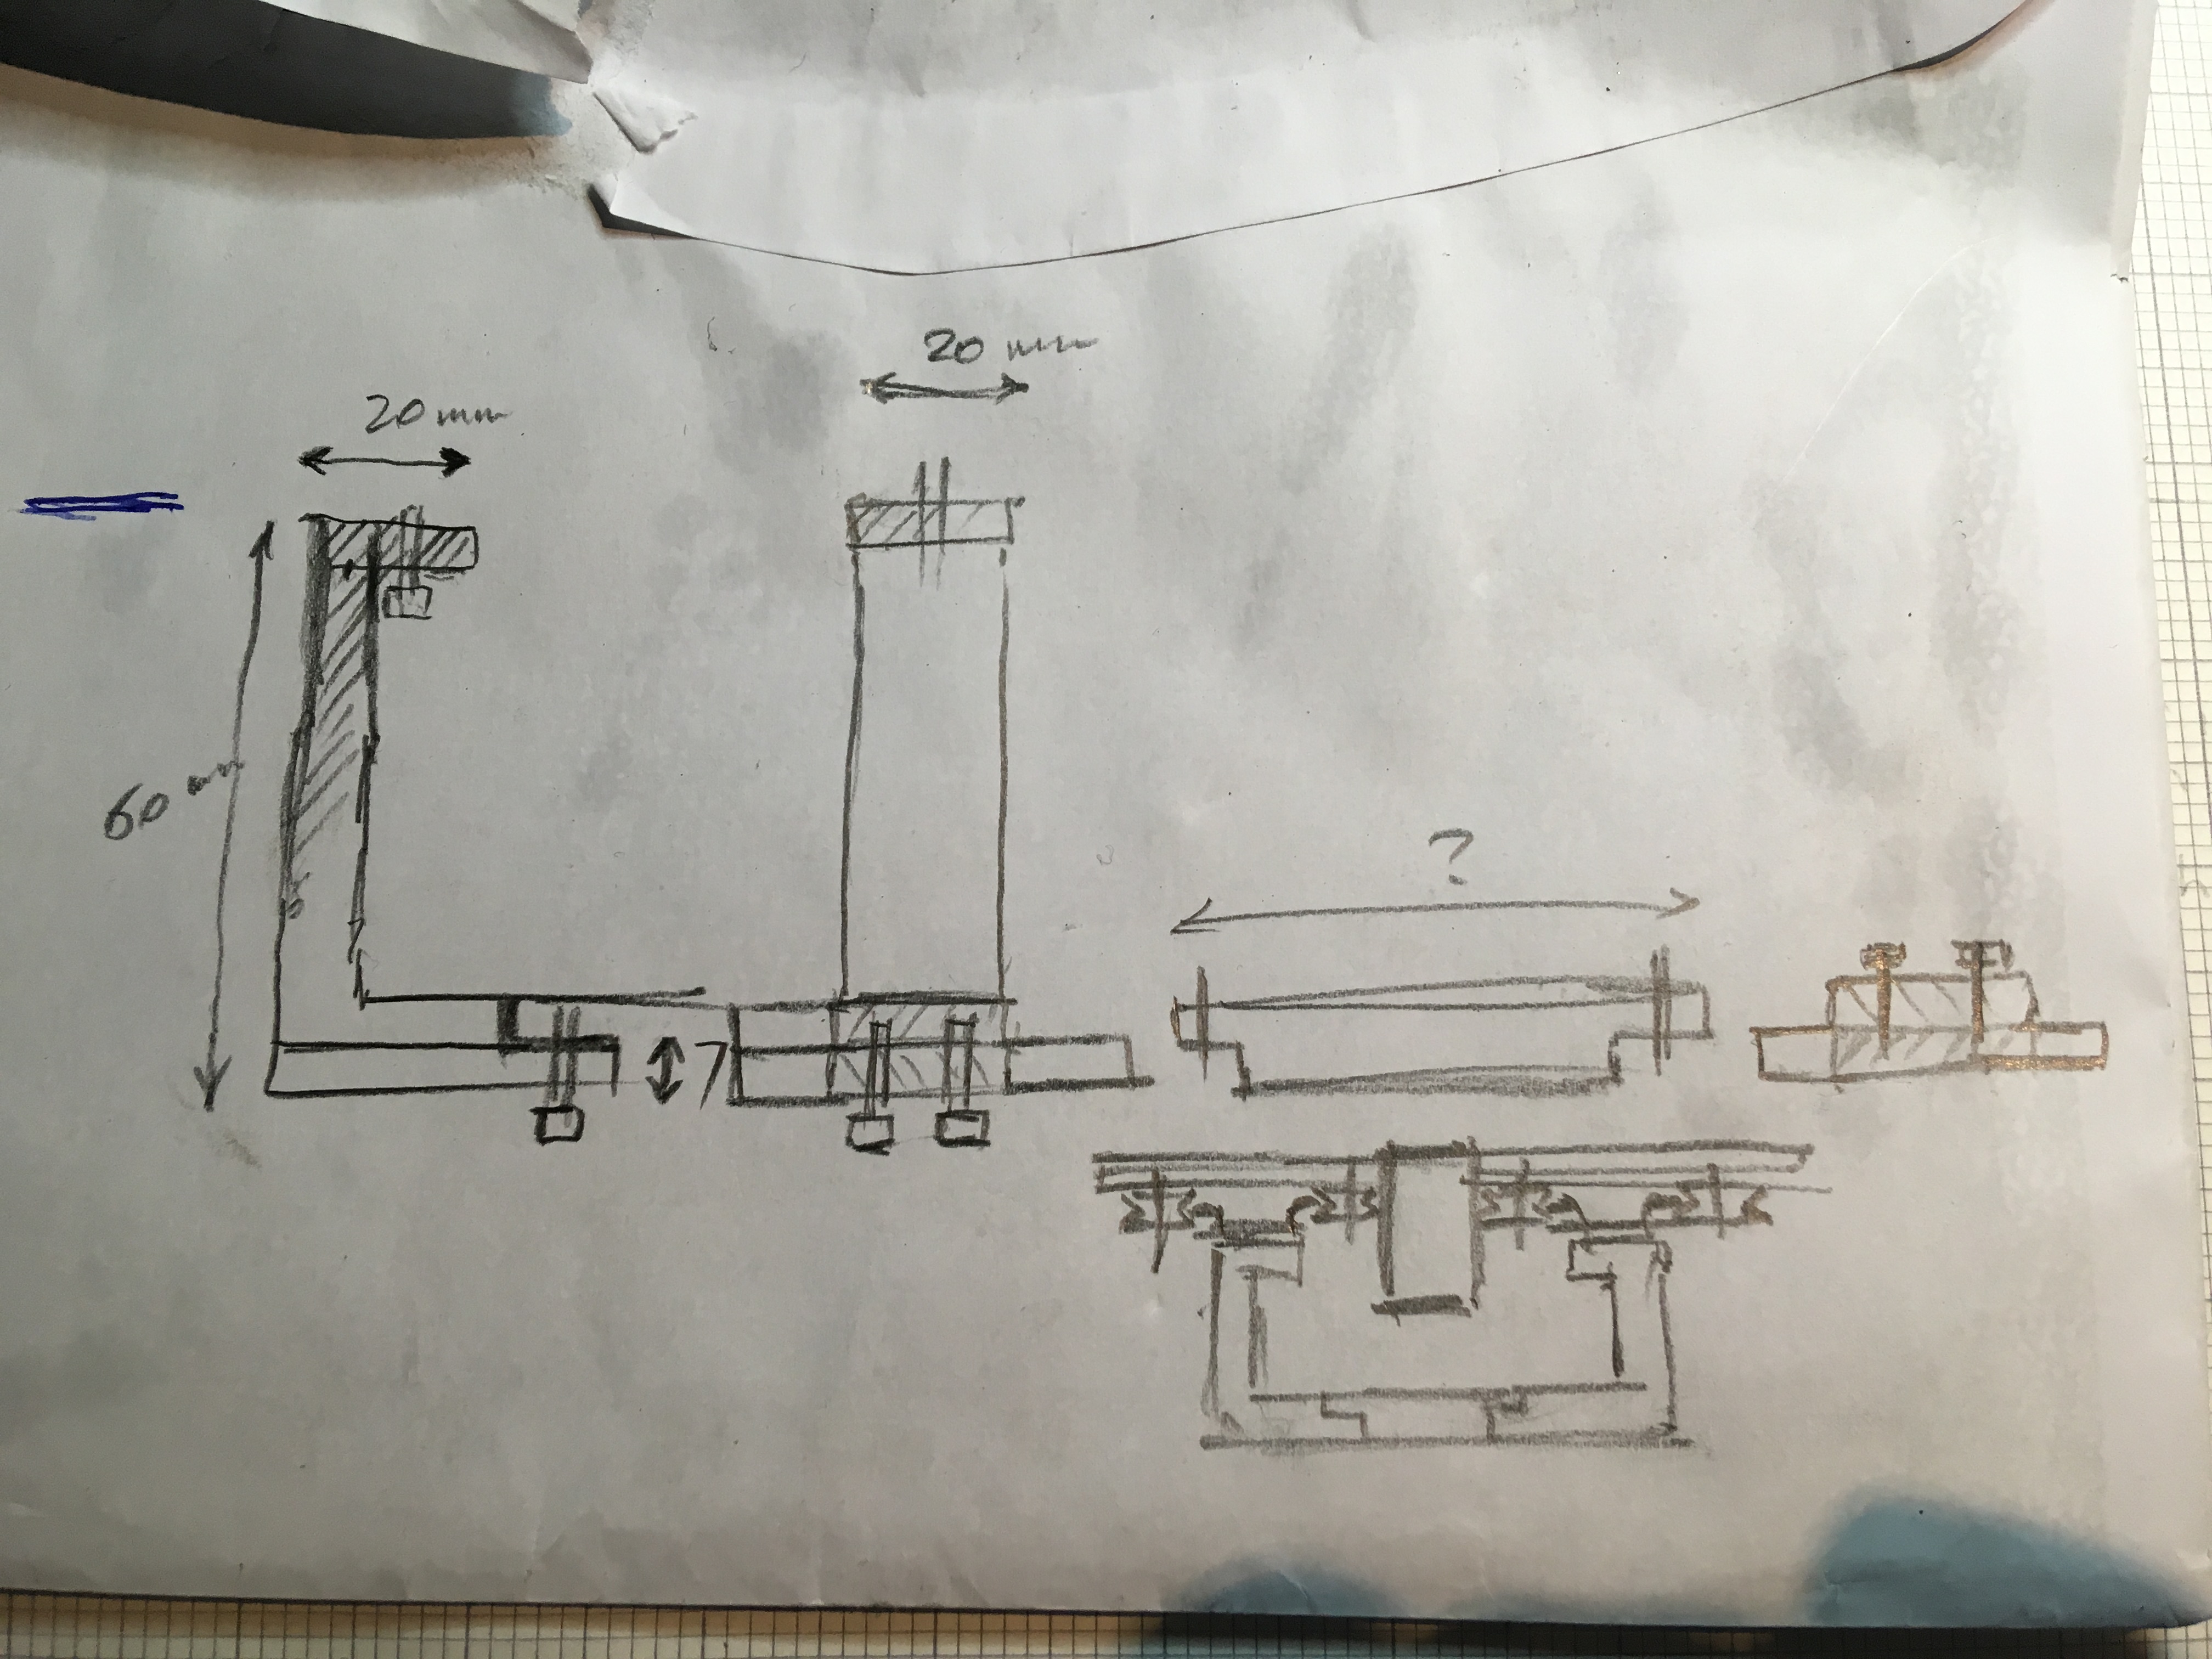
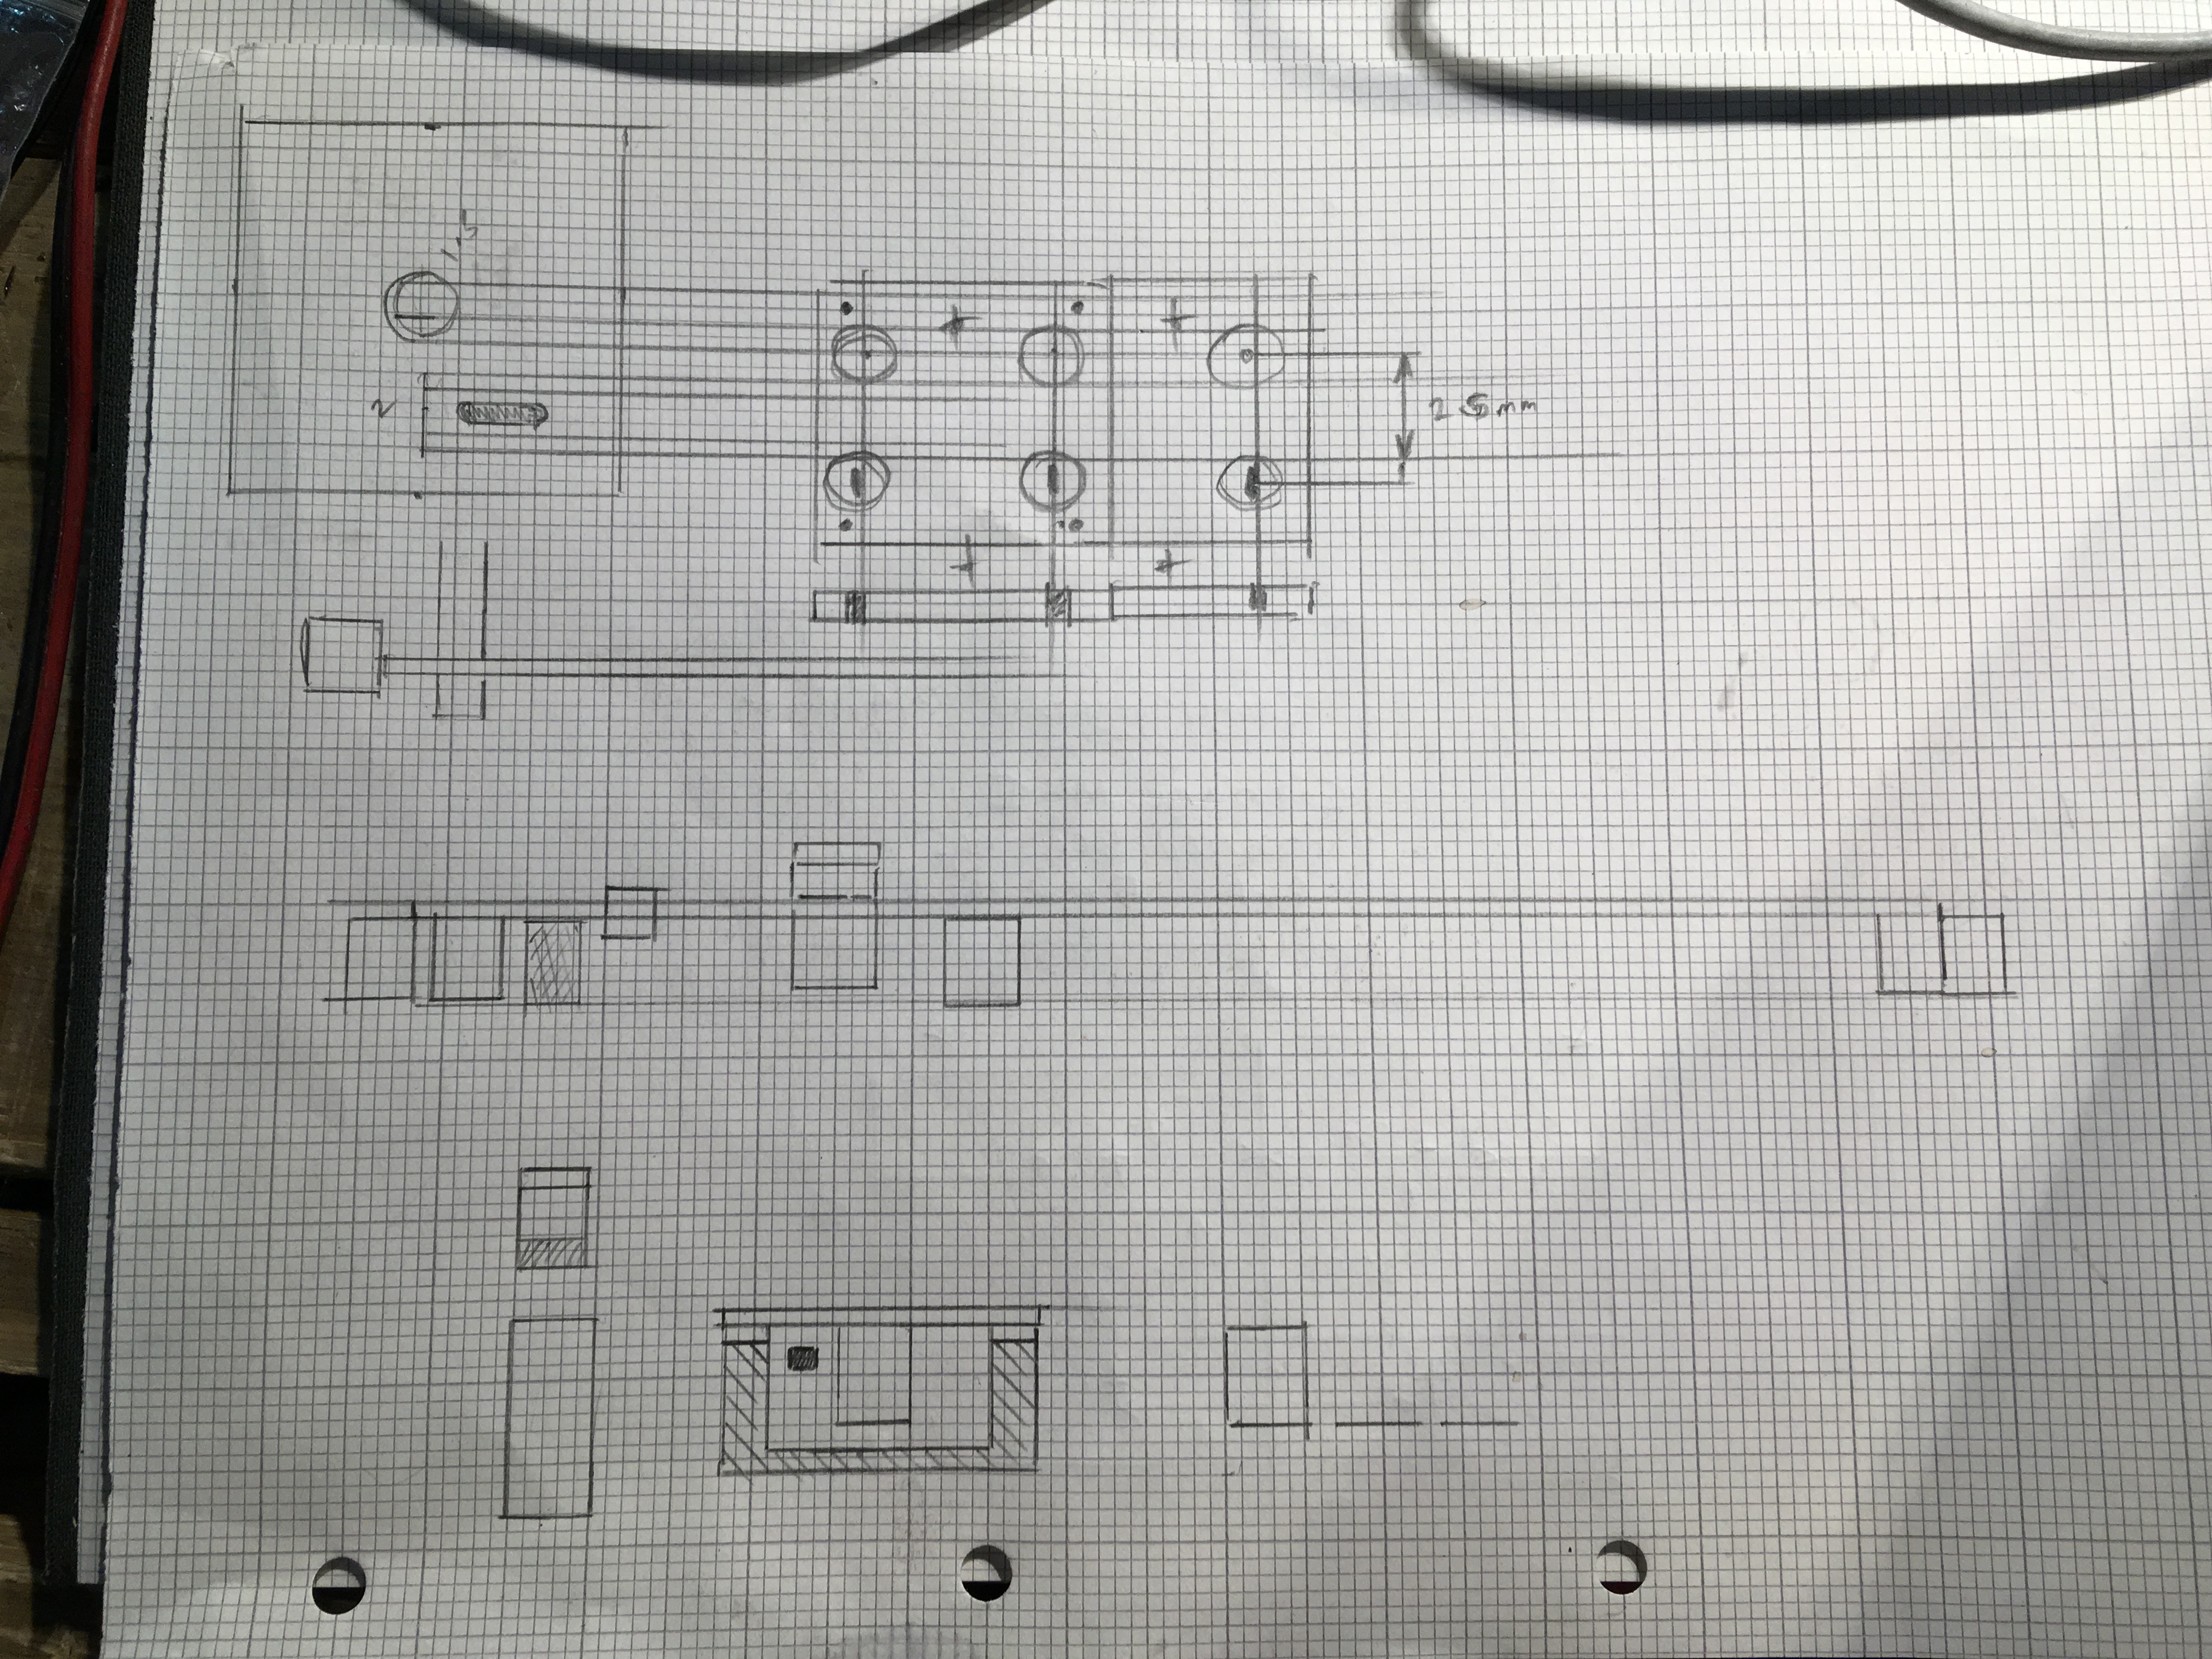
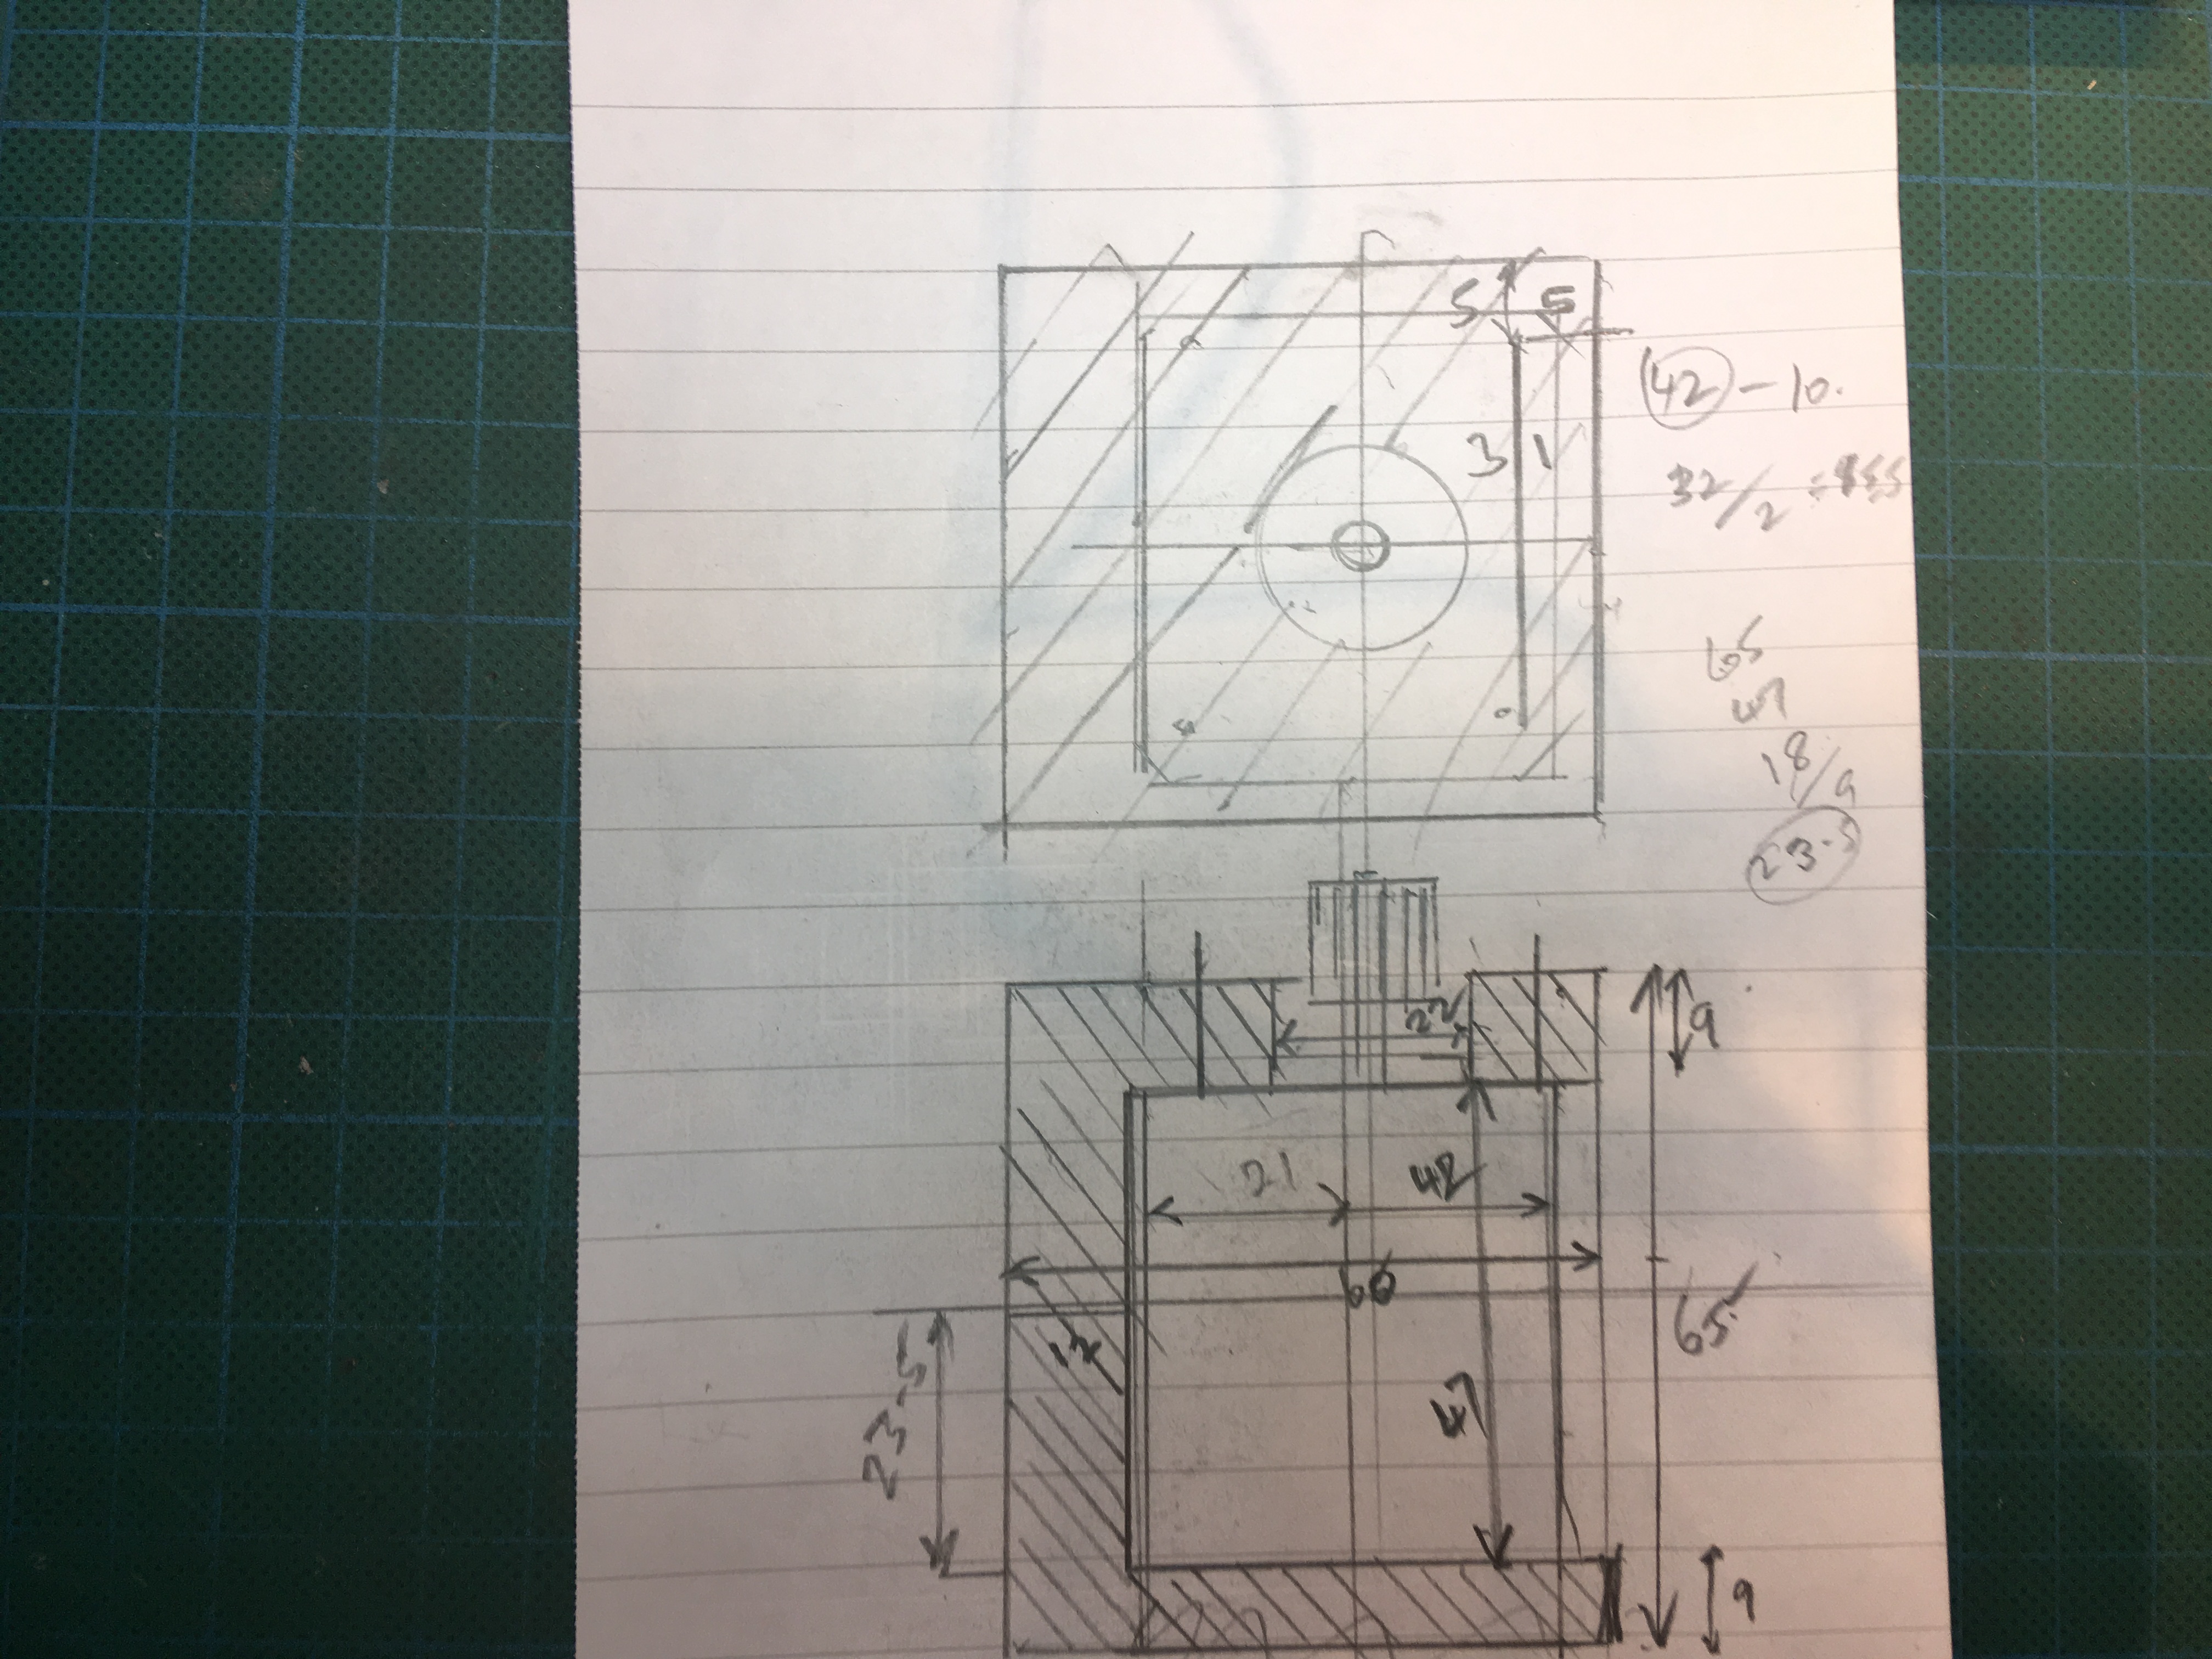
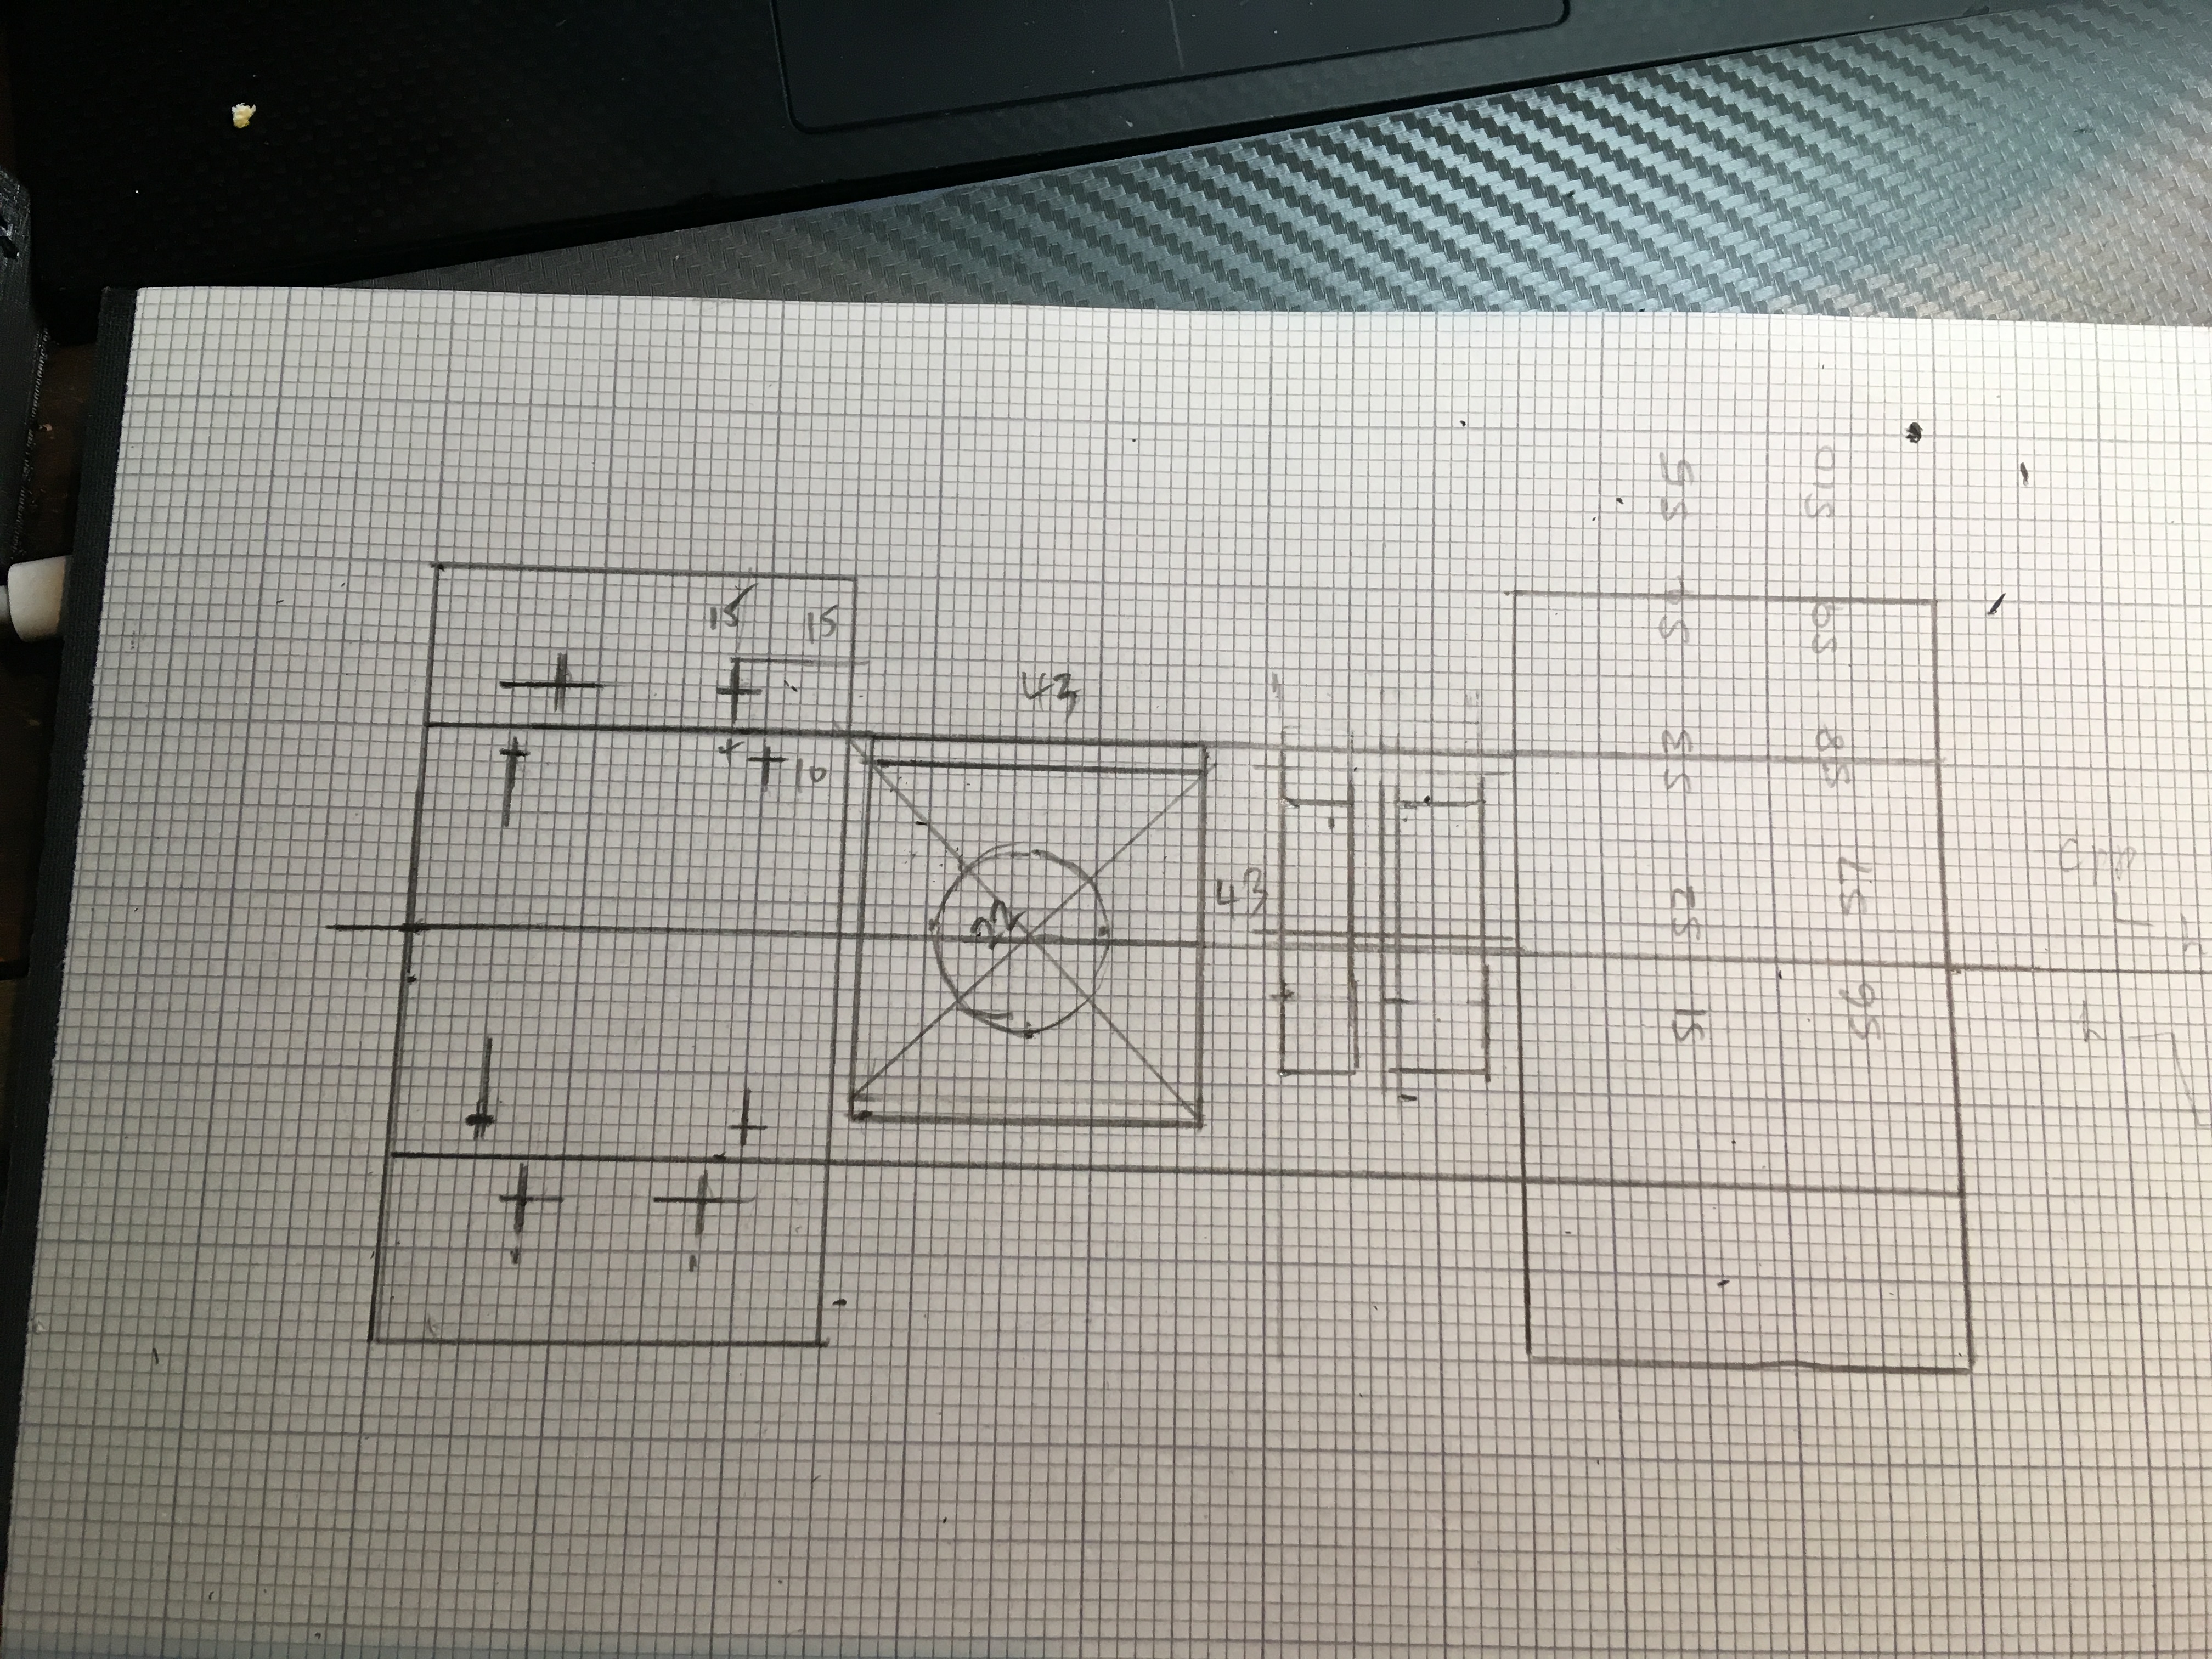
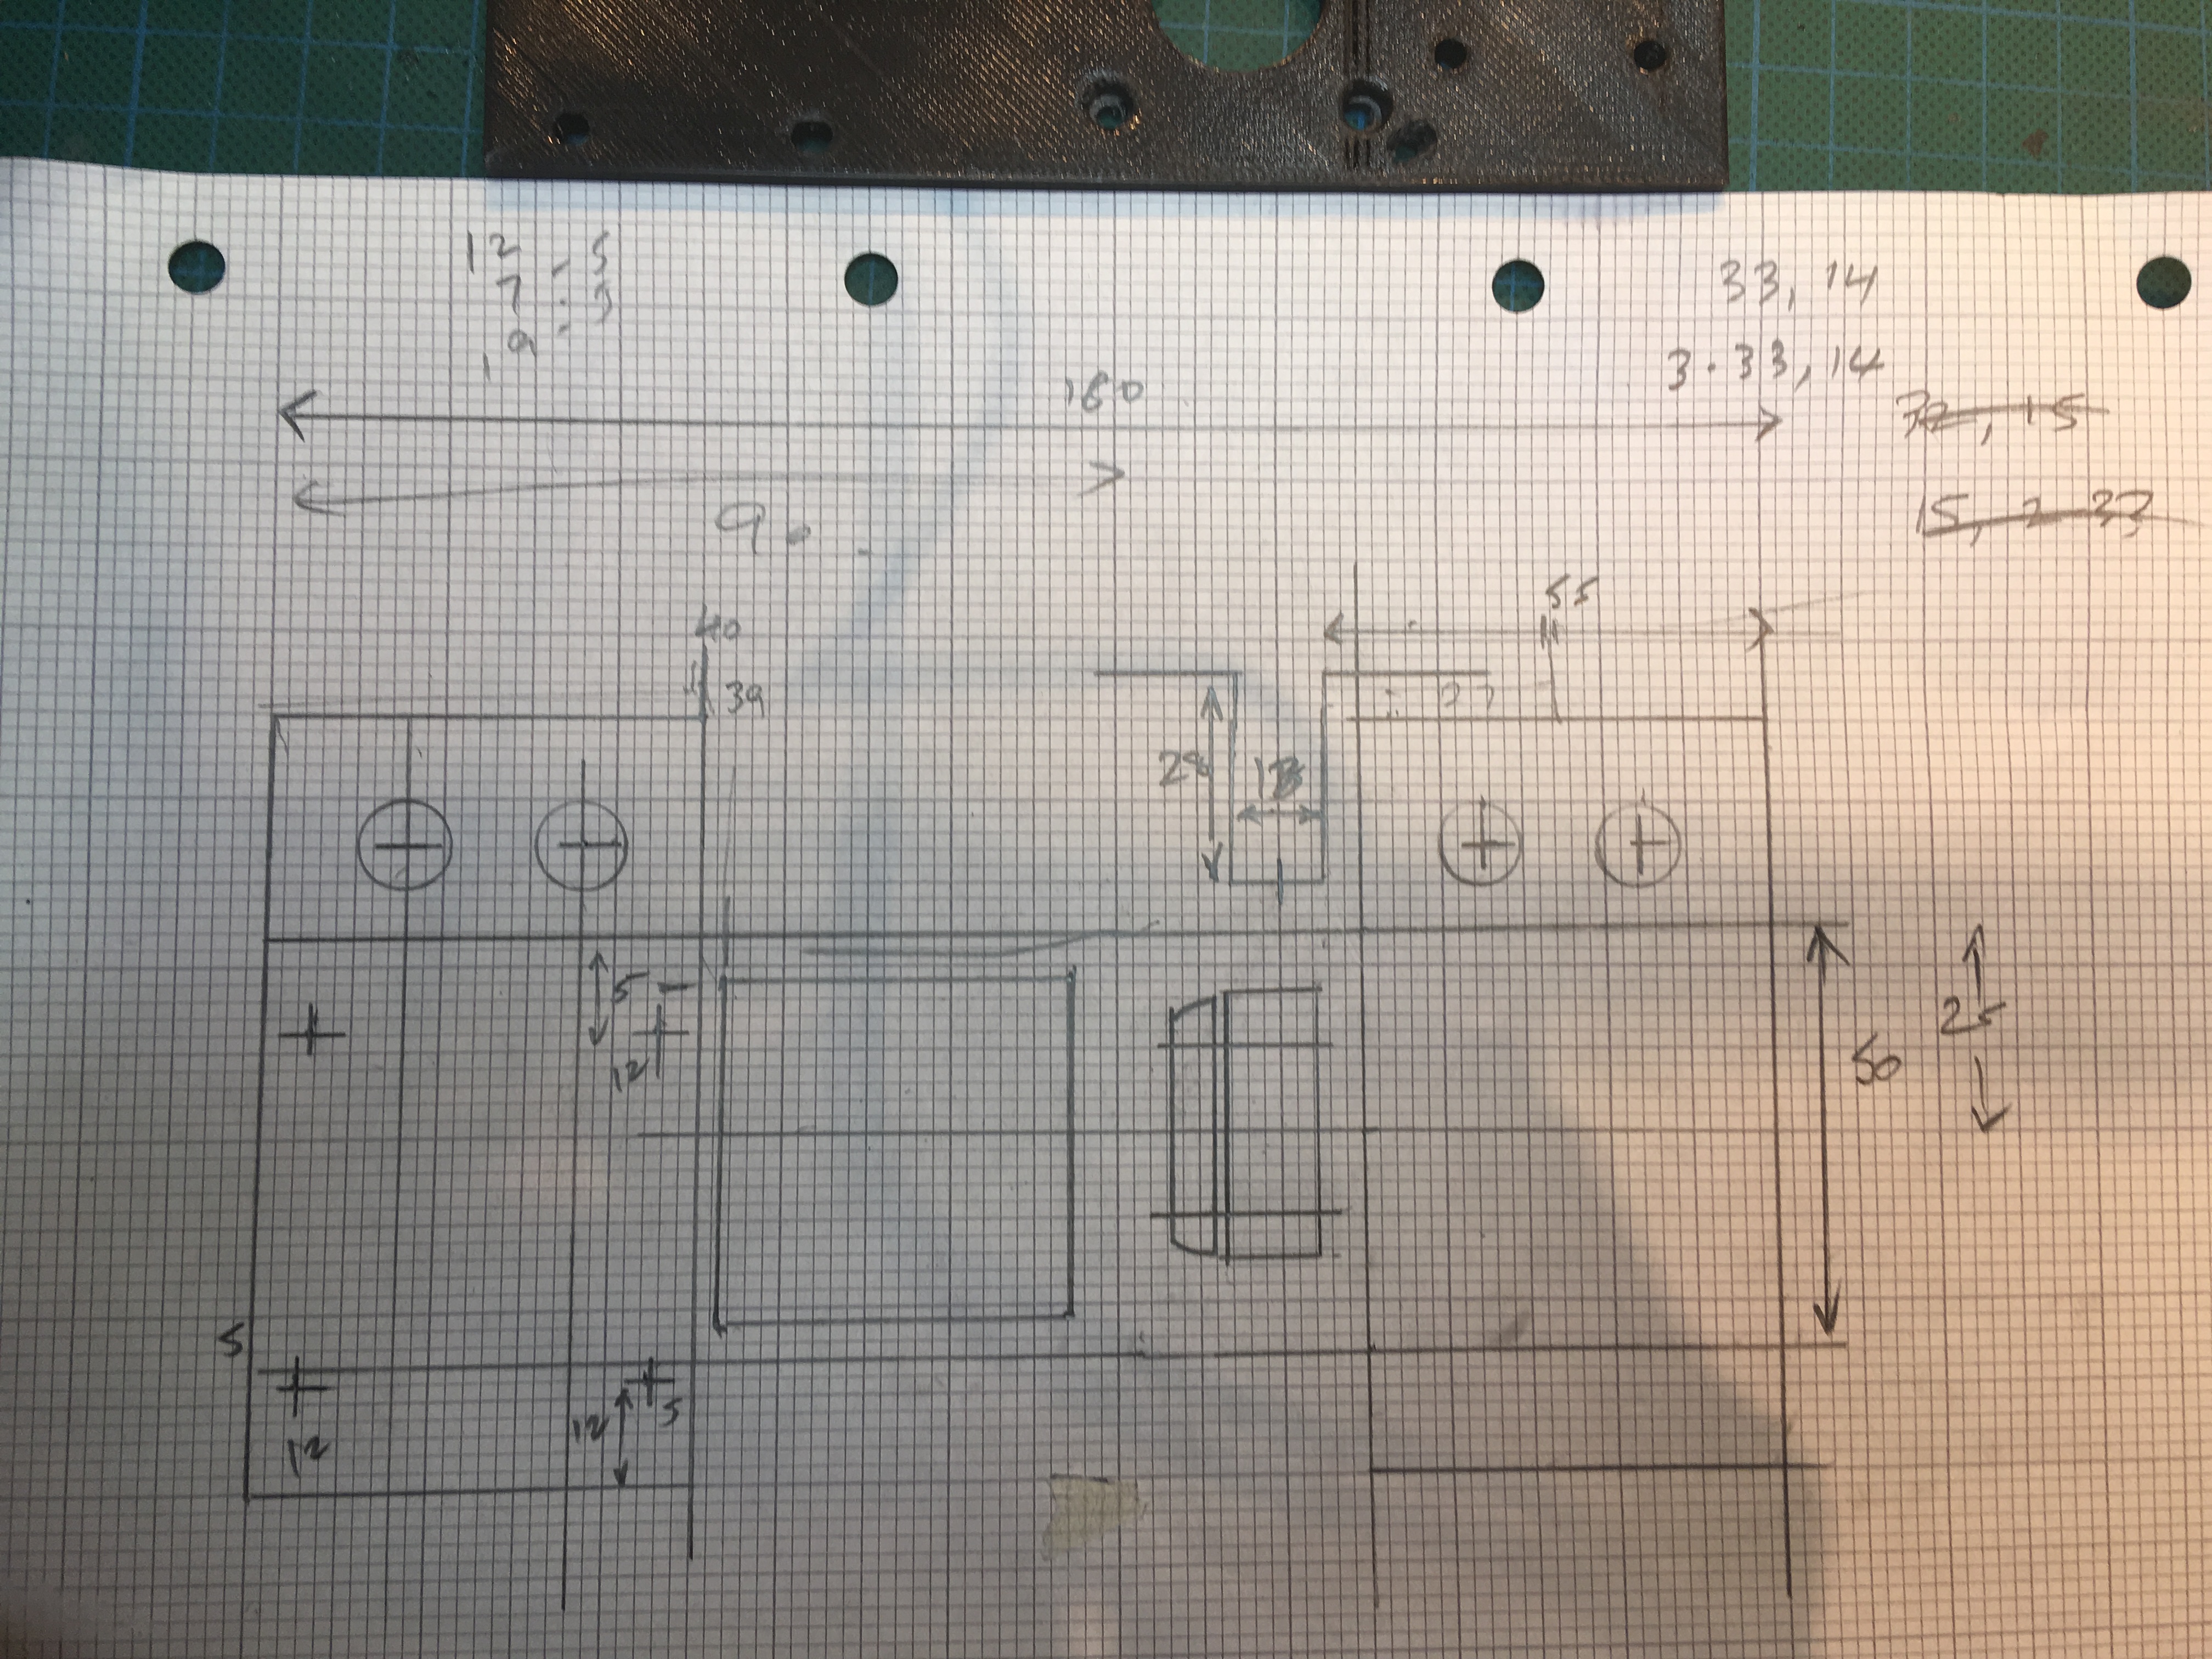
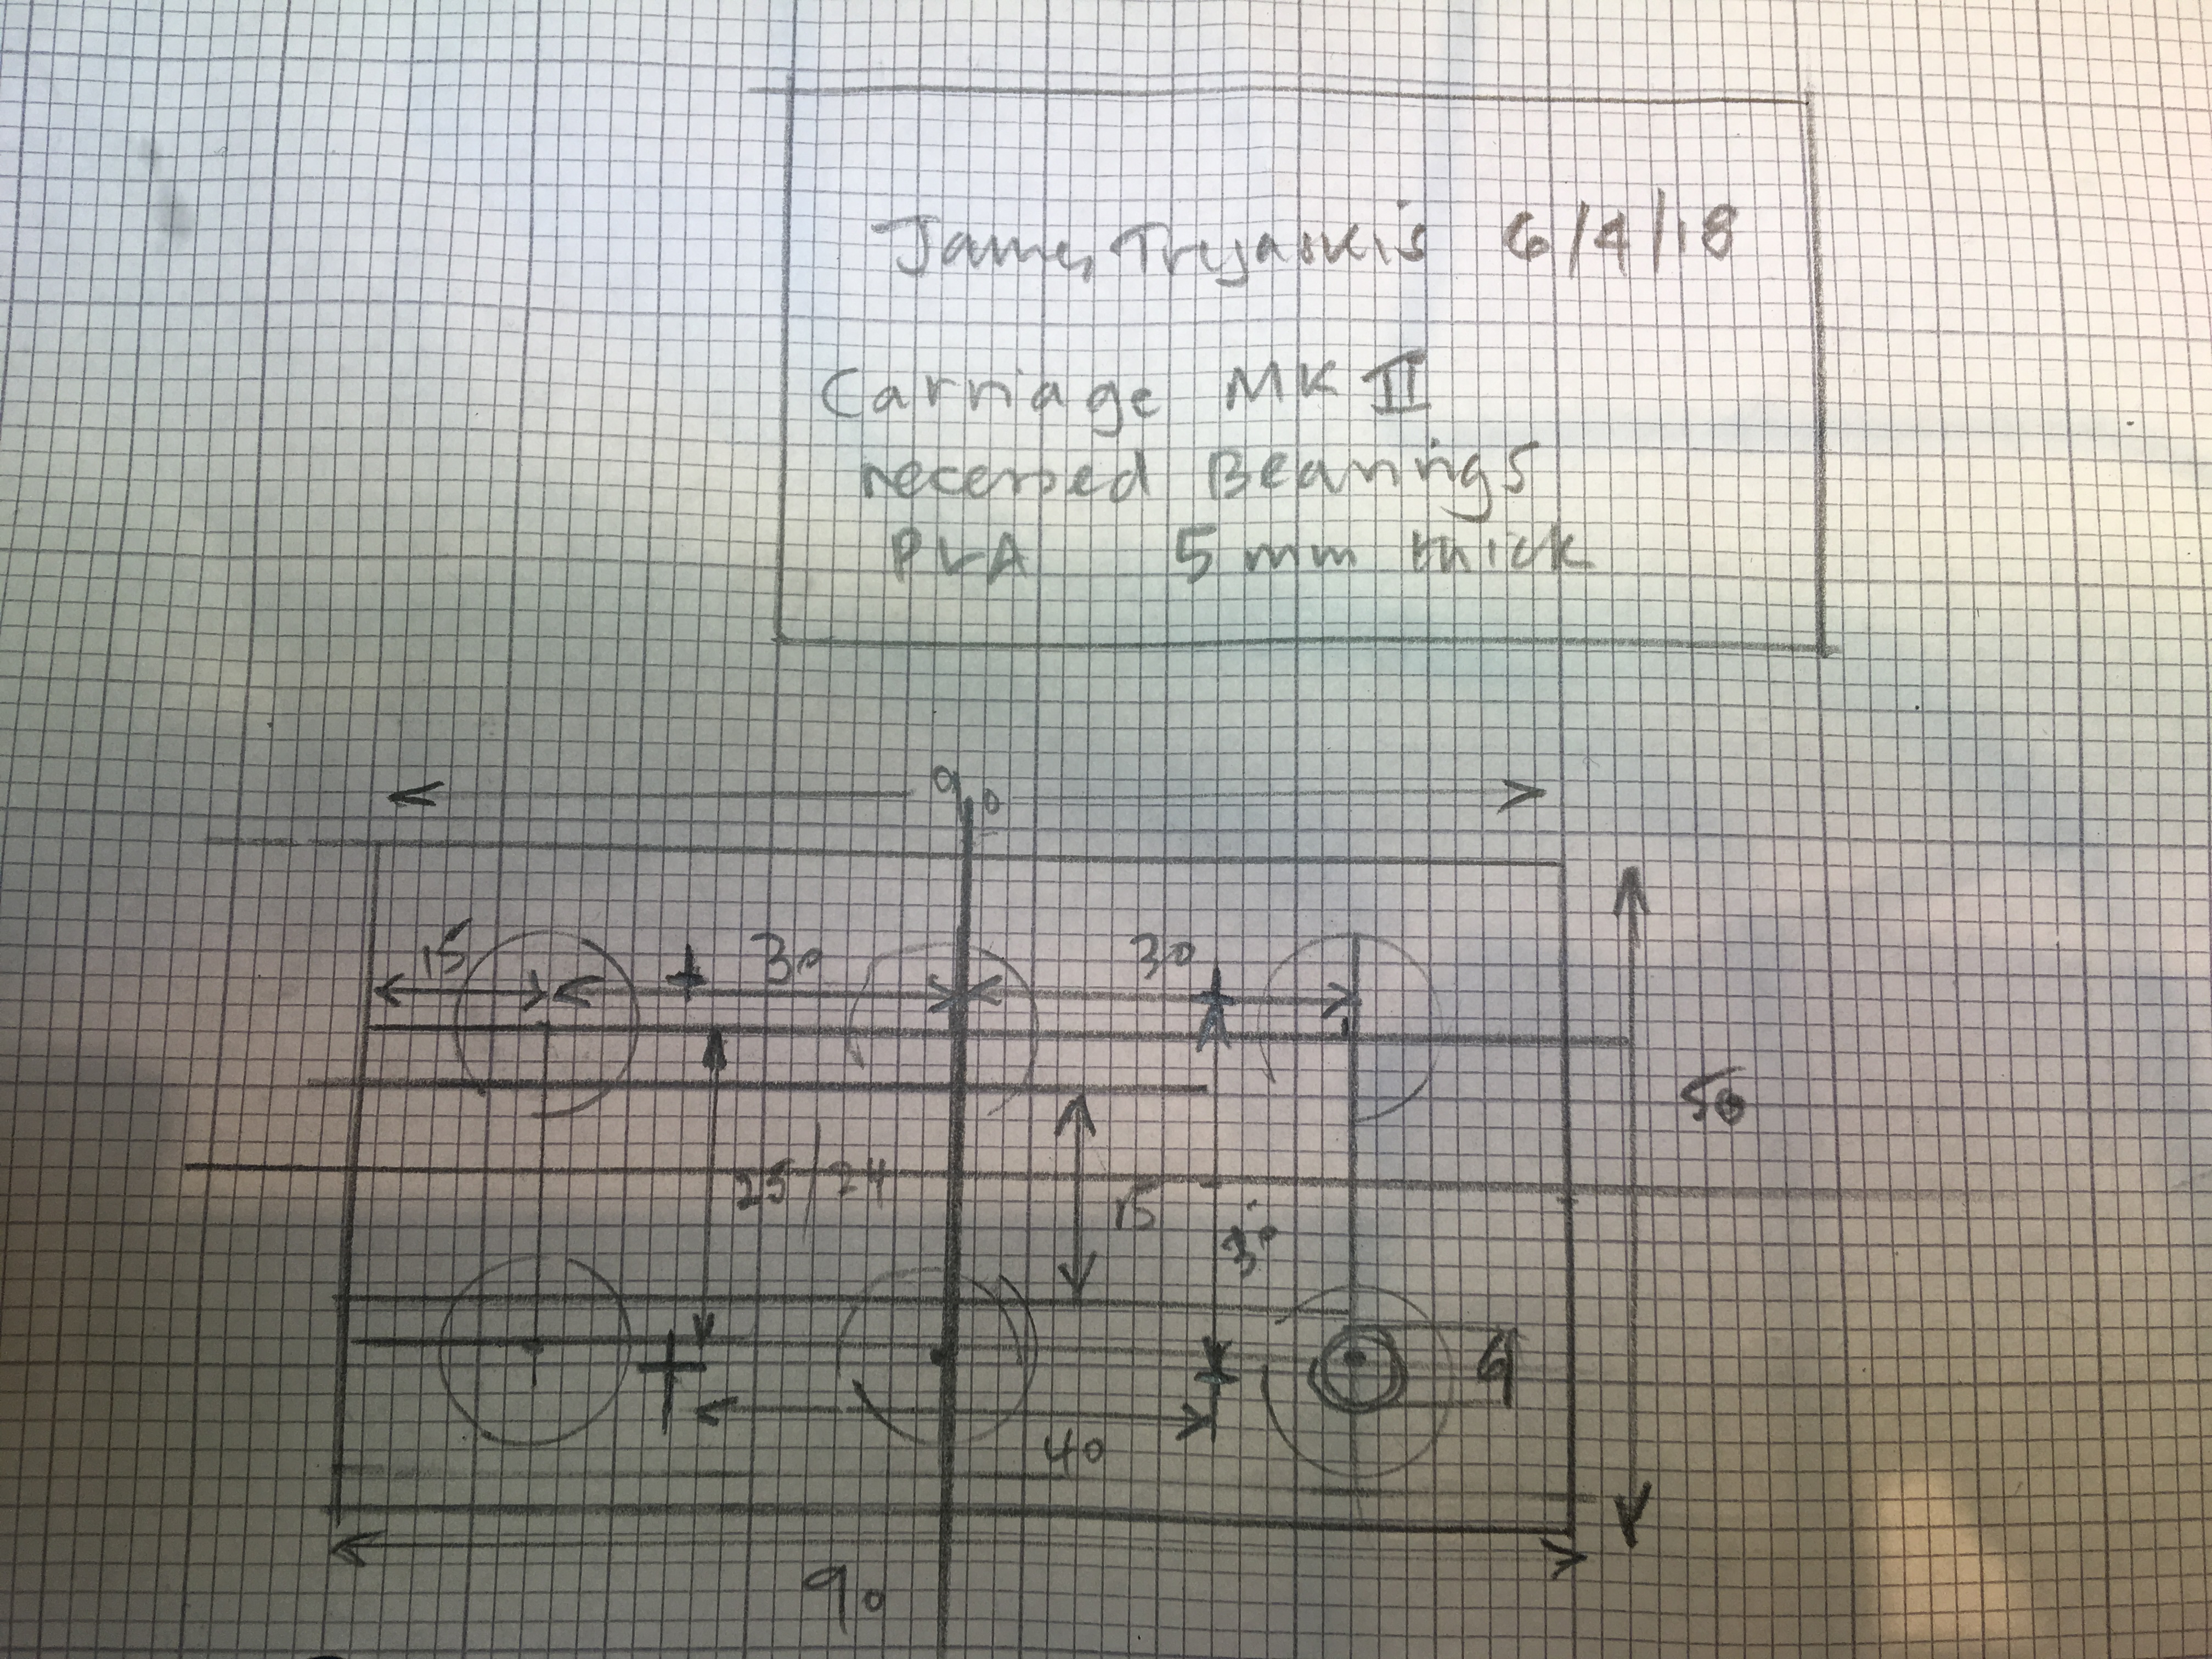
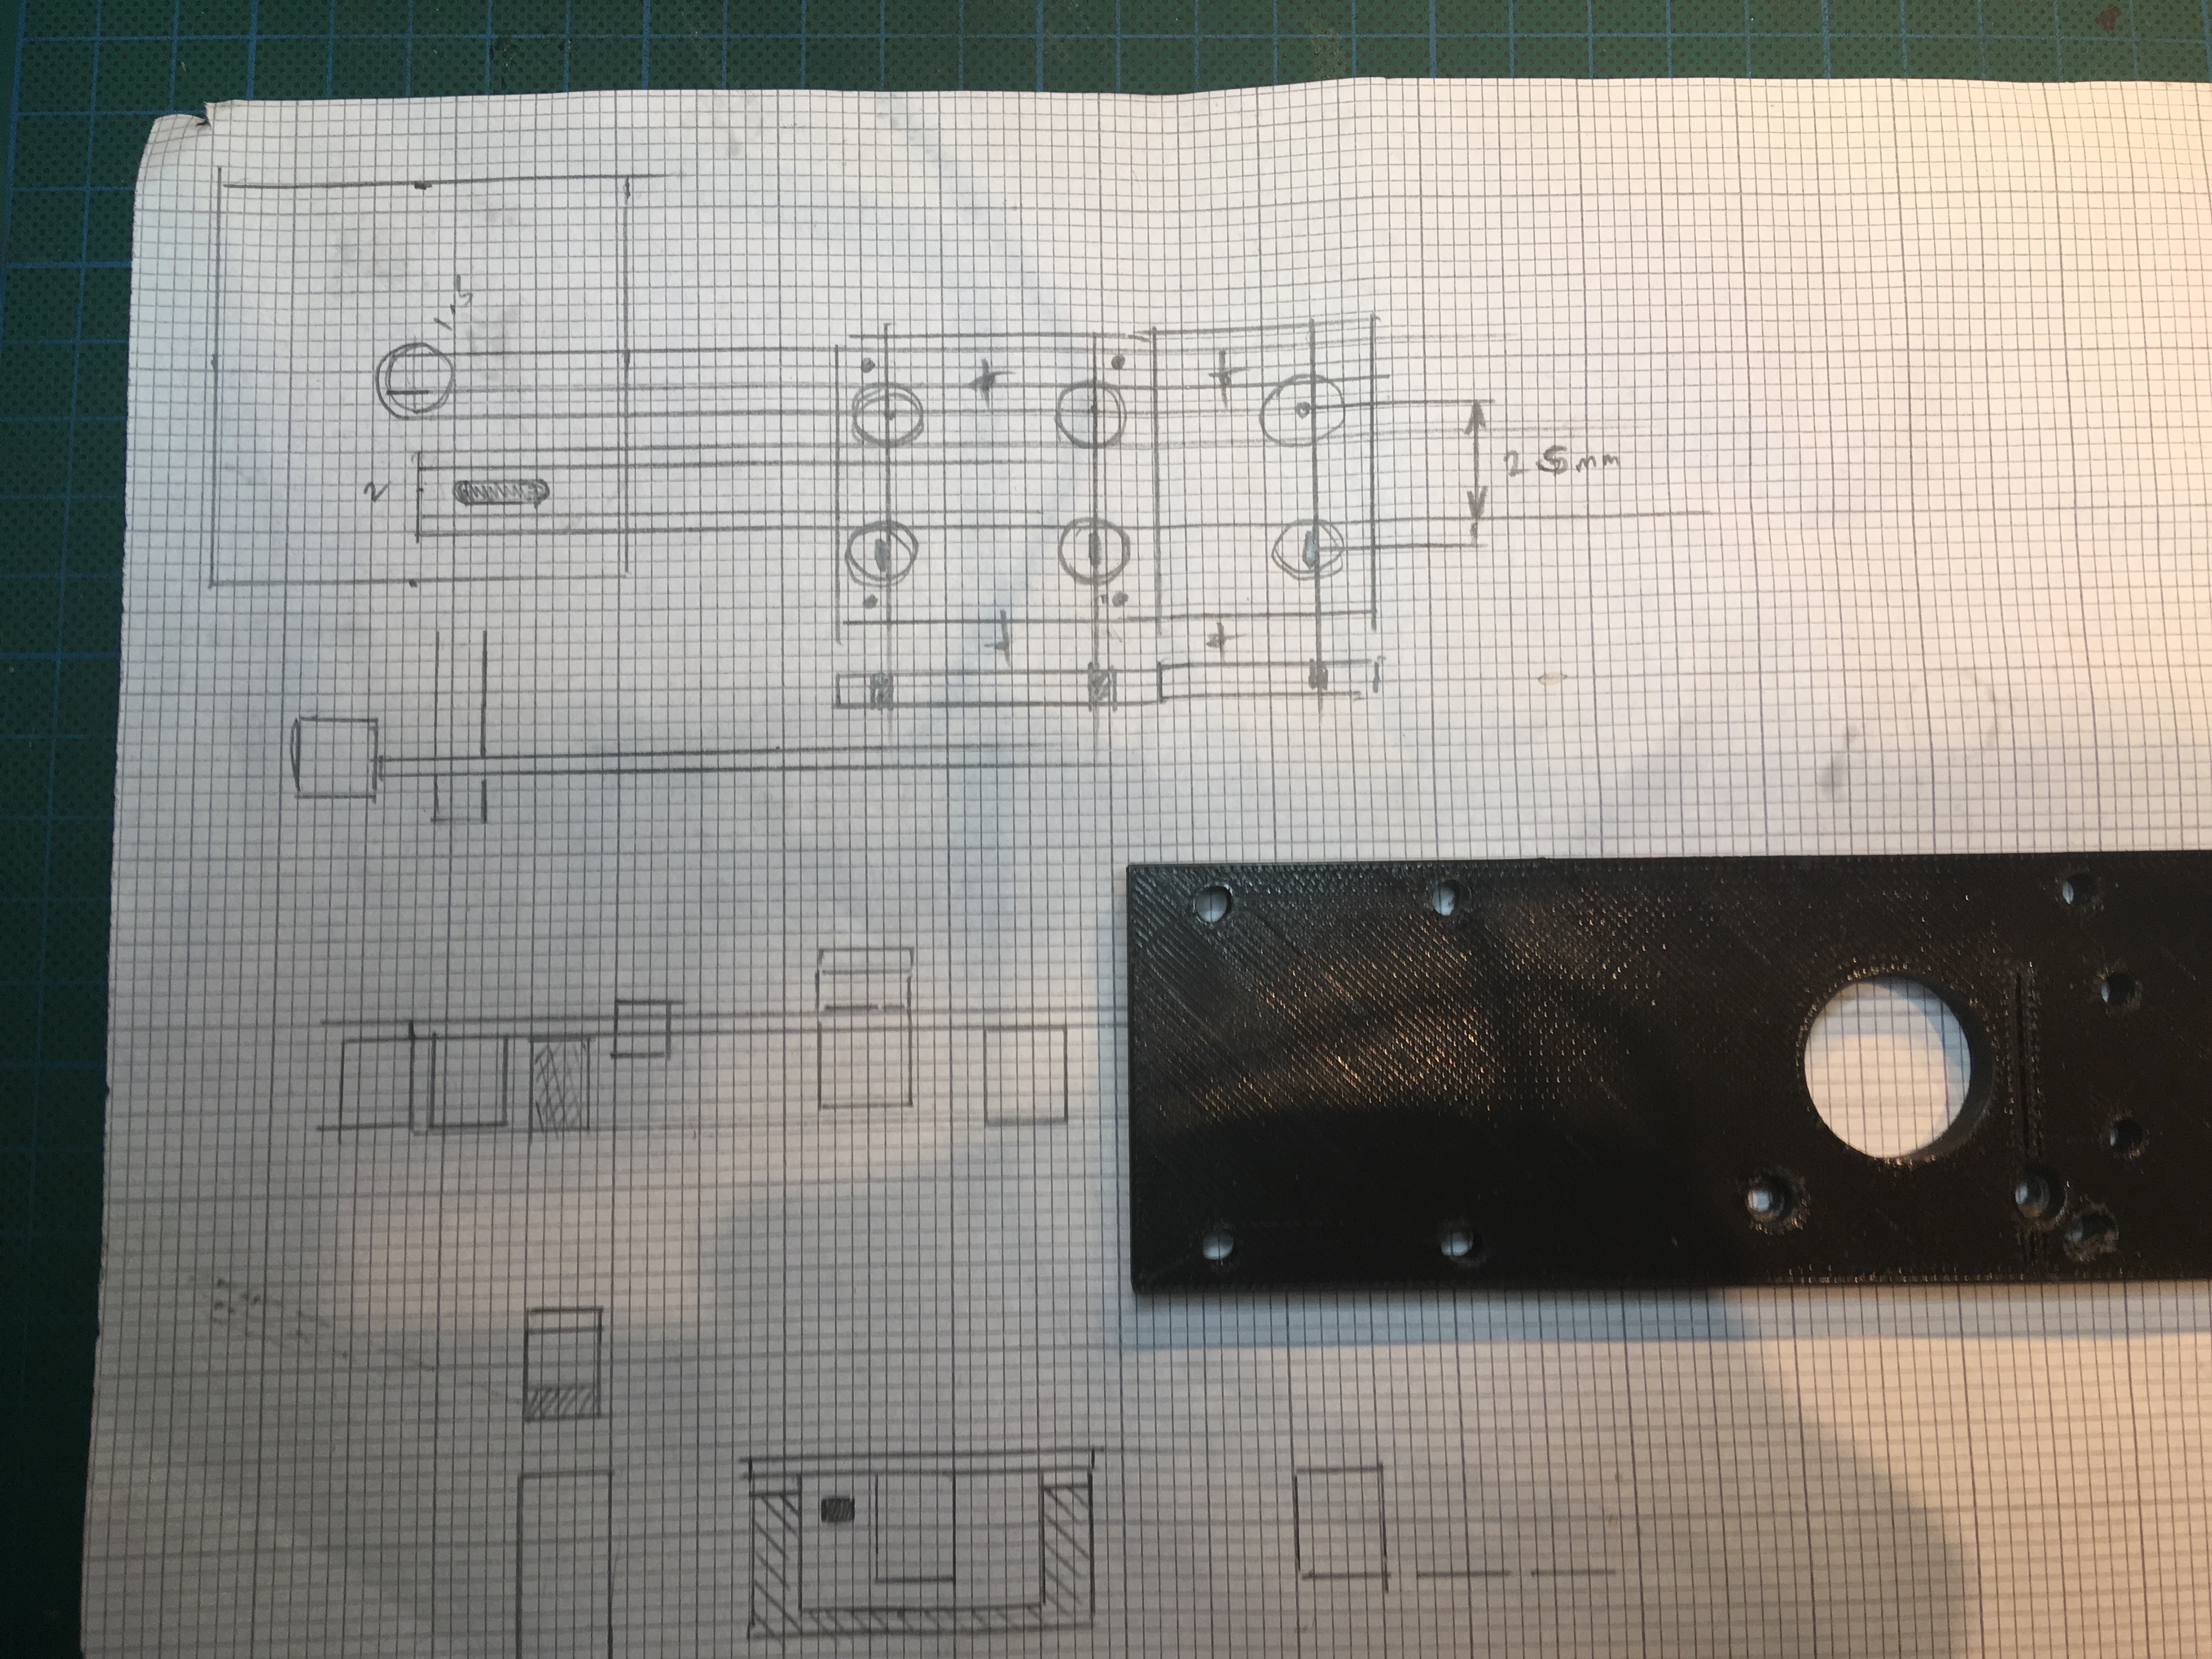
Since the end of the spring term I have undertaken a complete reworking of the carriage for the gun. The first incarnation was not free to move smoothly, and I therefore took the design and, before any more work was done, make several sketches before returning to Blender and print the parts again. The new method (as suggested earlier in the text) was to use Din Rail and V-bearings for the lateral movement. Widening the rail supports and broadening the carriage would also provide better stability. The earlier version was wobbly.
Another aspect of providing more impact was to extend the length of the rail track, so that the gun can gather up speed and create more affect!
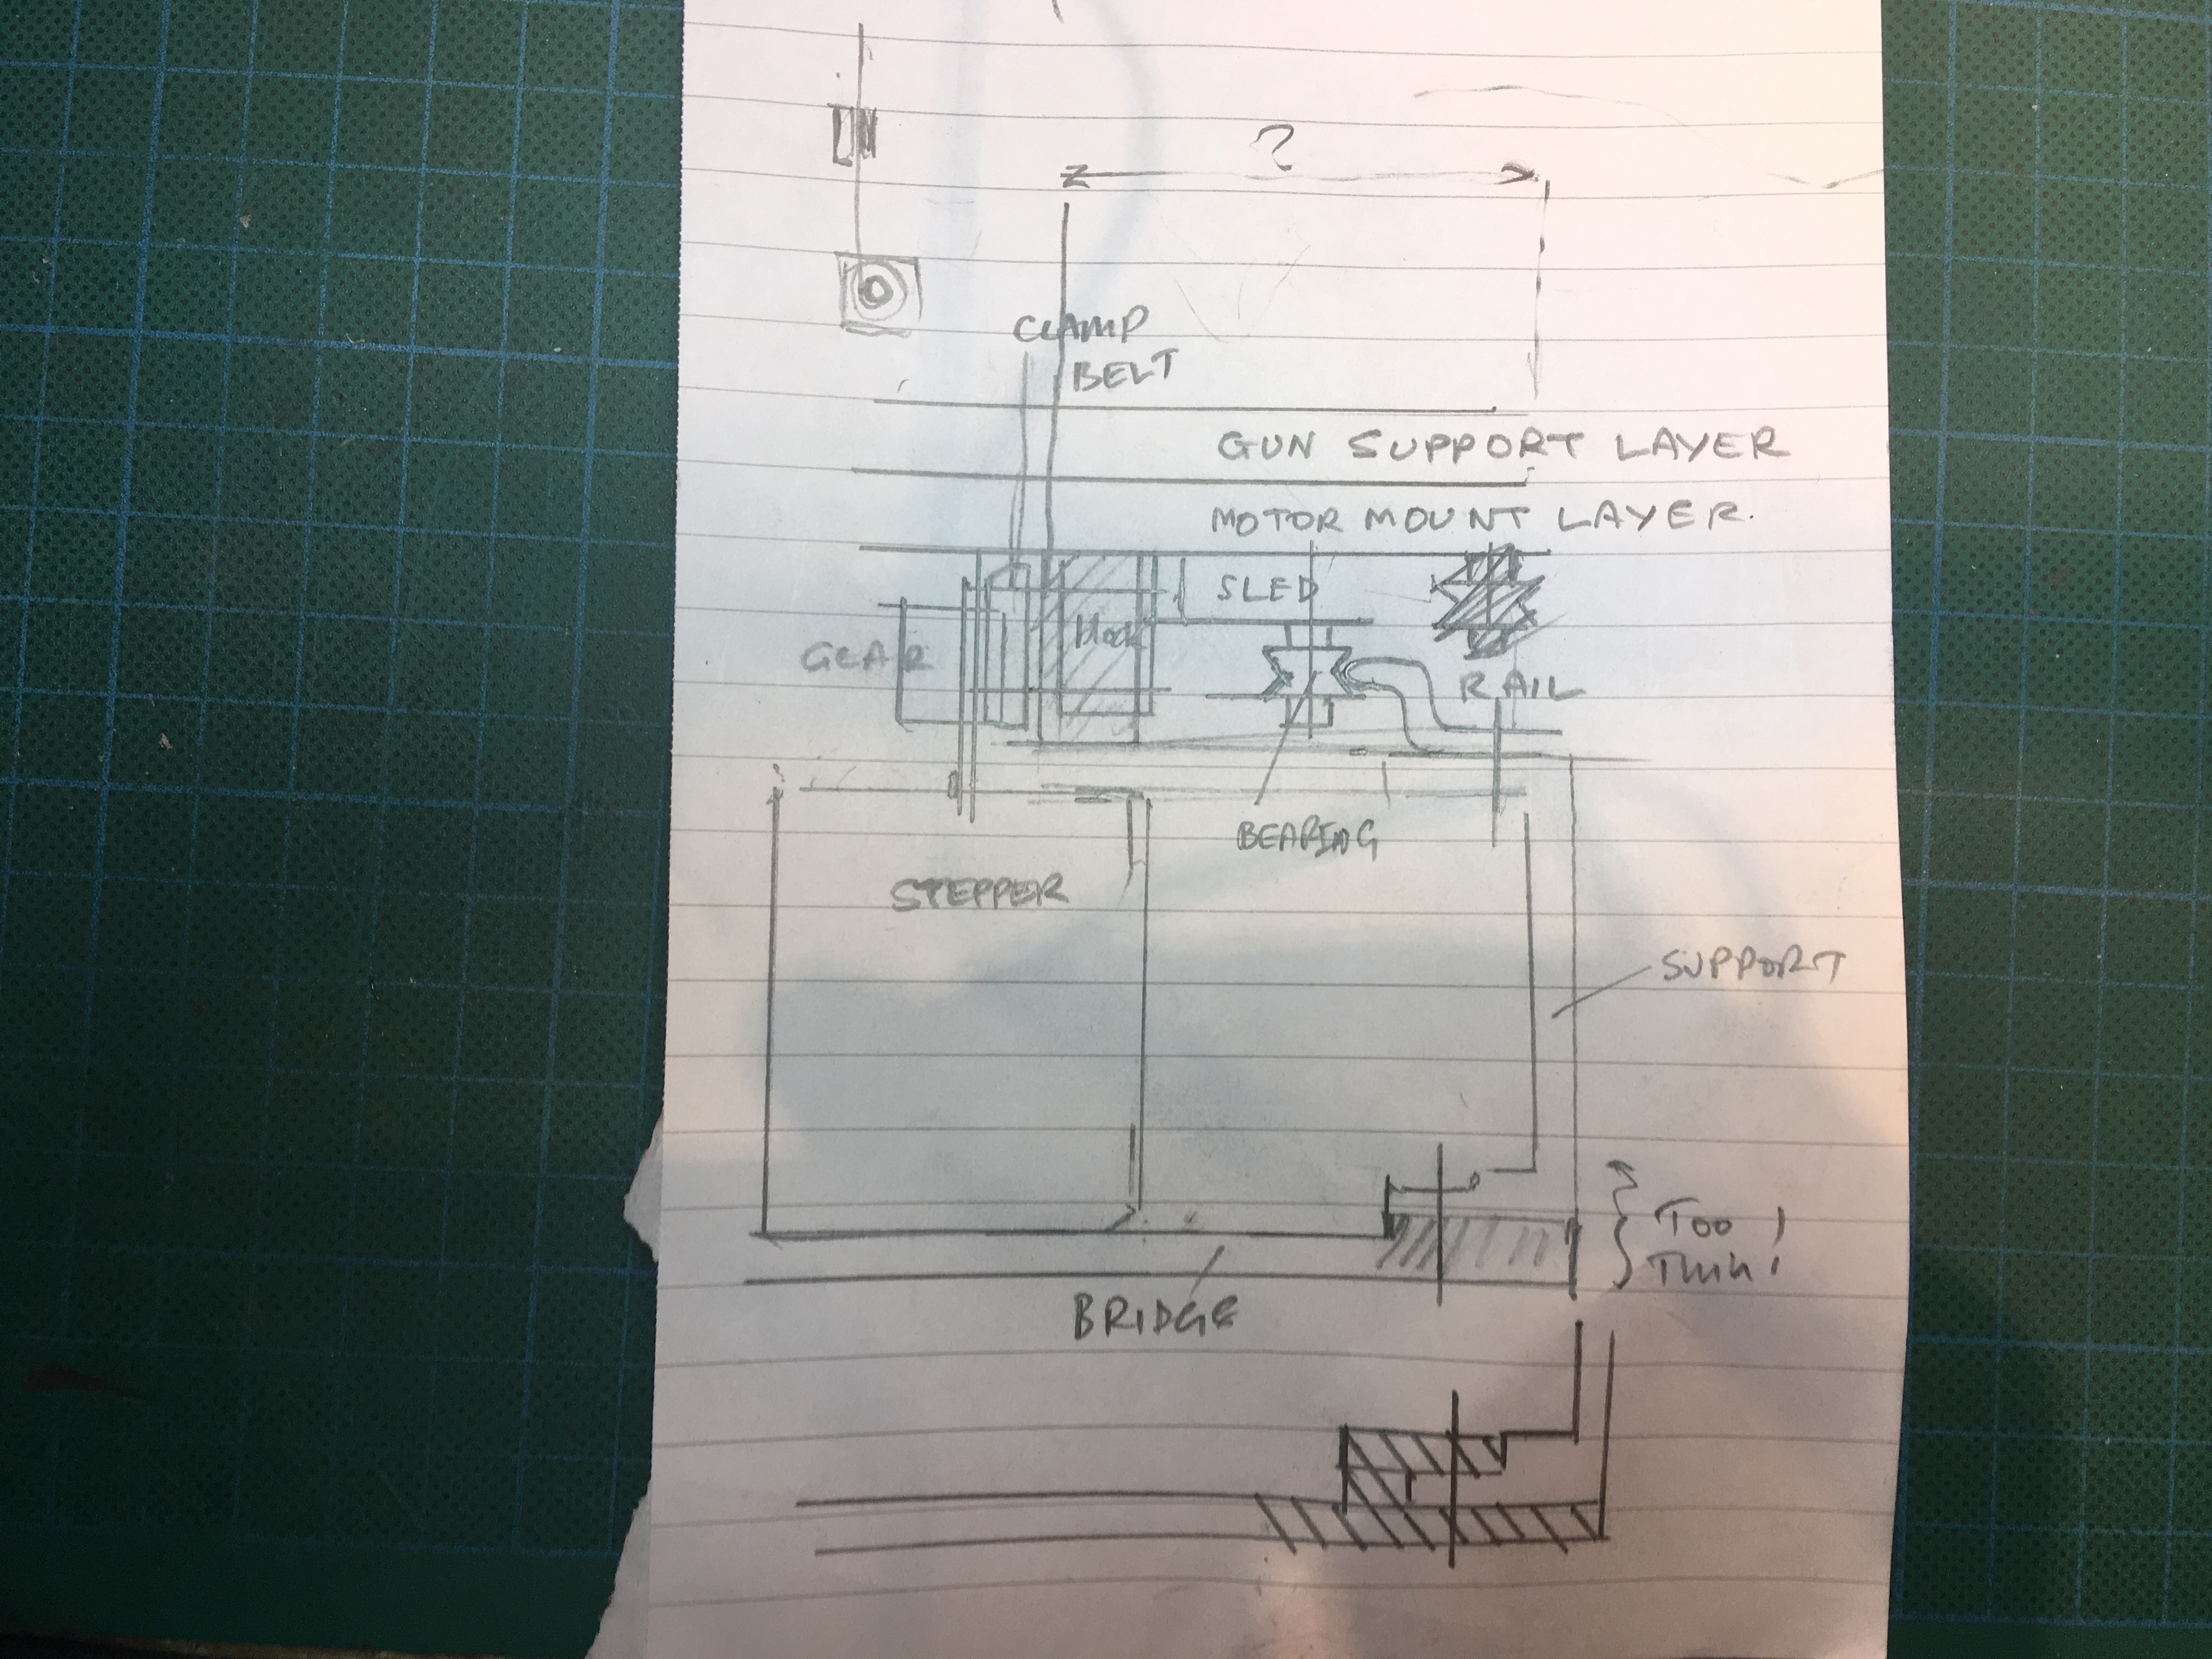
I include a gallery of pencil sketches and more detailed drawing made on graph paper. This greatly cleared my thoughts and helped me design more efficiently.
Interactivity will be finalised when the Mk II version is finished this week. I will return to use the Sparkfun ZX sensor, although including the Kinect and processing to create a richer experience will be a further step.
Conclusion
The incorporation of tighter tolerances introduced to me the importance of planning my work and the use of simple graph paper drafts greatly helped me. I am distinctly aware of the weakness in so far, I have not integrated the interactivity element to this project. I was hampered by too many mechanical problems to overcome. Now most of these are solved, I hope to show a working model at the May popup exhibition. I will be porting updates on my blog at www.tregaskis.org.
References:
[1] What is Philosophy? Deleuze and Guattari
[2] https://www.raspberrypi.org/blog/sisyphus-kinetic-art-table/
[3] https://blog.adafruit.com/2017/05/22/this-arduino-zen-garden-lets-you-draw-in-the-sand-remotely/
[4] https://blog.adafruit.com/2017/05/22/this-arduino-zen-garden-lets-you-draw-in-the-sand-remotely/
[5] https://uk.rs-online.com/web/c/connectors/terminal-blocks-din-rail-terminals/din-rails/
[6] https://www.amazon.co.uk/V623ZZ-Miniature-V-groove-Bearing-3x12x4mm/dp/B078NVLJ56/ref=sr_1_2?ie=UTF8&qid=1522330016&sr=8-2&keywords=v+bearing
[7] https://www.blender.org/
[8] http://www.openscad.org/
[9] https://en.wikipedia.org/wiki/Affect_theory
[10] https://learn.sparkfun.com/tutorials/zx-distance-and-gesture-sensor-hookup-guide
[11] http://www.schmalzhaus.com/EasyDriver/
[12] https://learn.sparkfun.com/tutorials/easy-driver-hook-up-guide
[13] http://makerfun3d.com/tevo-tornado-8-diode-smoother