


Hexatope
Hexatope is a design system based on a hexagonal grid. With a simple interface and intuitive set of rules it enables users to design beautiful, complex and unique 3D forms.
produced by: Charlotte Dann
Find the code for this project on Github
Hexatope is an experiment in generative design. Using touch or mouse input, users draw undulating curves which diverge and overlap one another with seemingly organic grace.
The intent of Hexatope is to spark creativity in all of its users. It is initially magical to interact with; seemingly you have little control over how the hexagons and curves interconnect, but with practice designing with Hexatope becomes its own skill, it’s a visual language for you to command.
Concept and background research
This project grew out of a previous module’s project which I documented here. I concentrated on using random agents with the hexagonal grid to create generative art, although I saw the future of its utility as a drawing tool. For this project I wanted to refine the interaction of that demo and find a way to involve the third dimension.
With my previous studies in Jewellery Design I naturally gravitated towards making the pieces physically tangible, which is why I decided early on to produce and display them as precious metal objects. I was particularly inspired by Nervous System, not only that they use creative technology to produce their product designs, but also how their applications make personalised jewellery accessible. Many of Nervous System’s design-your-own projects have their foundations in biological processes, and accordingly the breadth of design possibilities is confined by the aesthetic starting point of that process; I wanted my tool to be aesthetically ambivalent, meaning that it naturally produces certain shapes but isn’t confined to any specific style, its aesthetics massively vary depending on how you interact with it.

Program development and interaction
My original program was written in JavaScript using P5js, I started by rewriting it from scratch in vanilla ES6 JavaScript to be more clean and modular. Since my intent is to make this a fully-fledged web application I chose to build the front-end on top of ReactJS for future proofing. This made state handling (for settings, tracking where the mouse it etc.) much easier with the integration of MobX, meaning that I could focus on the logic of and interaction with the grid instead of getting bogged down with how that integrates with the rest of the site. My work professionally as a web developer made setting this up the easy part.
My original app used quadratic bezier curves to illustrate the curves with control points in the centre of each hexagon. The final version had a much more sophisticated setup using cubic beziers to ensure curves meet at parallels.
The most complicated technical challenge was how to determine depth. For certain hexagon’s curve configurations I instructed specific curves to always overlap one another, and for others I specified that they should only overlap when they’re ‘double active’. I also made an additional slider to pull up the inner curves of ‘double active’ hexagons for further control.


In order to smooth the depth values I had to connect every curve to the ones that flow from either side of it to average the depths for each curve cap that met at any given point. Furthermore the mathematics for positioning the control points of each curve was extremely difficult to calculate in order to make them flow evenly: every curve has to meet its ‘extenders’ at parallels so they line up in 3D space and don’t fracture the 3D model.
I used three.js to visualise the curves in the demo pane. It was challenging to create a material that would realistically reflect like metal and to create the ambient lighting scene but I’m happy with the result.
Animating the render of the 3D model was a fun bonus, and technically not too much of a challenge as I had already created the logic to follow paths when calculating and smoothing the depth. I think this feature adds a lot more gravitas and tactility to the interface.
I initially wanted to have an interface that was completely exploratory, giving no instructions or options to the user to guide them on how to use it, but with user testing it proved inaccessible. I added some simple buttons over the canvas panel to control drawing mode and wipe the canvas, and two sliders over the demo panel to control the depth.

Fabrication
To realise my designs I used a Formlabs Form 2 printer with wax resin and took the pieces to a local casting house to have them cast in sterling silver. Due to the spindly nature of the designs it took many print iterations to discover the right thickness of the wire and the best ways to configure the supports for the 3D prints that would require minimal cleanup and failure.
Again, because the objects are so fine and delicate the casters had to add quite a few sprues (channels for the metal to flow through) to each piece so they came back needing quite a lot of manual work filing down the remnants of the print supports and the sprues. I then polished the pieces to a high shine which renders any minor imperfections invisible.
Although clearly fine metal pieces I didn’t want to display them specifically as pendants but more as objet d’art, so elected to suspend them on nylon threads instead of chain to give them an ethereal, floating quality.
Exhibition display
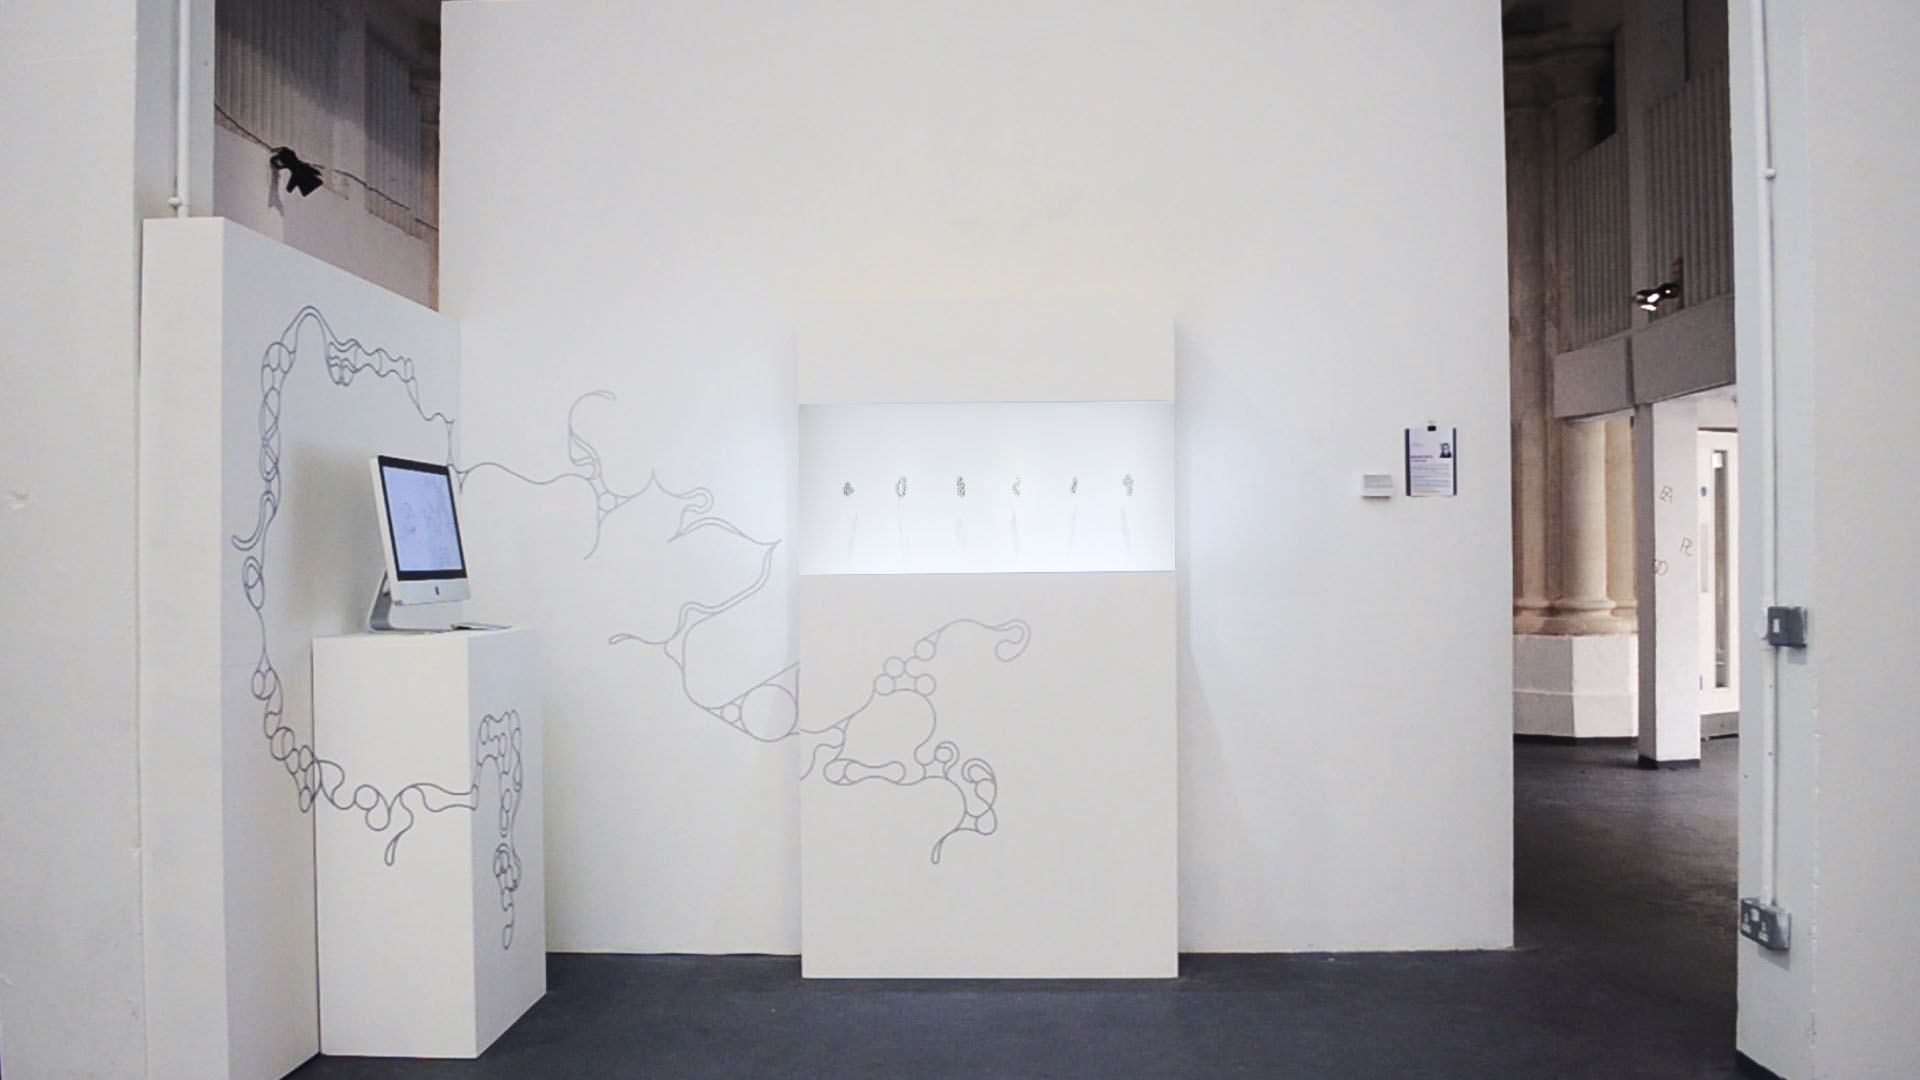
I saw the professionalism and finish of the exhibition display as paramount to the success of the project as the perceived value of the metal pieces is reflected in the perceived value of the program.
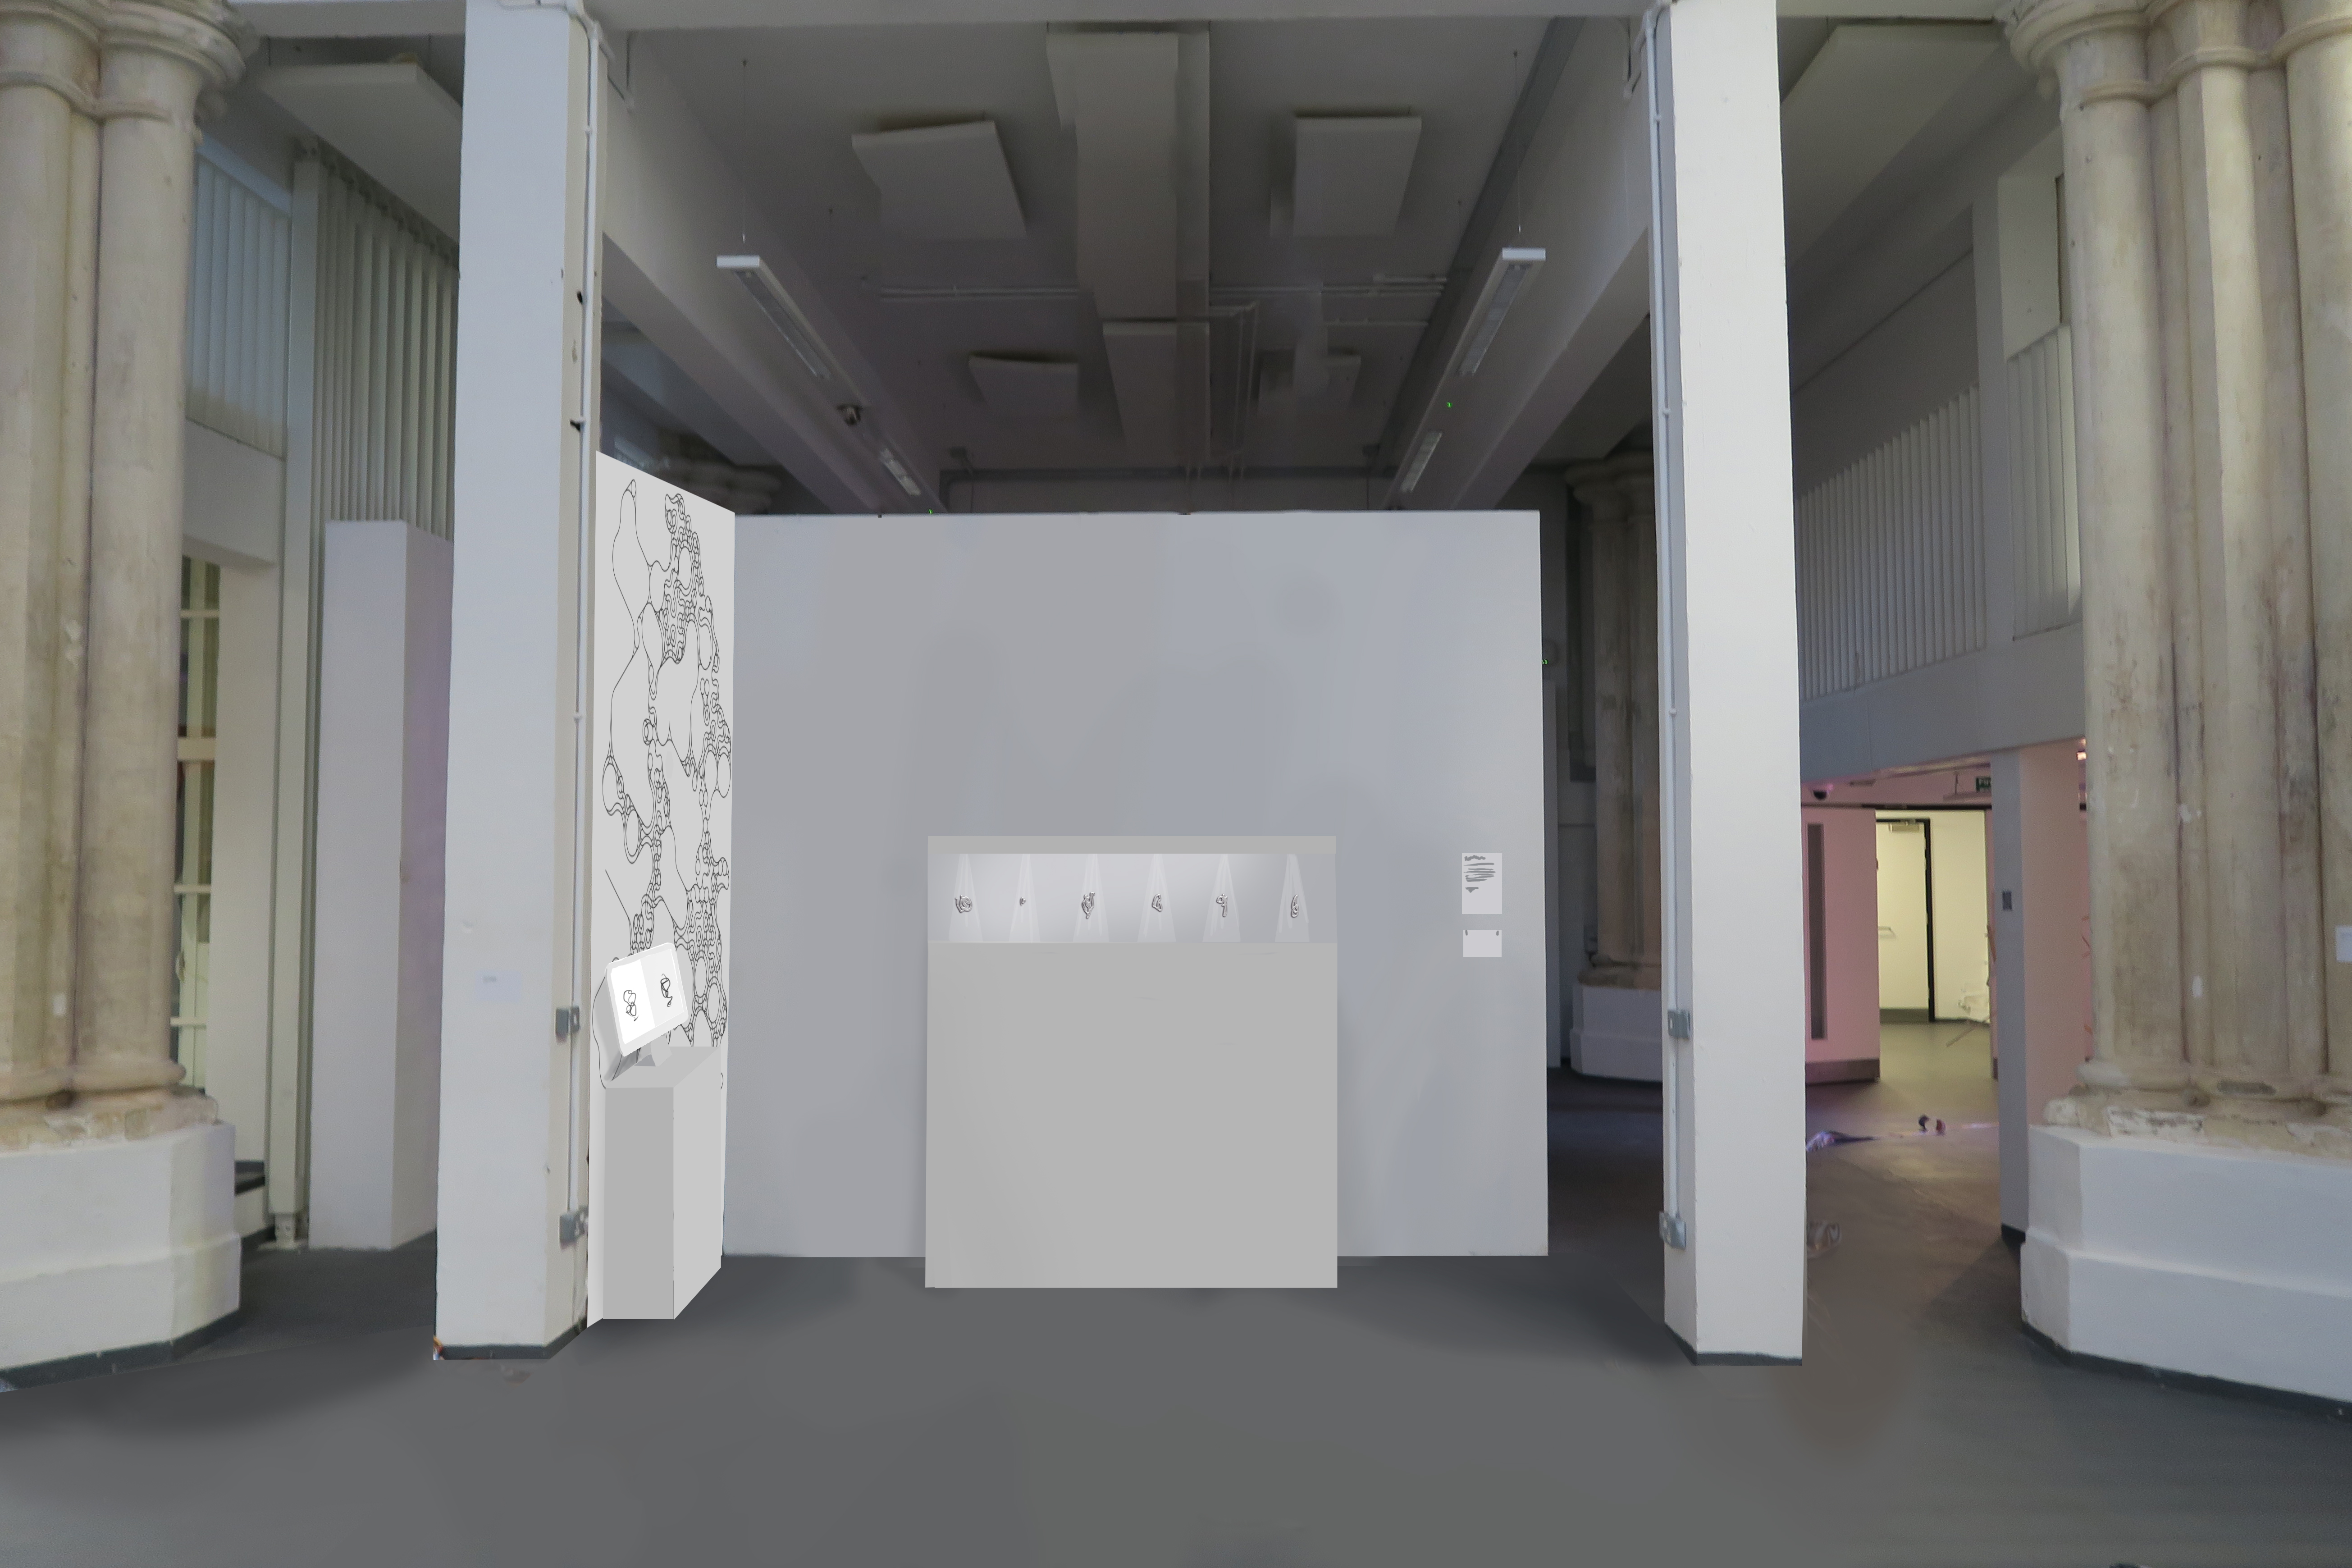
initial render
I chose not to show any of the fabrication processes of the silver pieces to increase the sense of awe that the pieces you design with the program can simply materialise as fine jewellery. Likewise, I thought it was important that each piece be individually lit to increase their sense of wonder. The idea of a glass-fronted case somehow makes the pieces both more and less tangible.
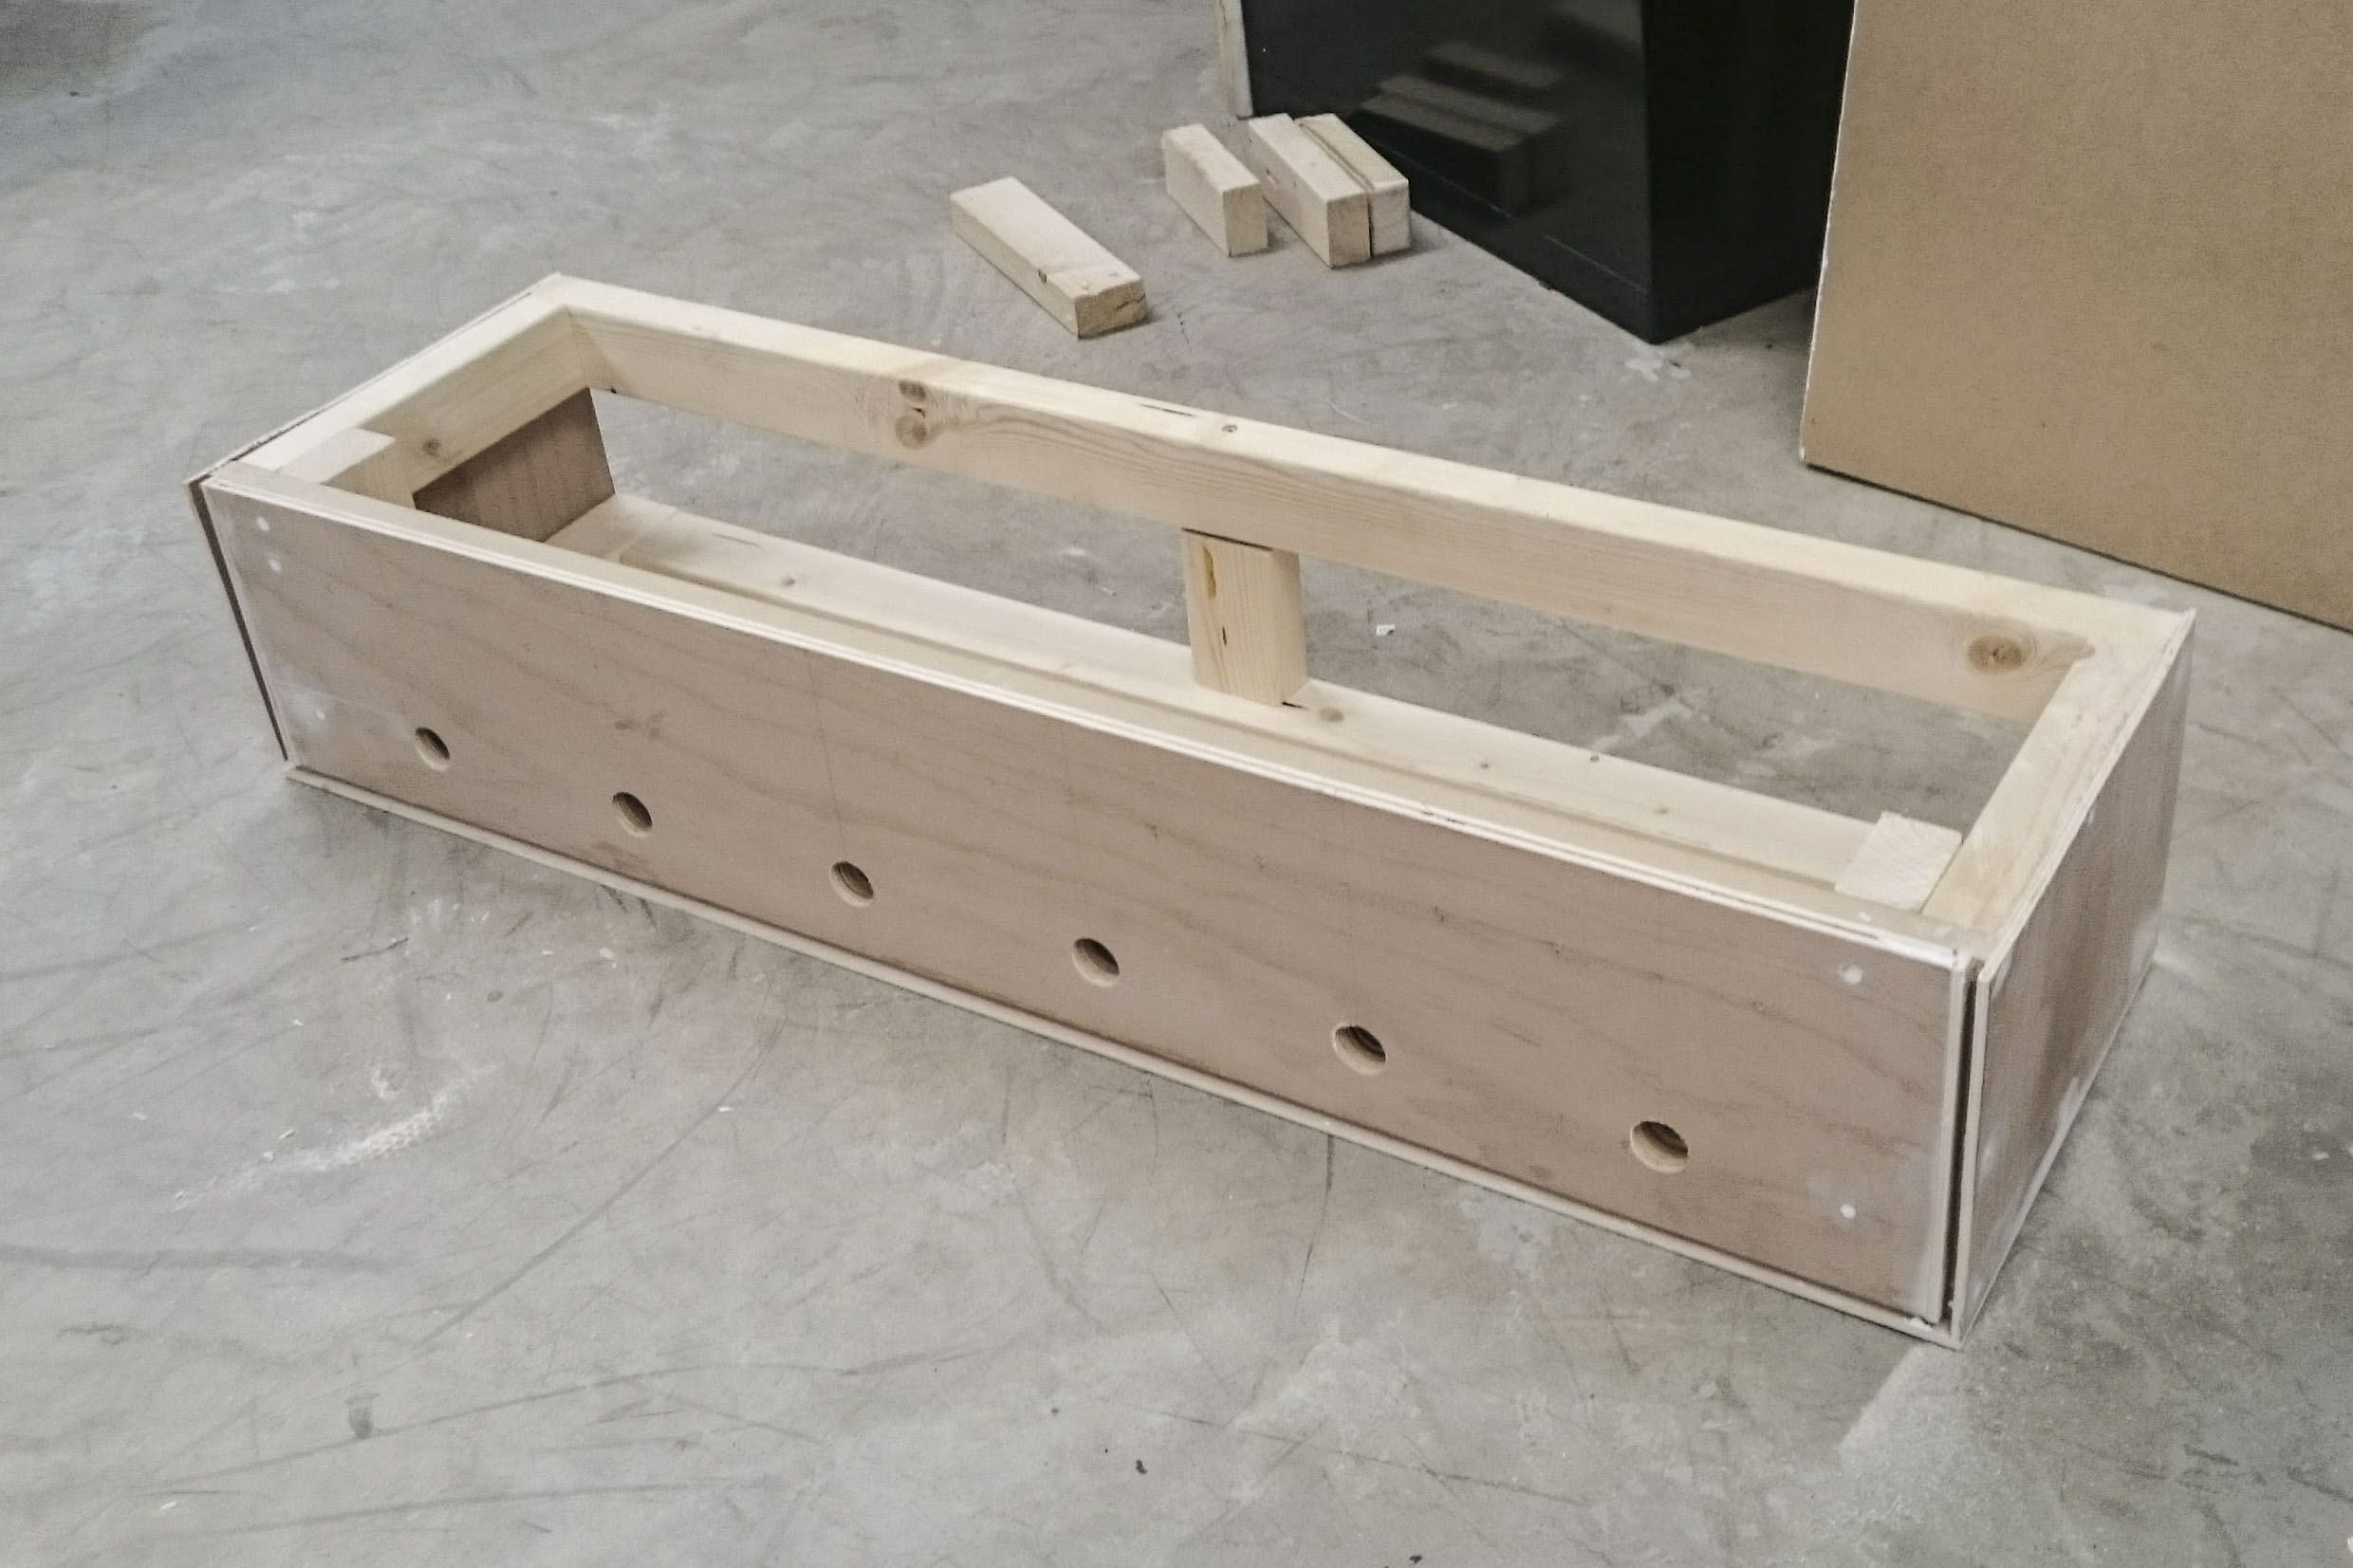
Construction of the top part of the cabinet showing holes for lights and slots for glass front and sides
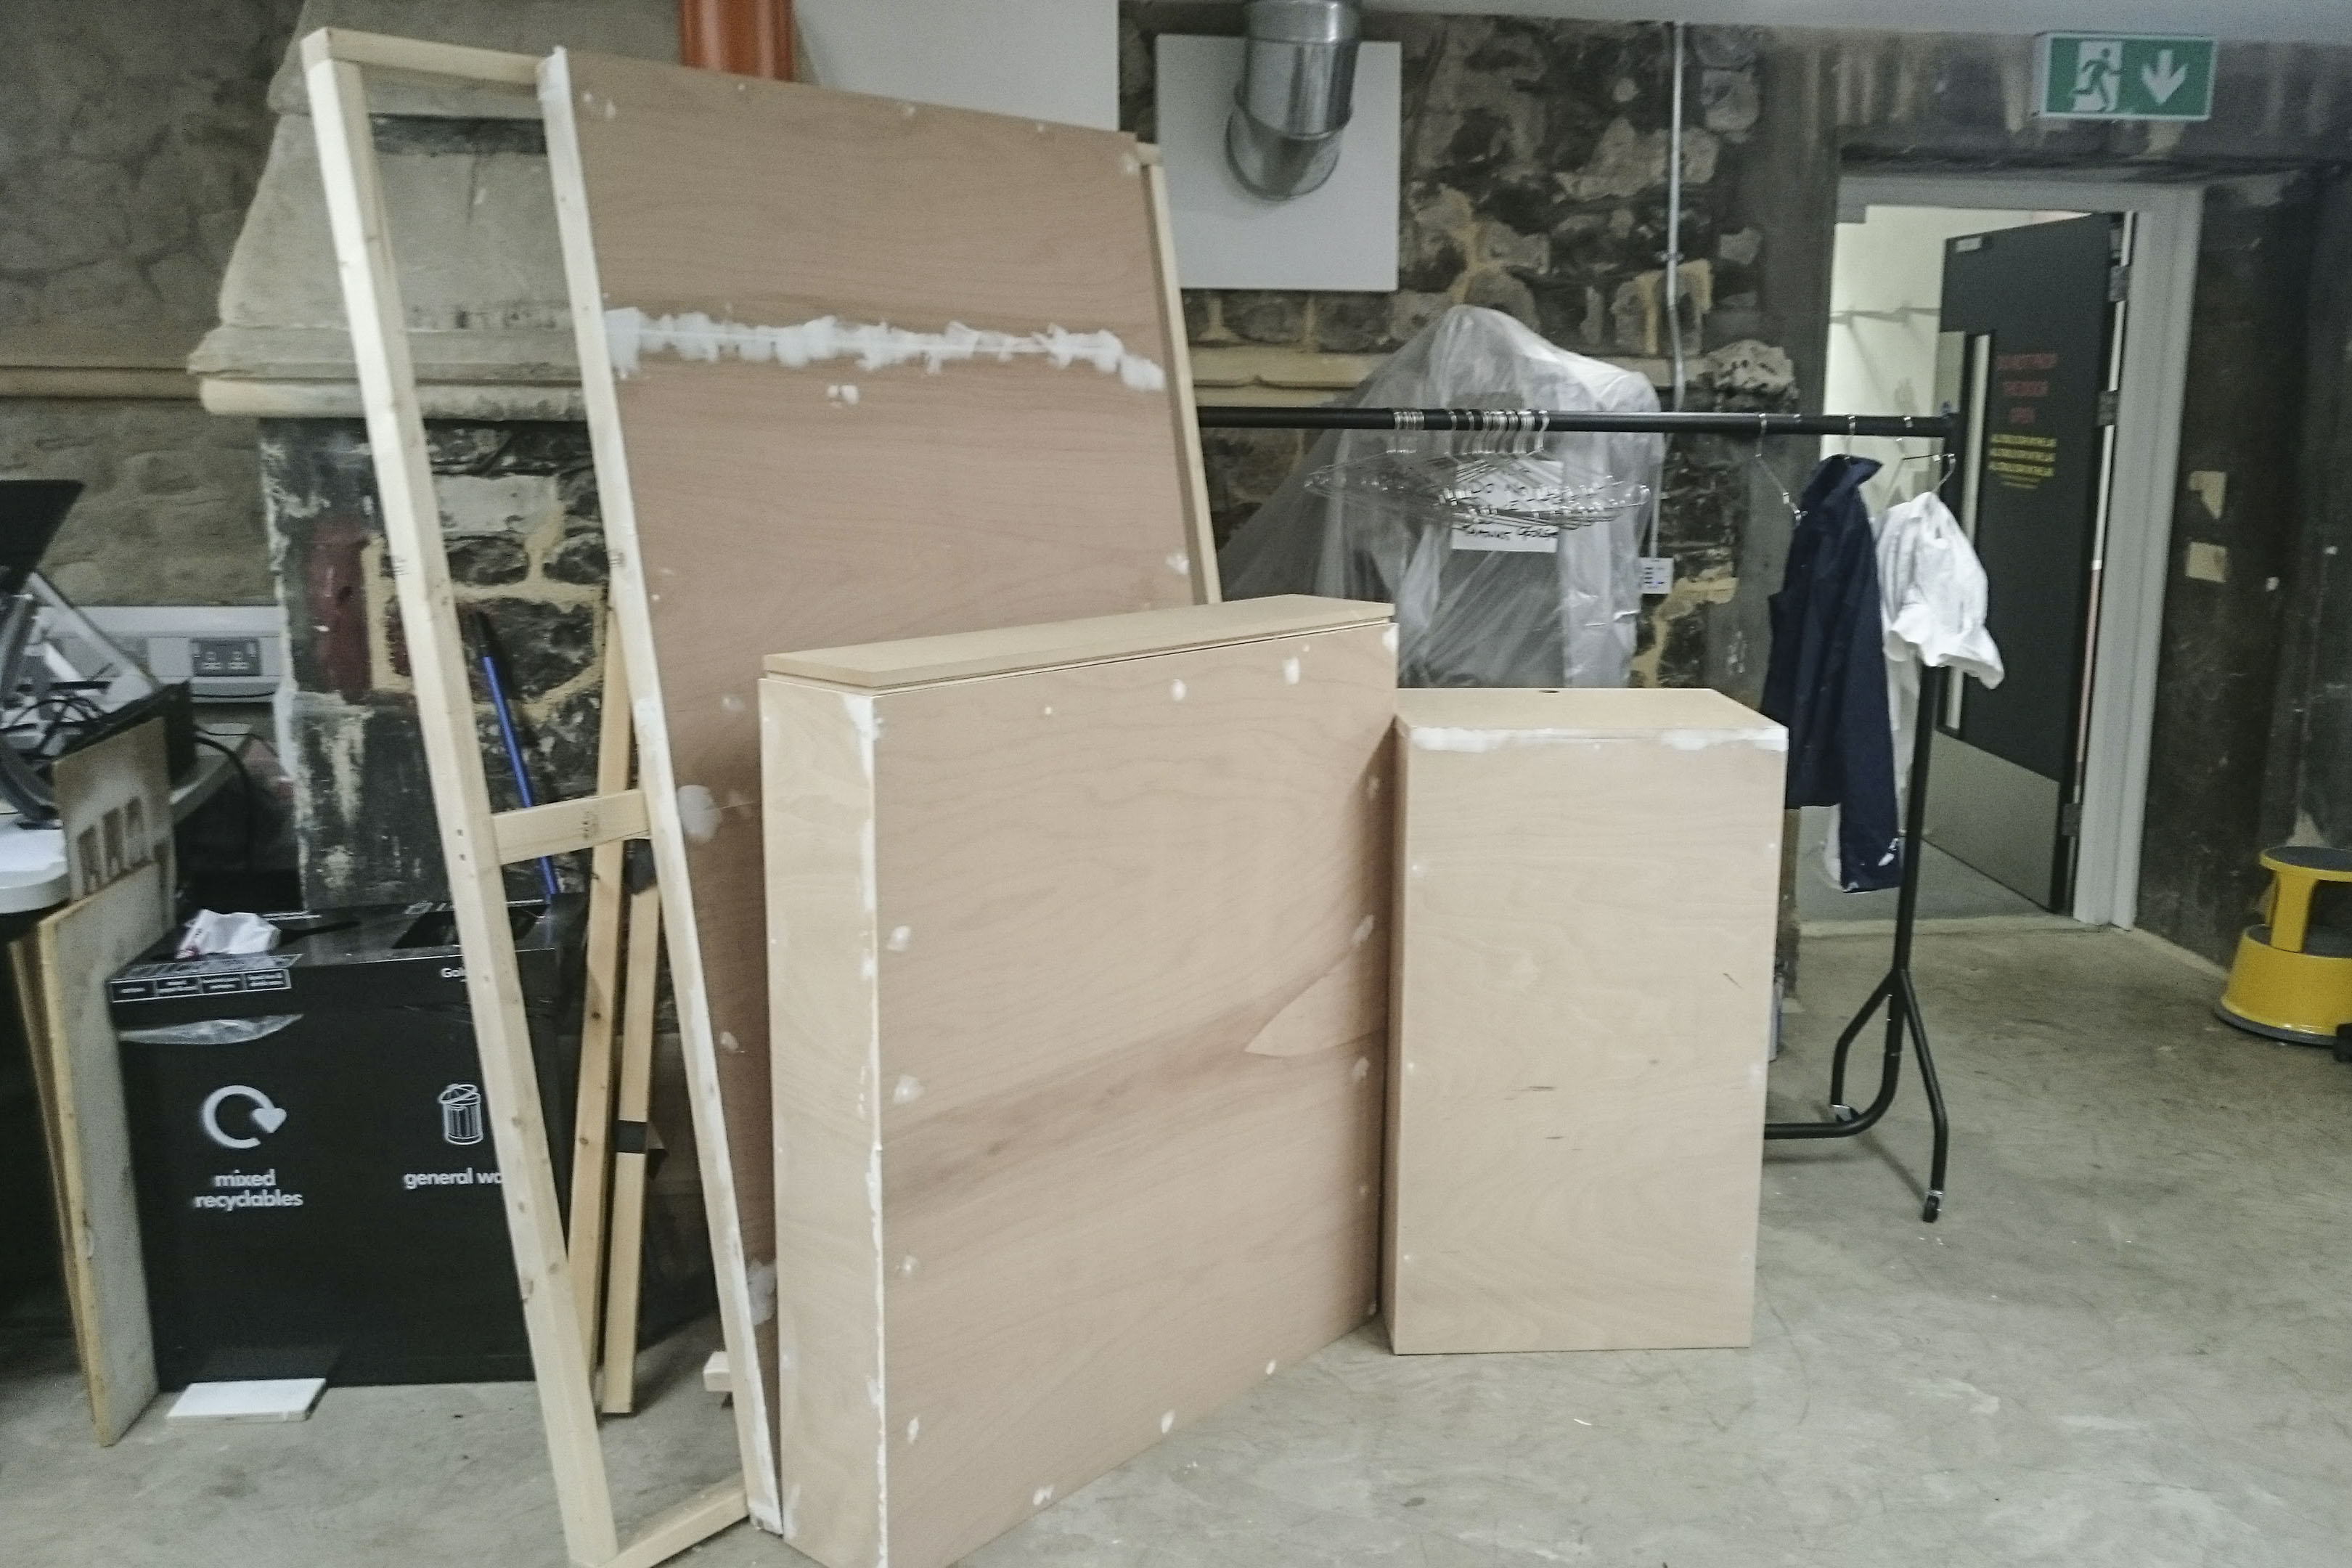
Computer plinth, back and base of cabinet before being painted
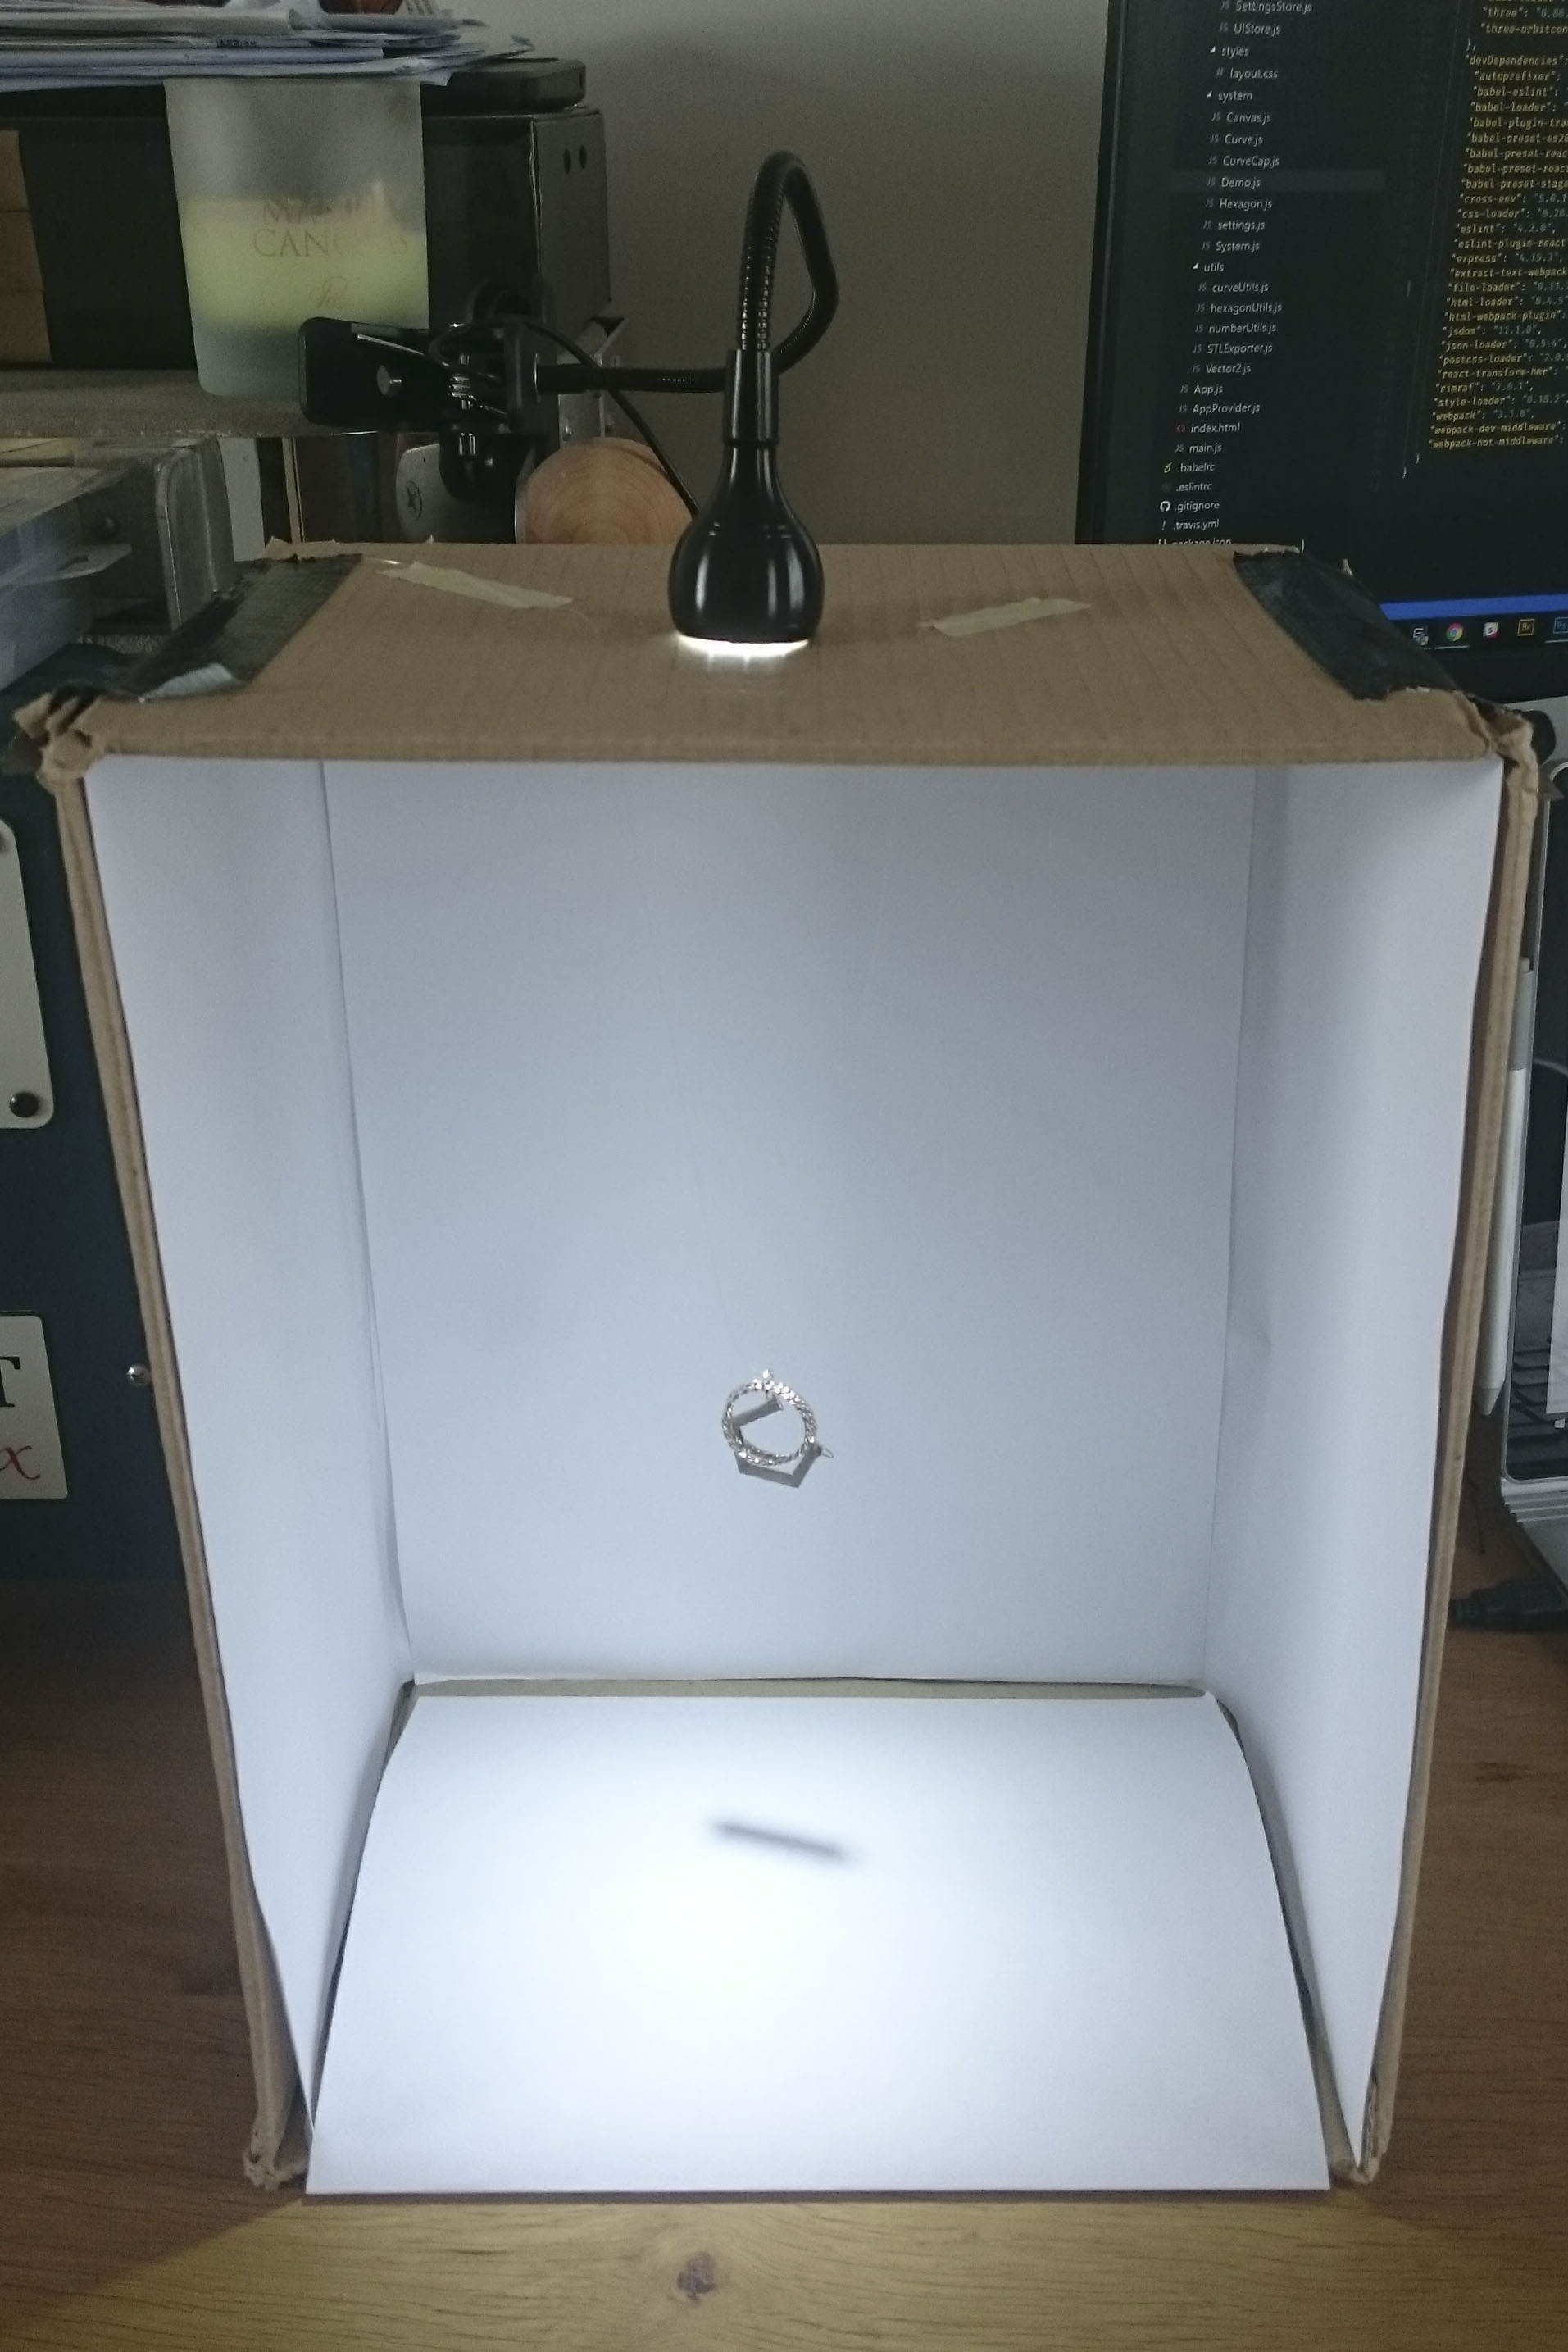
Demo box for testing lighting conditions
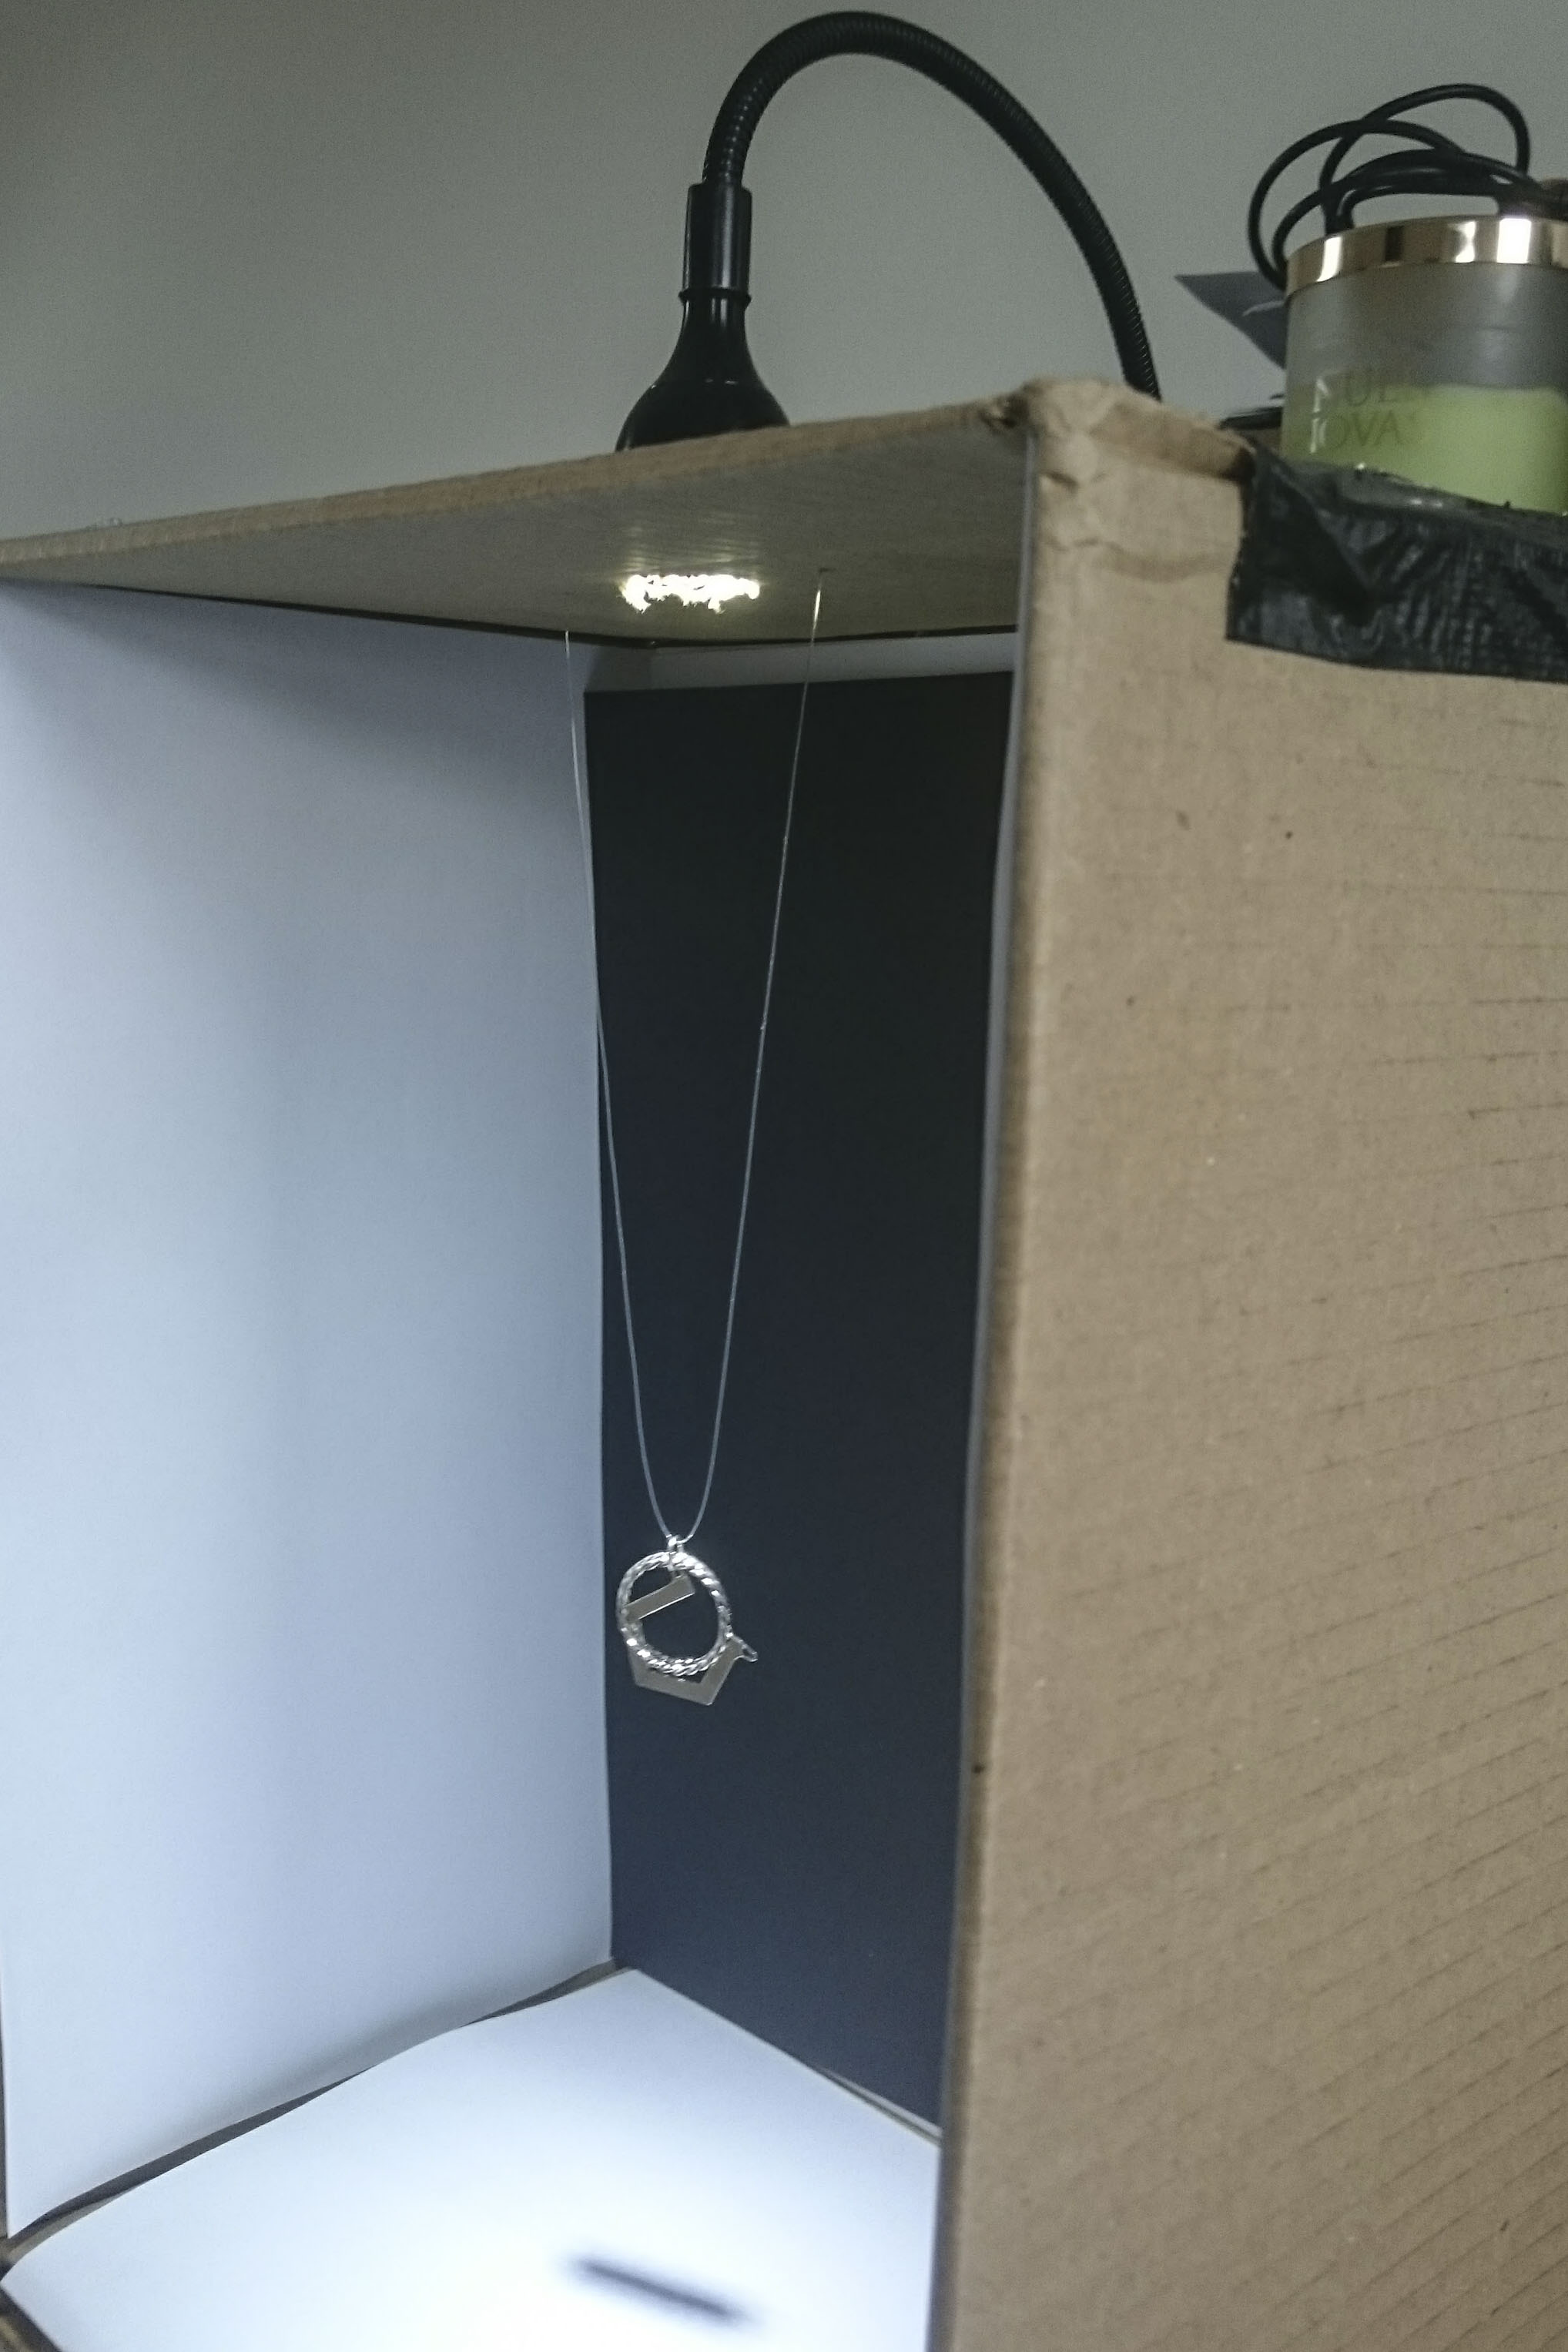
Testing a black background in my demo box
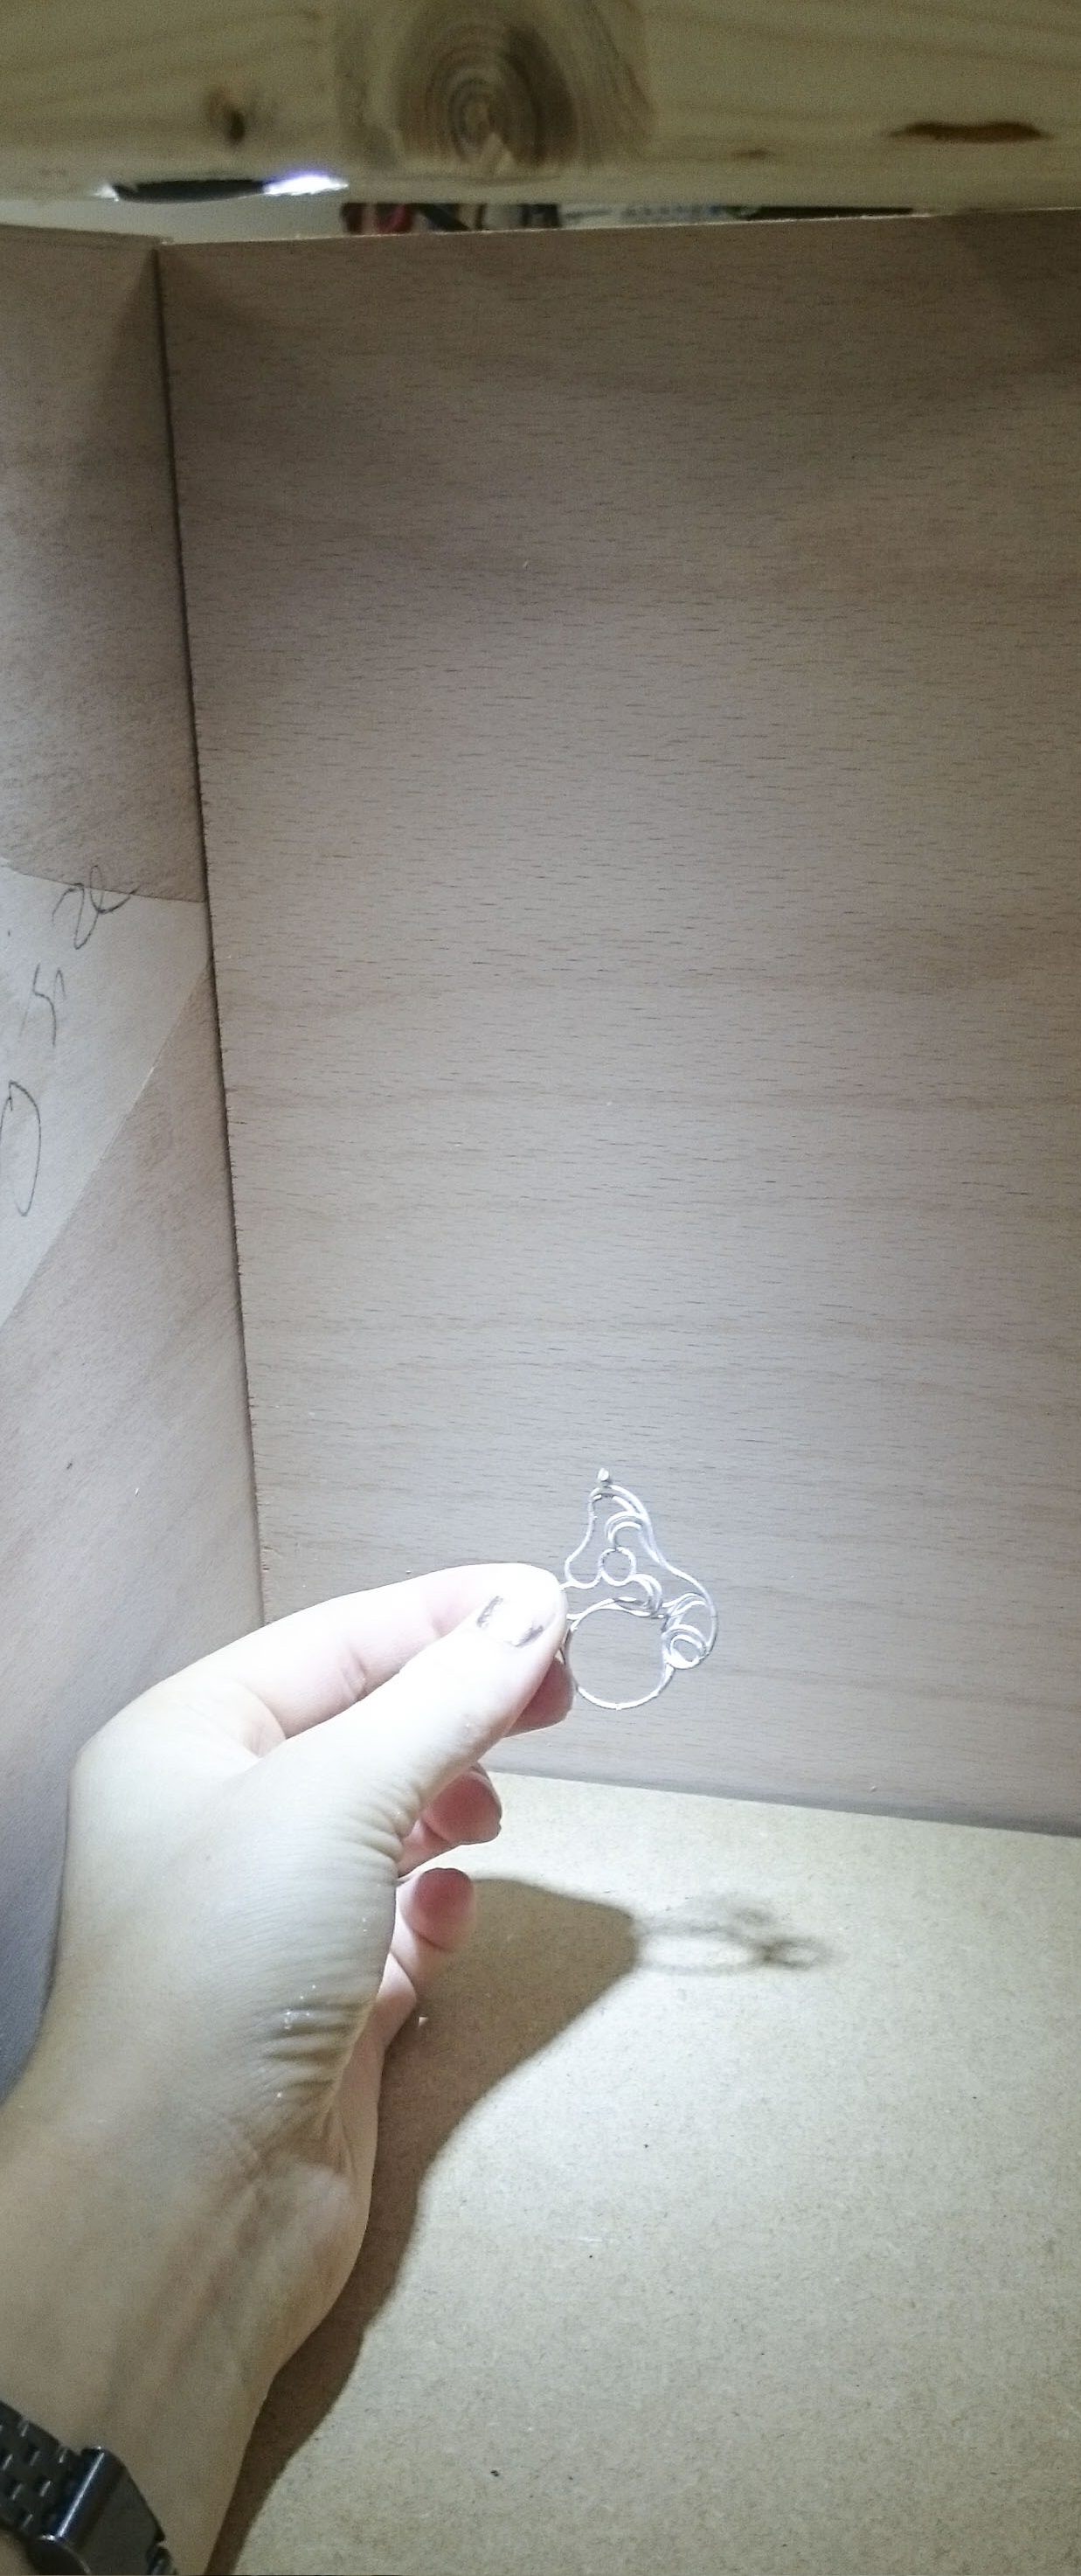
Testing light and positioning on silver piece in situ
At this point the space looked really clean but too much like a design exhibition and not an art one. I then chose to cover the wall in silver vinyl designs that served several purposes. It made the whole space look much more interesting and intriguing, it visually connected the computer demo with the contents of the cabinet, and was also an excuse to show off a variety of motifs that can be created using the program.
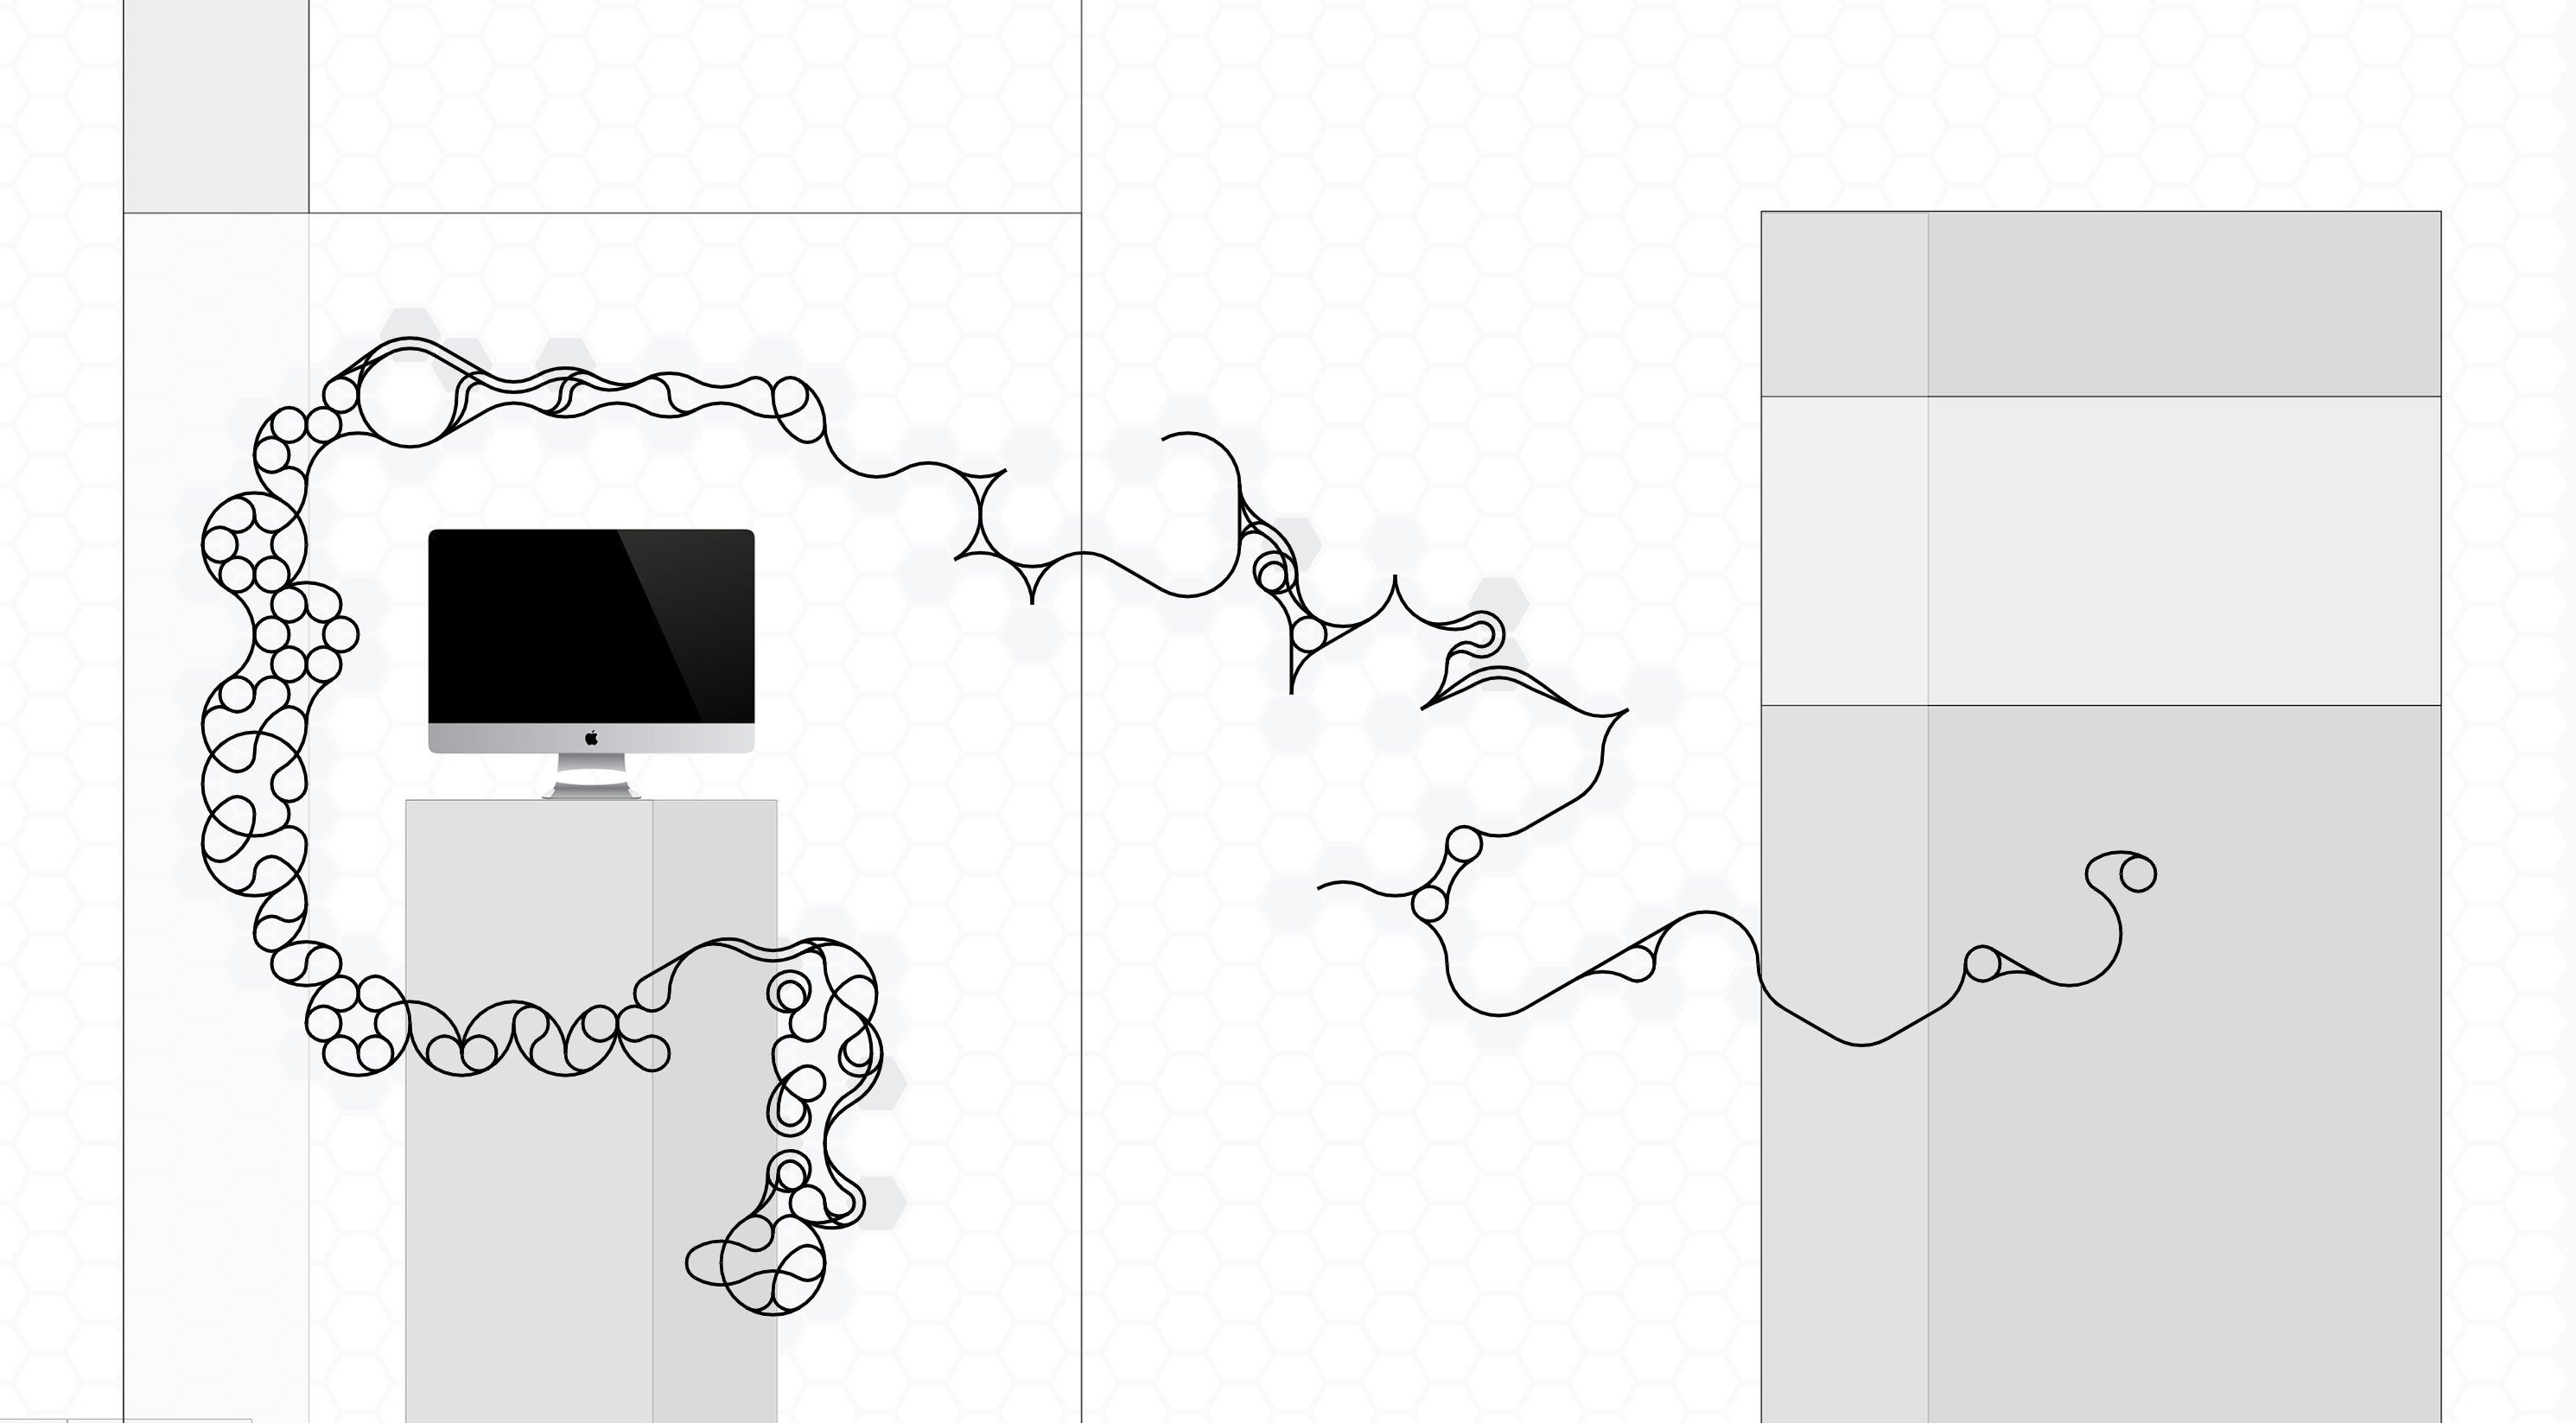
Experimenting with wall designs by overlaying the render on the program
Future development
This project has infinite routes of progression. I’m going to work on it full-time to develop it into a business that makes custom jewellery to order; doing so will require some perfunctory additional features such as centre-of-gravity measurement (to determine how a pendent will hang), UI research and redesign, material volume measurement etc. However, I’m much more interested in how the geometries can further be developed.
I think it would be satisfying to have 2 and 3-way symmetry controls in the canvas panel to make it easier to create symmetrical designs, something I’ve been told would be an excellent feature by non-designer testers.
I’m very excited about the idea of having the pieces loop around somehow to form rings and other circular products. I’m also looking forward to discovering more ways to control the overlap of curves so they flow more naturally.
Self evaluation
I’m phenomenally proud of what I’ve been able to achieve with this project. Obviously there are many directions that it can and will go in over the next few months and years, but I feel confident that I fulfilled my original intent to make a tool that can easily design beautiful objects in 3D.
The only thing I wish I had time to integrate into the exhibited program is reintroducing the random agents from my initial project. I think the accidental designs they create make a good starting point for first-time users, and also that the process of their movement parodies the random dragging of first-time users in a way which embodies the notion of ‘computer as designer’. I fully intend to explore this in the future but it is a shame I didn’t delve into some more critical HCI concepts during the process of this project.
References
- three.js STL Exporter
- Panorama of the Uffizi Gallery by Paul Debevec as an environment map for the three.js metal material
- 2D Vector helper functions adapted from Seb Lee-Delisle's CreativeJS training course
- Additional nodejs dependencies