My First Music Sequencer :
I Created a Musical step sequencer where users can easily edit and create new melodies and make music on the go. it's easy fun and intuative!
produced by: Amit Segall
The Concept :
As a musician I wanted to build a new musical instrument for my instruments collection.My goal was to create something physically small enough to carry with ease, and that would not require any external devices like a computer / hardware for it to make sounds. I decided to create a step sequencer - a device where the user can select the musical notation and the way notes will interact with each other.I wanted it to be simple to use , fun and musical.
How did I make it ?
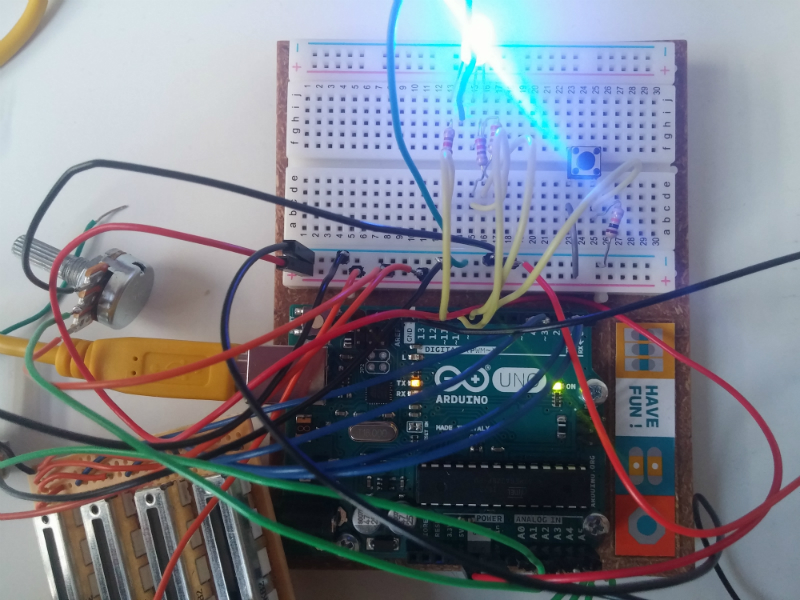
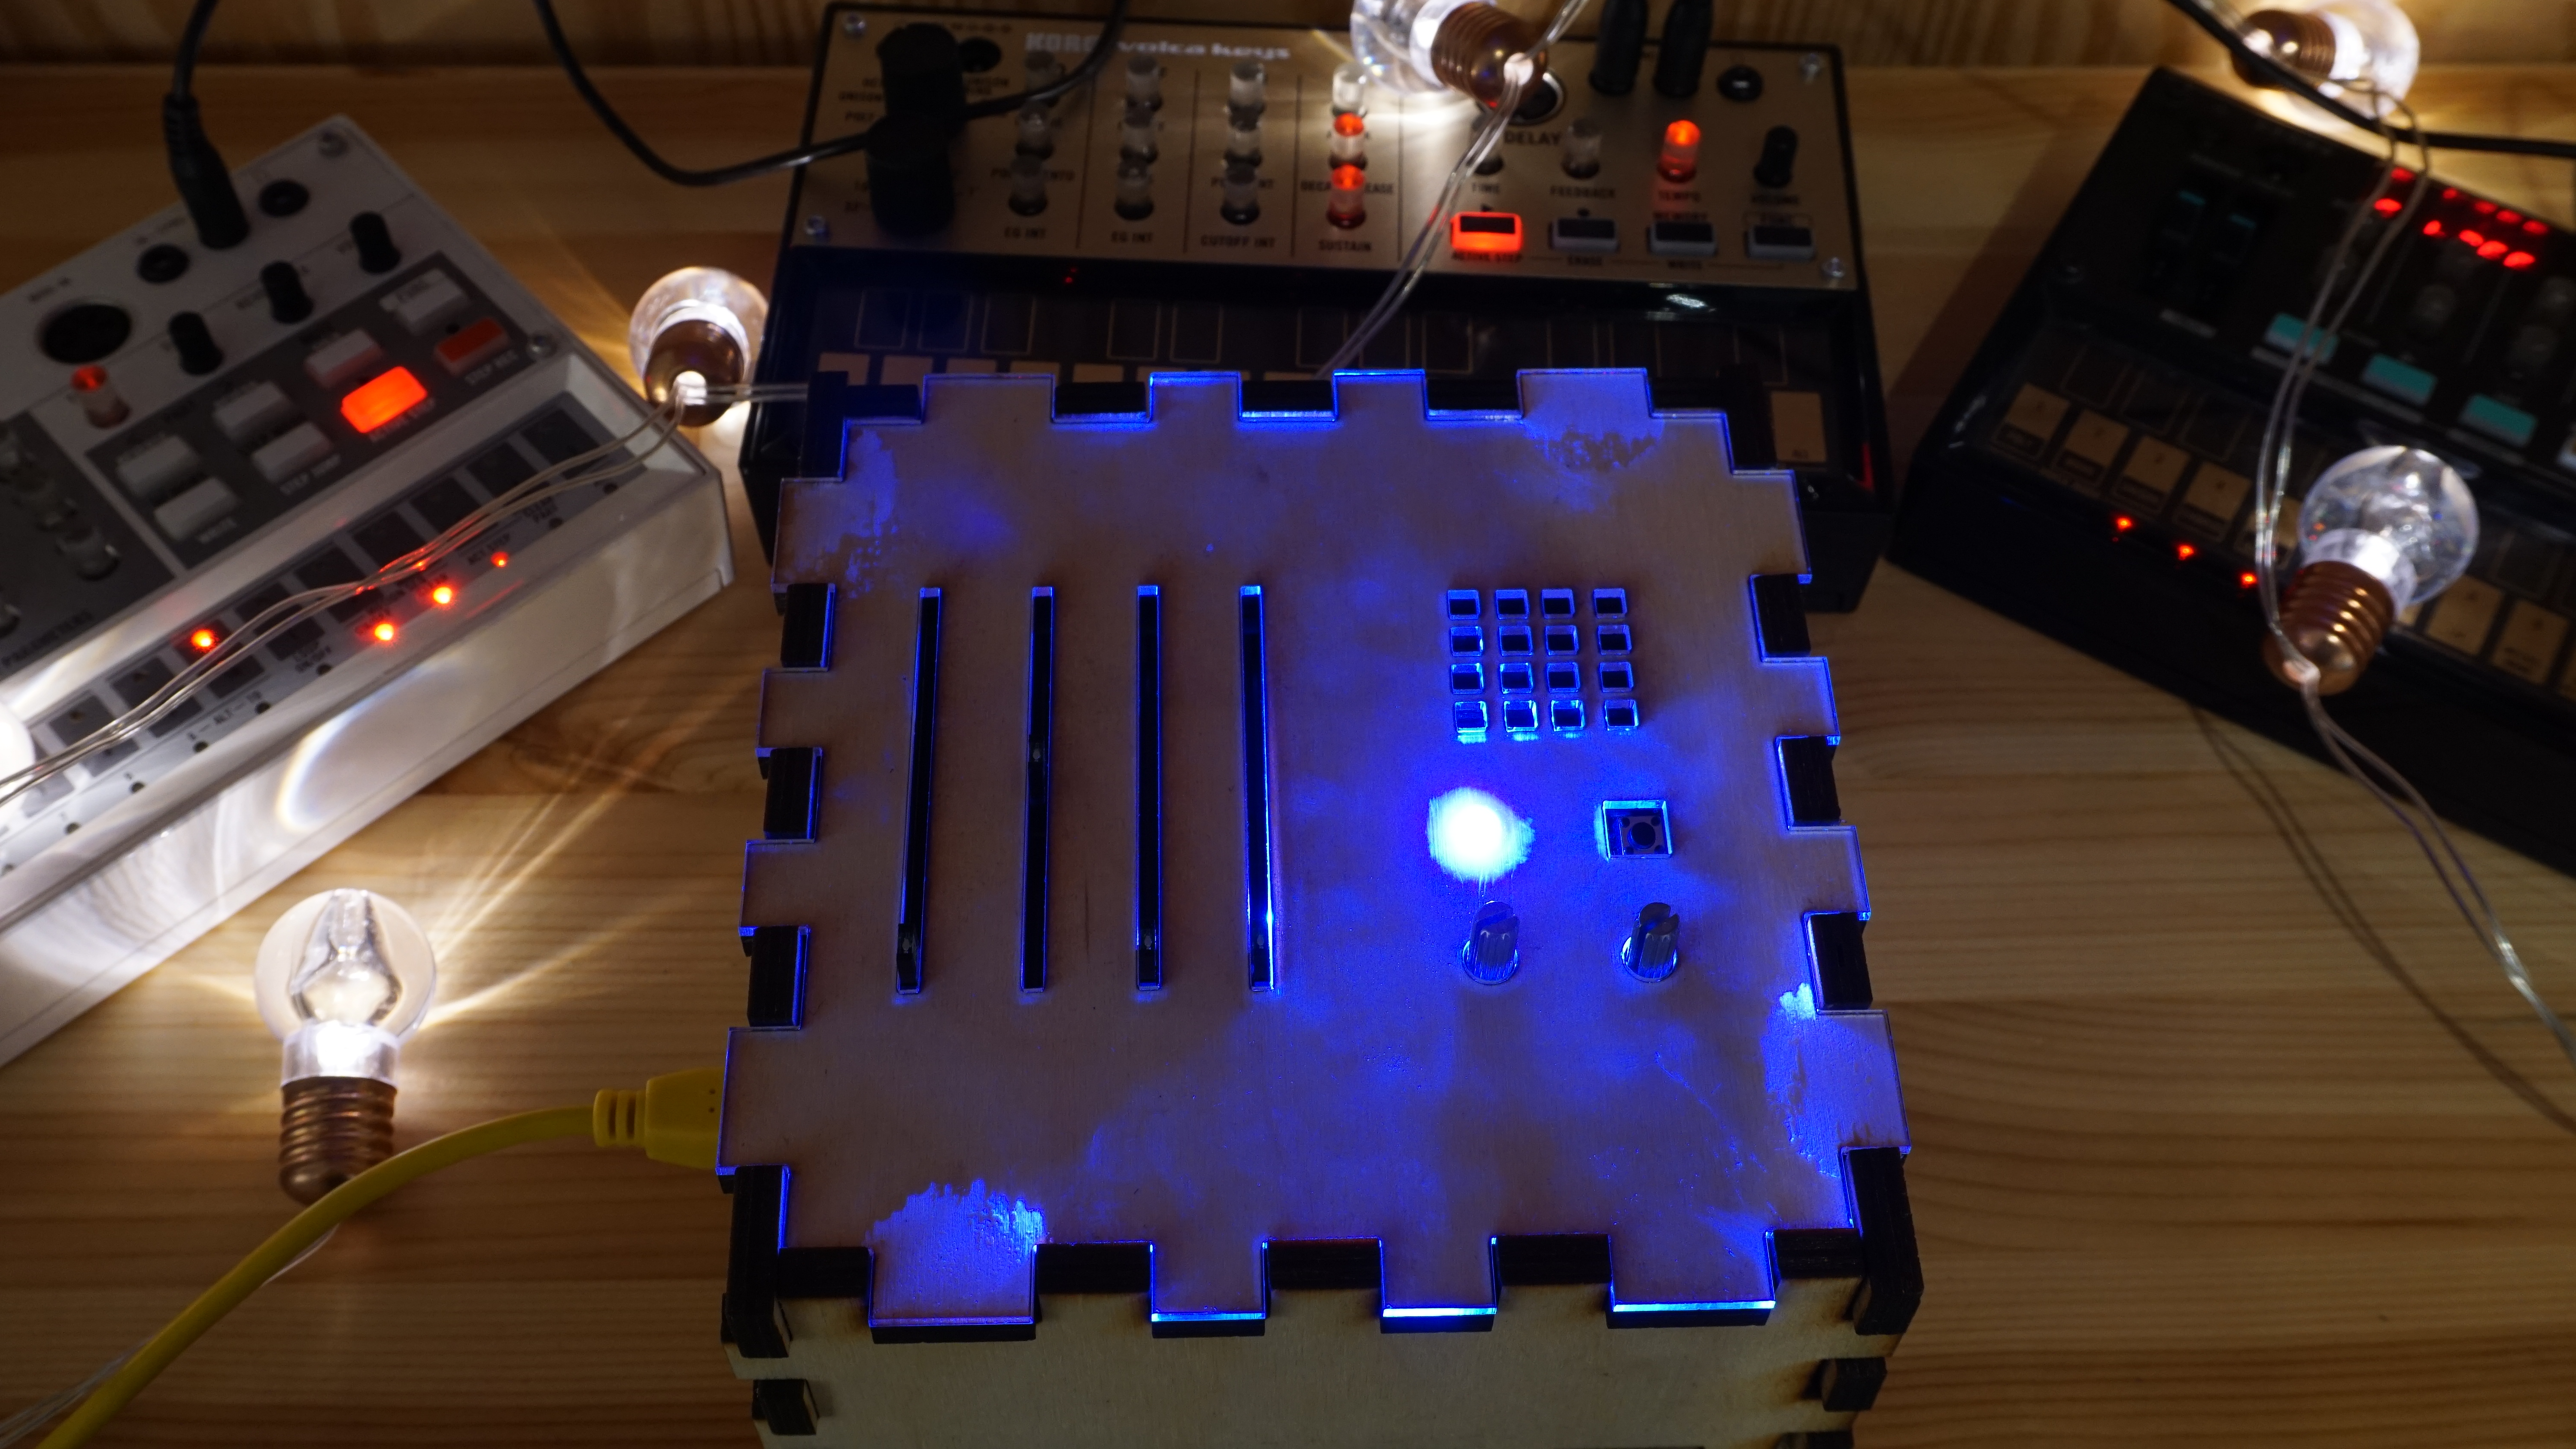
In order to build my step sequencer I wanted to use Slider potentiometers since that makes the user interface better: if the slider is high the note is high if the slider is low the note is low, and the user could set the note in a predetermined range along the slider having multiple choices.
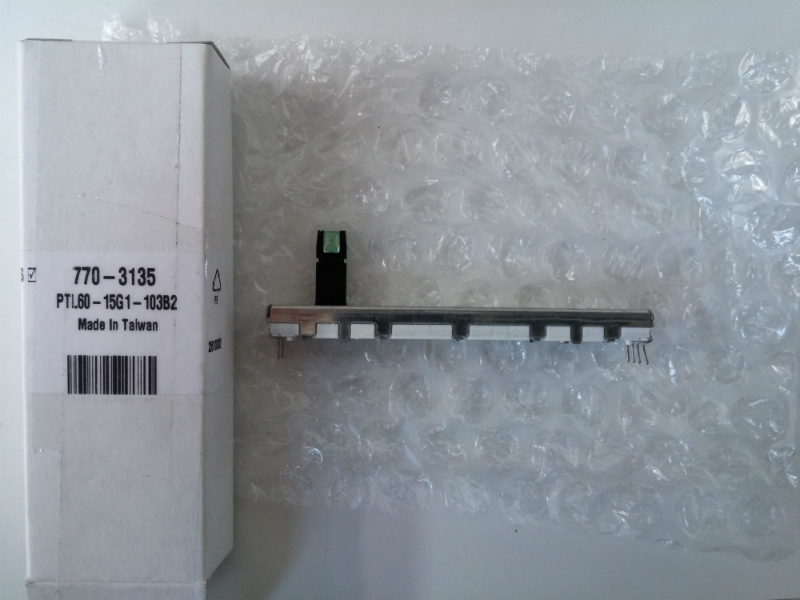
As part of my challenge I knew I want to use the current Arduino board (UNO) that I got, and after a small research I knew I’ll use only 4 sliders to select the notes. The reason I didn’t use all 6 possible analog inputs to control more notes was to keep it musical (as music usually divided by measures of 4), and also I thought it would be a good challenge for me to use only 4 potentiometers to control bigger pattern length. I’ve used Bourns PTL Potentiometer with 60mm travel length and a Green LED, and it took me quite a while and with some little help to get everything to work and understand the data sheet, but once it was working it worked great.
In my code: the notes are part of an array - the biggest array size I wanted is 16 notes. In order to set the different notes I added a button that counts when it pressed and loops between 1-4, in my loop function whenever the count changes it changes the “note base” adding 4 to the current base each time(up to a total of 16). I constantly read the analog values send from the sliders and sending it to the proper note in the array according the note base - which allows me to program using 4 sliders and one button 16 different notes in my sequence. in order to improve my user interface I’ve added in RGB LED that changes 4 different colors (white , red , green , blue) and each color represent the different “note base” group - so you know which steps you are currently editing with the sliders.
in order to change the notes from the analog read I got from each slider I implemented simple formula that I’ve found in this website to convert MIDI notes to frequencies :http://subsynth.sourceforge.net/midinote2freq.html
I wanted to work with MIDI since it’s easier for me to know the notation, and also working with smaller range from 0-128 and not 20-20000, smaller numbers are easier to handle. The formula creates an array of 128 values of notes in the different frequencies, and mapping the sliders range to a range in the MIDI array just keeps everything very musical and in tune. As part of the formula I can change the global tuning from the standard a= 440hz to whatever I want and everything will still work very musically (using equal tempered tuning system). Each slider has a built in LED on top and it lit only when this note play in the sequence.
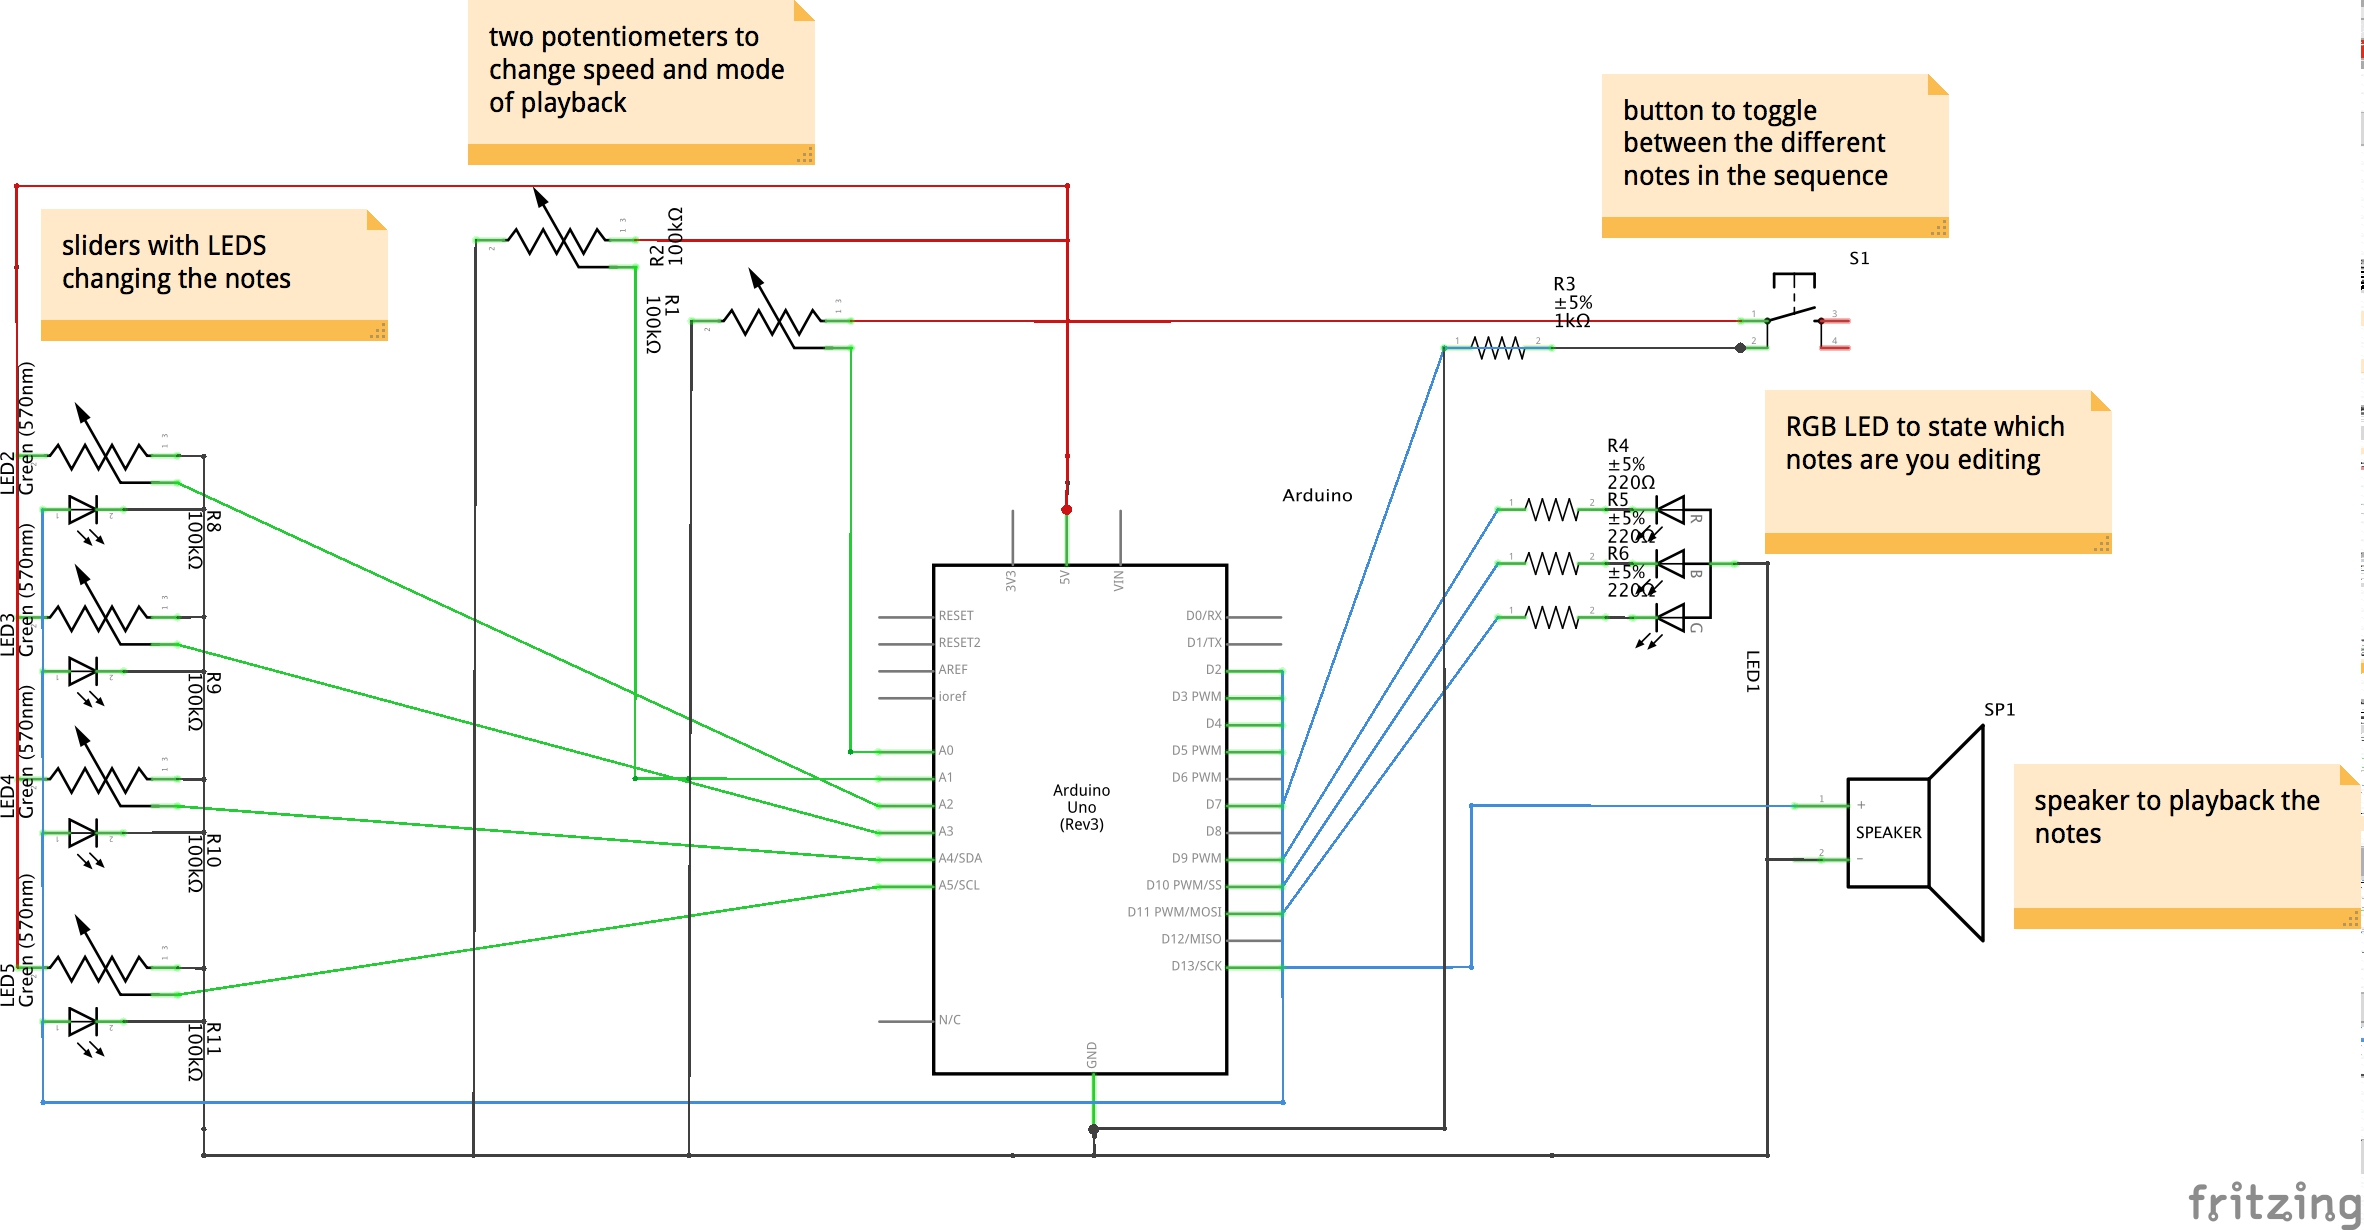
To finish my musical sequencer I’ve added two more potentiometers: The first - controls the speed of playback of the sequence, allowing you to divide the speed from 1/4 notes to 1/8 notes, 1/16 notes and even 1/32 notes. The second - changes the modes of playing : you have 5 main states at the current version :
1 - off / program long sequence.
2 - play only 4 note sequence.
3 - play 16 notes sequence.
4 - play 16 notes revered order sequence.
5 - play random notes from the 16 sequence.
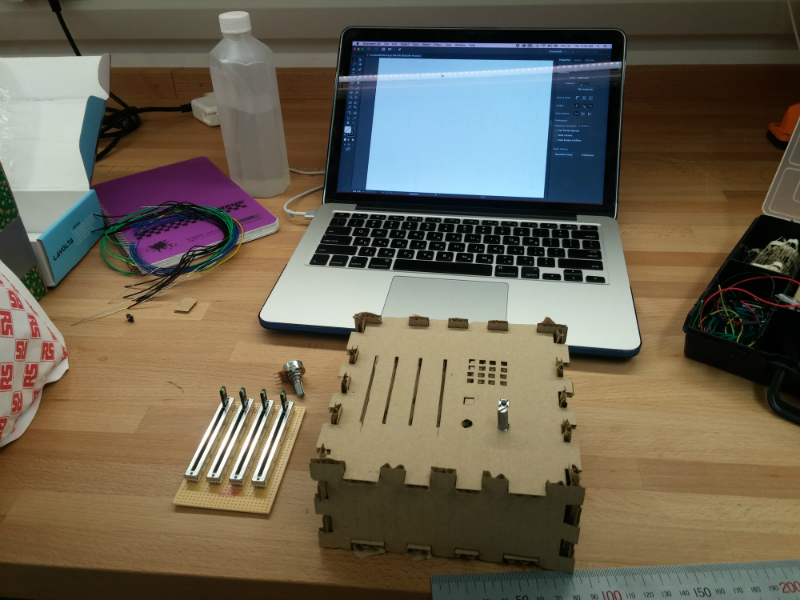
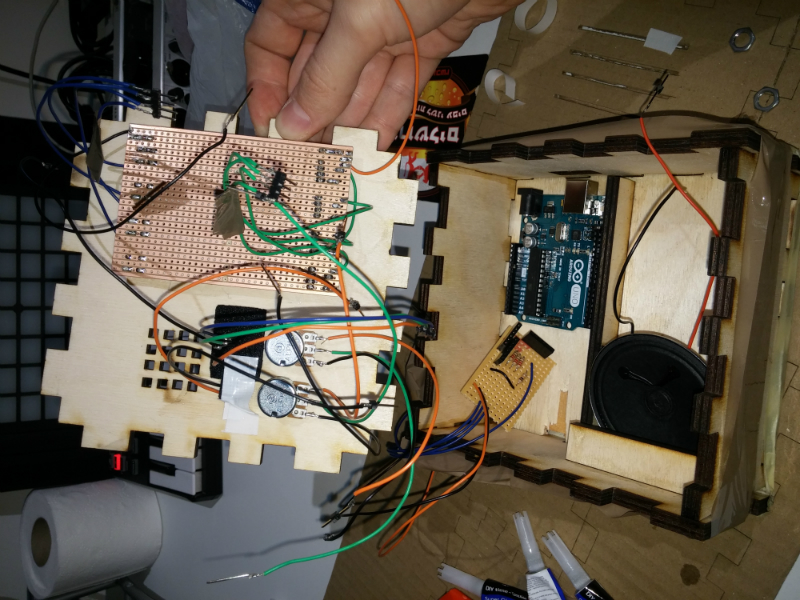
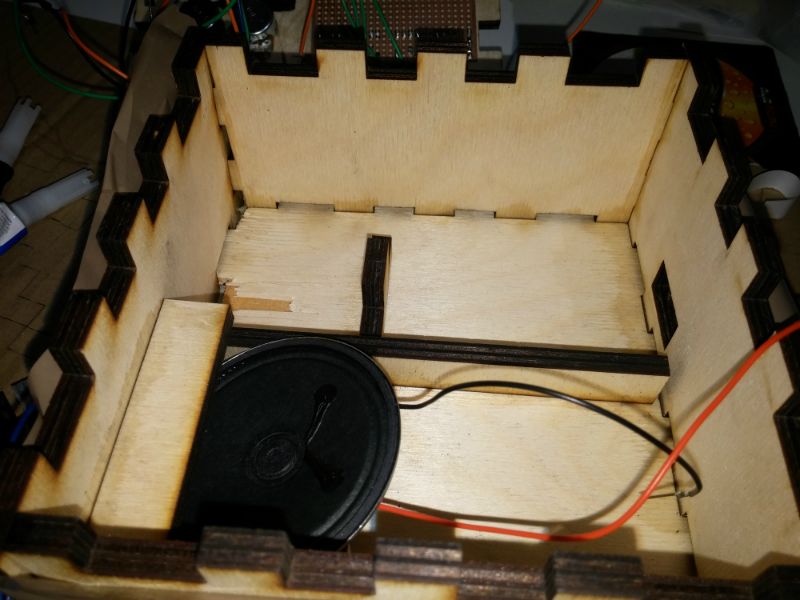
for a case I used the laser cutter and build a small wooden box, using leftover pieces I’ve created small compartments inside to hold the speaker and the Arduino in place when the box is closed, all the rest of the electronics is glued to the top part of the box. over the top part I’ve added a clear acrylic to get a glossy feeling and fines.