


Can you wear your mother?
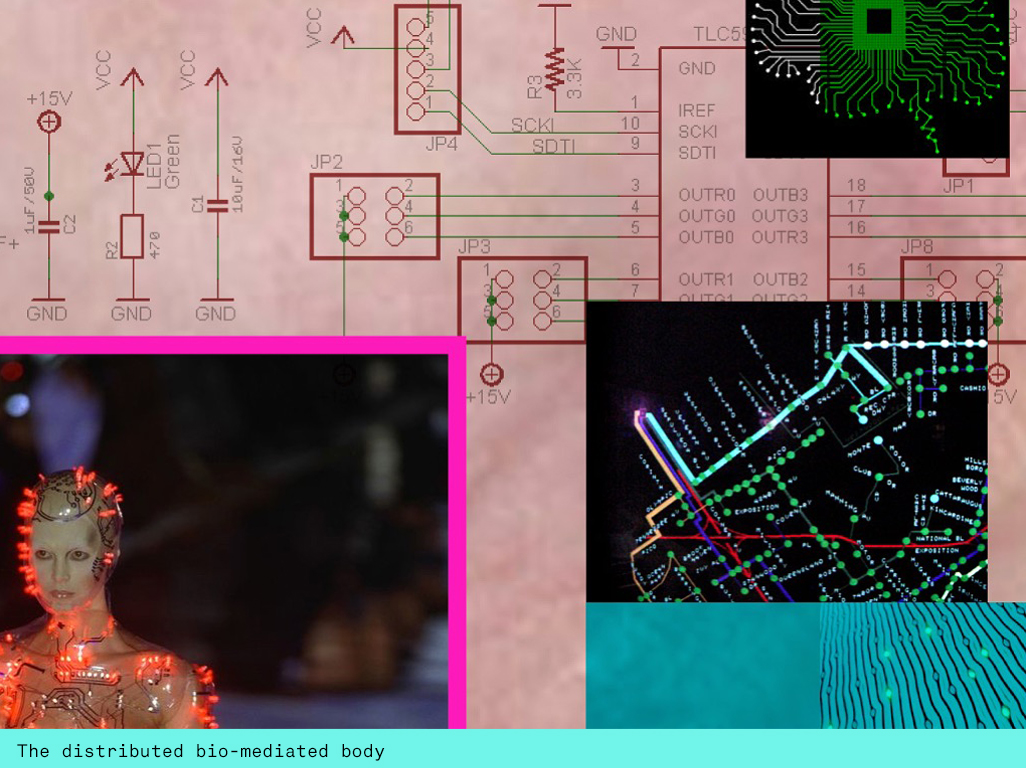
A speculative two person wearable exploring the potential for post-human subjects to power each other in a post-anthropocene world.
produced by: Panja Göbel
Introduction
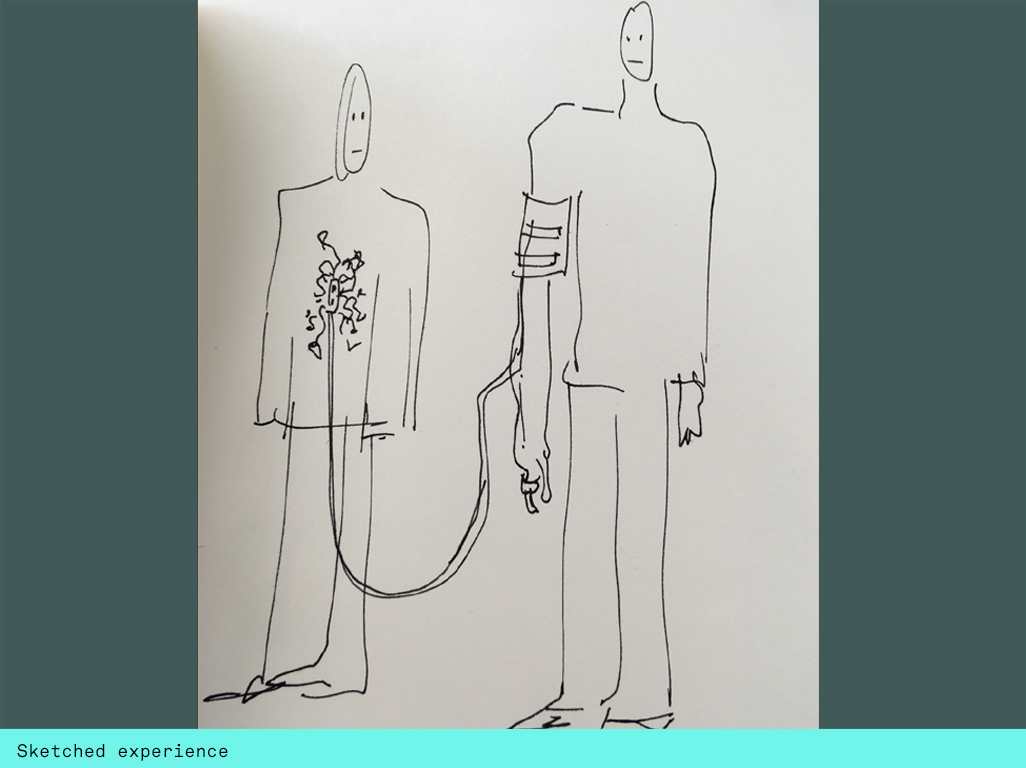
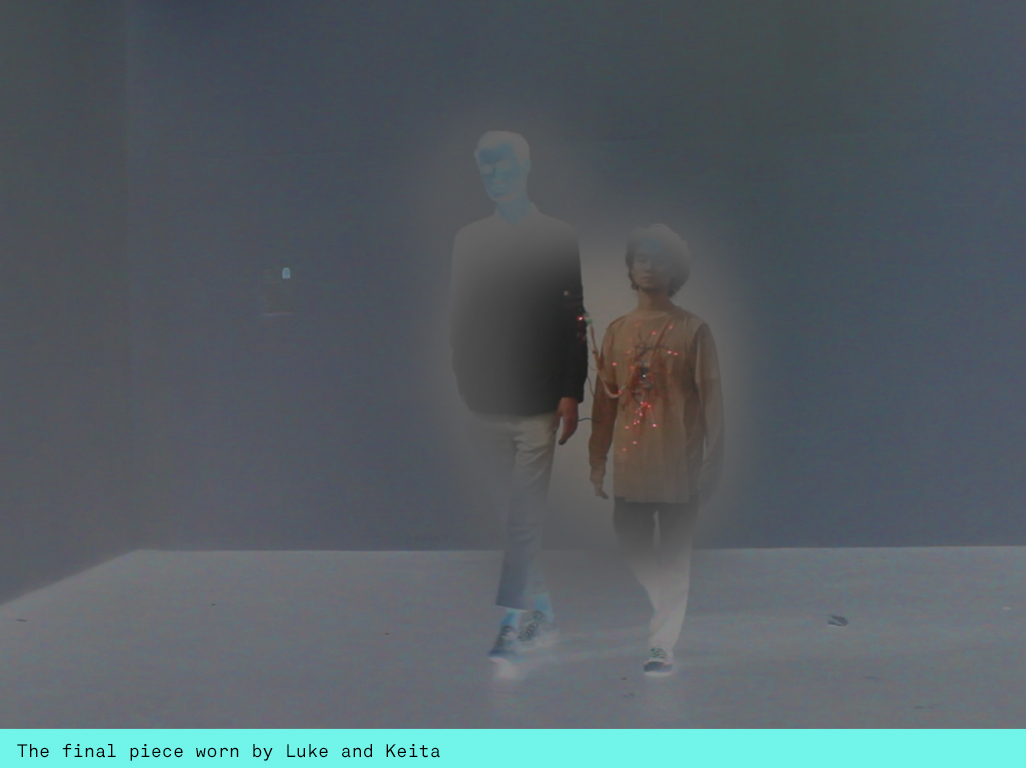
A two person wearable that consists of an upper arm electronics pack with adjustable strap to be worn by one person and an LED adorned longsleeved shirt to be worn by the other person. Both components are connected to each other with long silicon soft core wires disguised as an umbilical cord. The person wearing the electronics pack powers the LED shirt with their pulse data.
Concept and background research
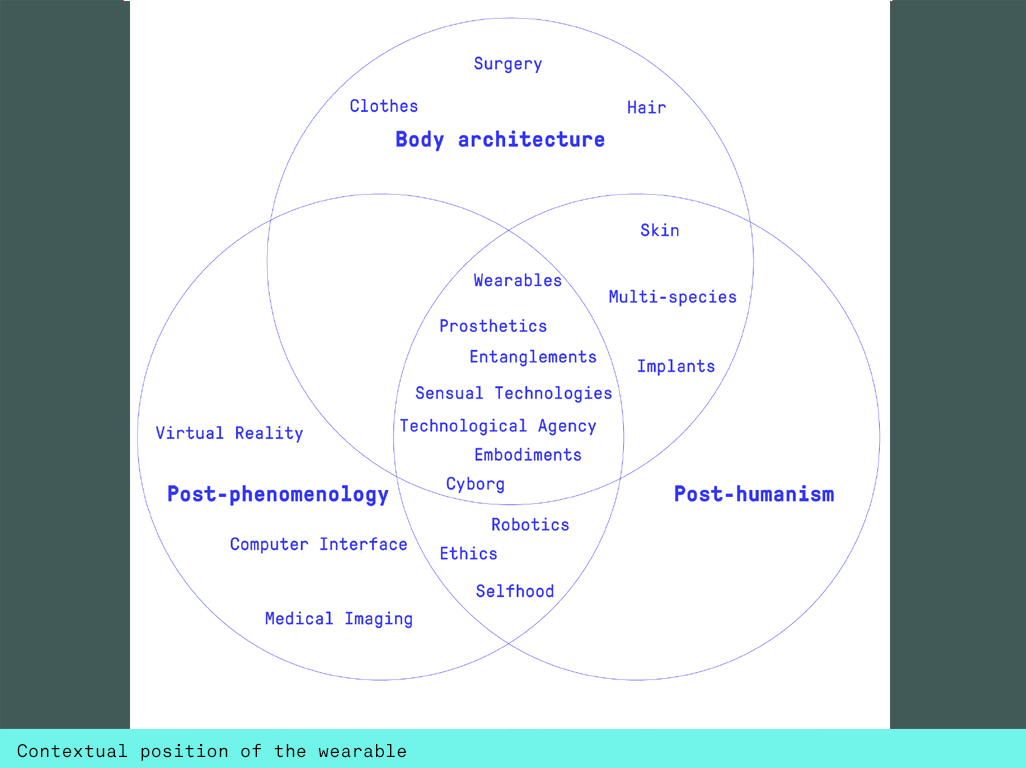
Posthumanism is often thought of in a common silicon valley context where projects center around computational self-enhancement and the pursuit of eternal live. My work is inspired by critical Posthumanism as defined by Rosi Braidotti. In her book “The Posthuman” Braidotti proposes an alternative narrative where the preservation of life and others is the primary goal in the post-anthopocene world.
In my yoga studio we do joint breathing. It is a really empowering experience when a whole room of 50 people align their breath. This is when the ‘I’ becomes the ‘we’. I was curious about developing a wearable that allows it’s user to embody the rhythm of someone else’s breath.
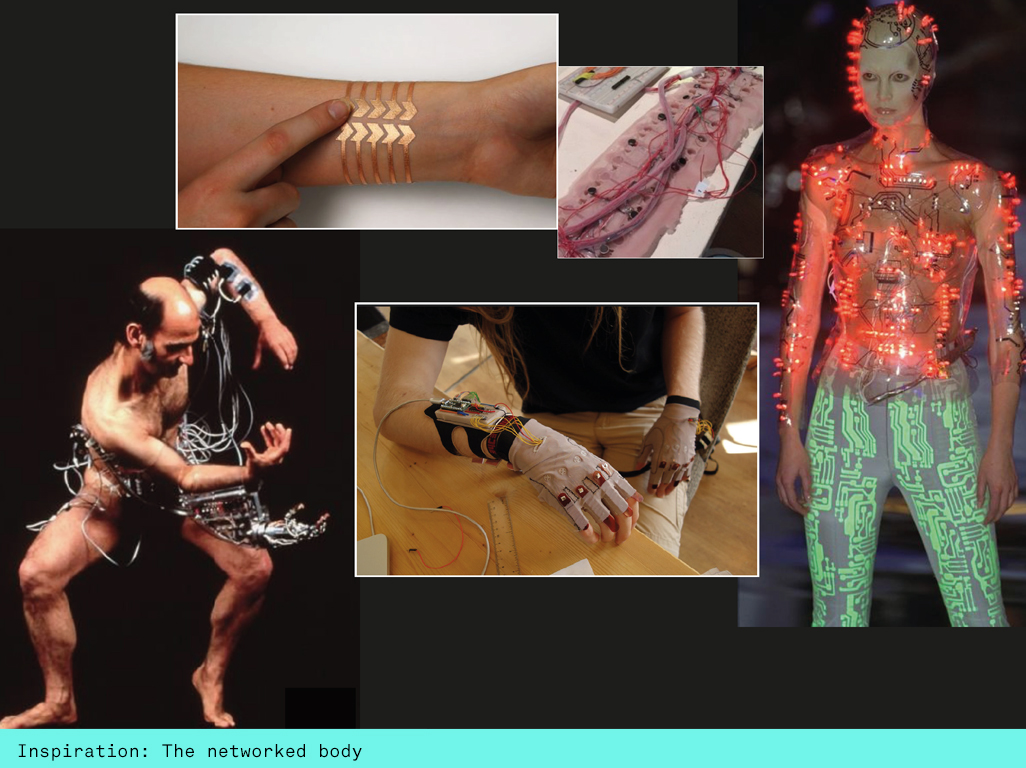
Post-phenemonology examines how technologies shape the relations we have with the world around us. Don Idhe developed several concepts to view the relations we have with technologies. I was particularly interested in the overlap of the hermeneutic relations, ie. how we read technologies like a wrist watch or the MRI scan and the embodiment relations, ie. the phone. We don’t perceive the phone anymore, we think about the person at the other end and therefor embody the technology.
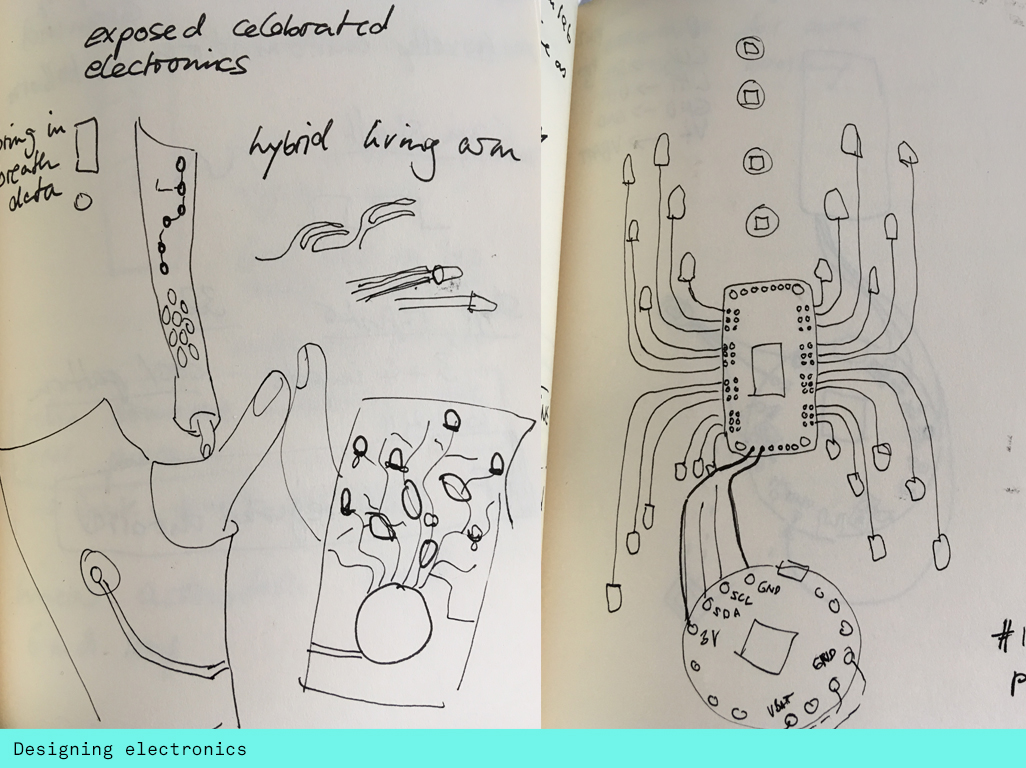
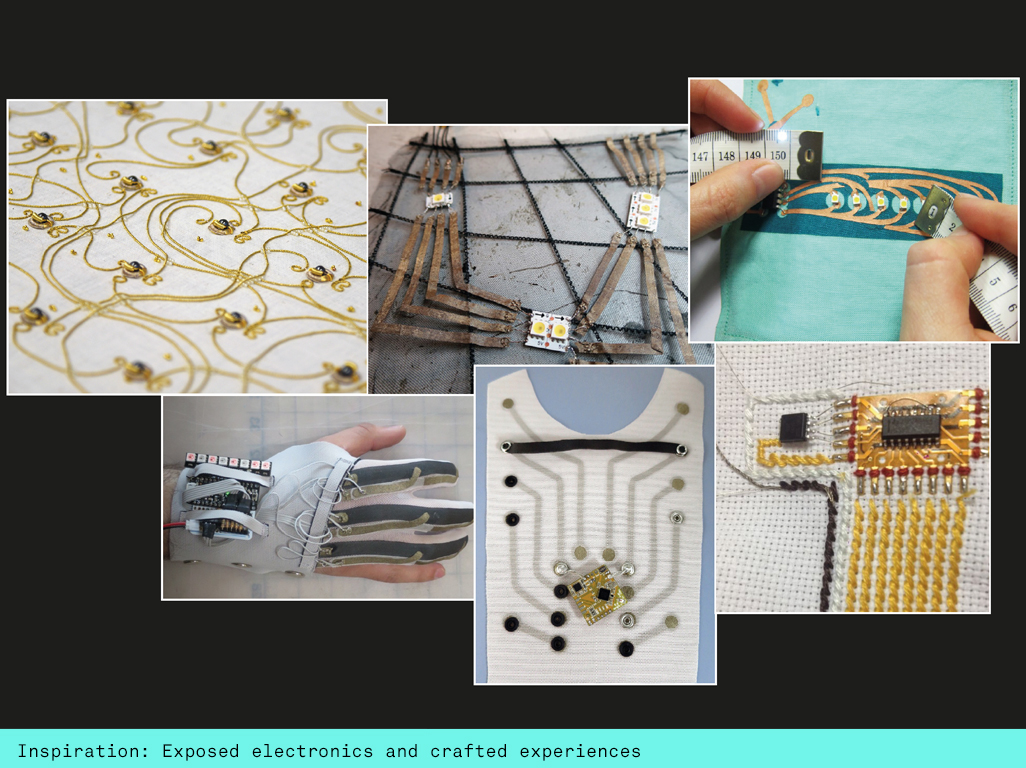
I’m also interested in the networked body and how we could incorporate electronics into our clothing so they are exposed and celebrated for their inherent beauty. I found the work of Irene Posch and in particular her project called ’The embroidered Computer’ hugely inspiring.
Technical
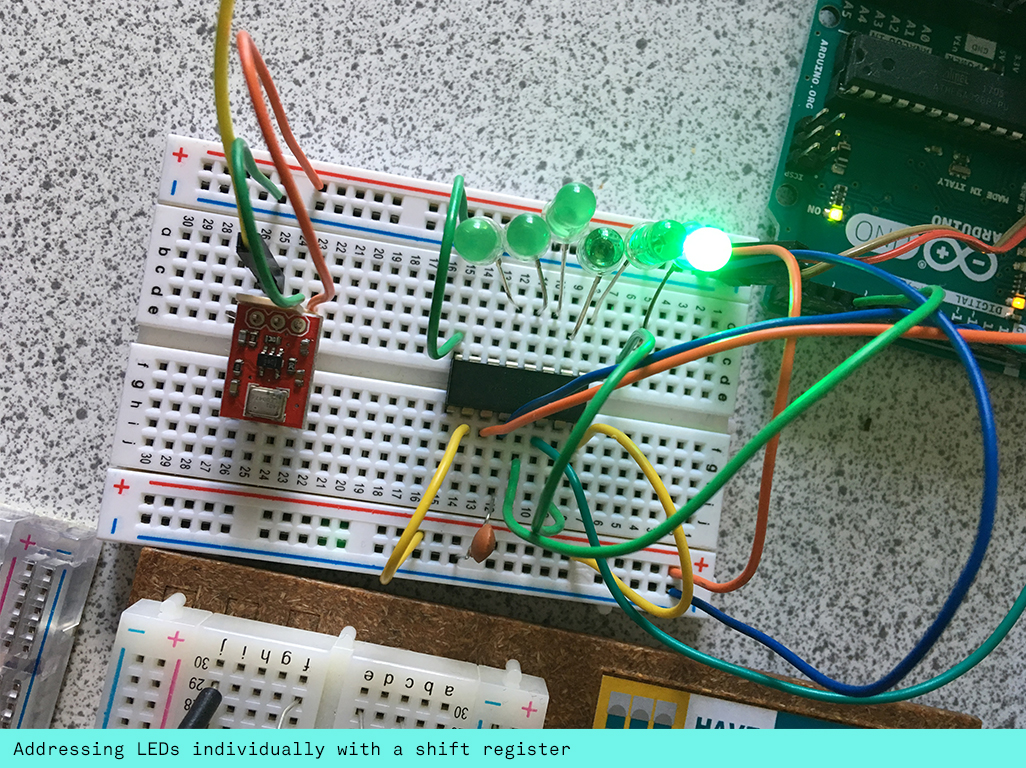
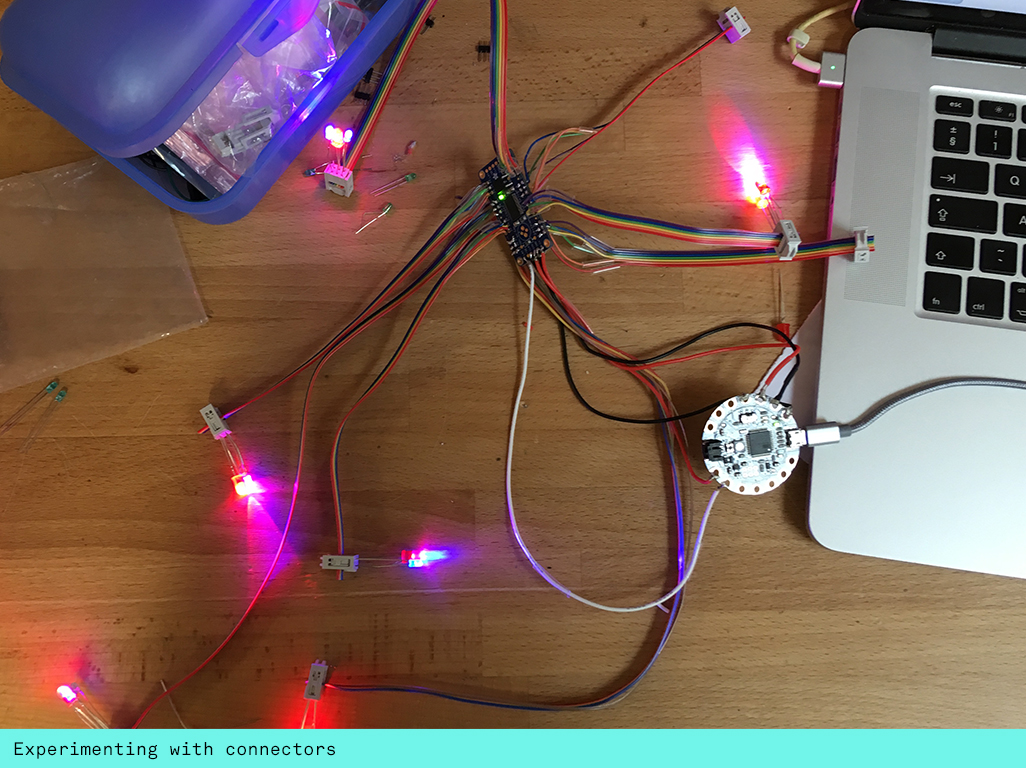
I started by playing with shift registers to individually address LEDs. For this I used the Digital Output Shift Register Fritzing example. Then I ordered a LED driver board that can have more than 24 LEDs connected to it, the Adafruit TLC 5947. What is great about these boards is that they can also be infinitely daisy chained, so in effect allowing for hundreds of LEDs. I wanted to work with simple mini LEDs to see how I could make them beautiful, I also wondered whether they could be paired with soft core silicon wires to mimic the veins of the body.
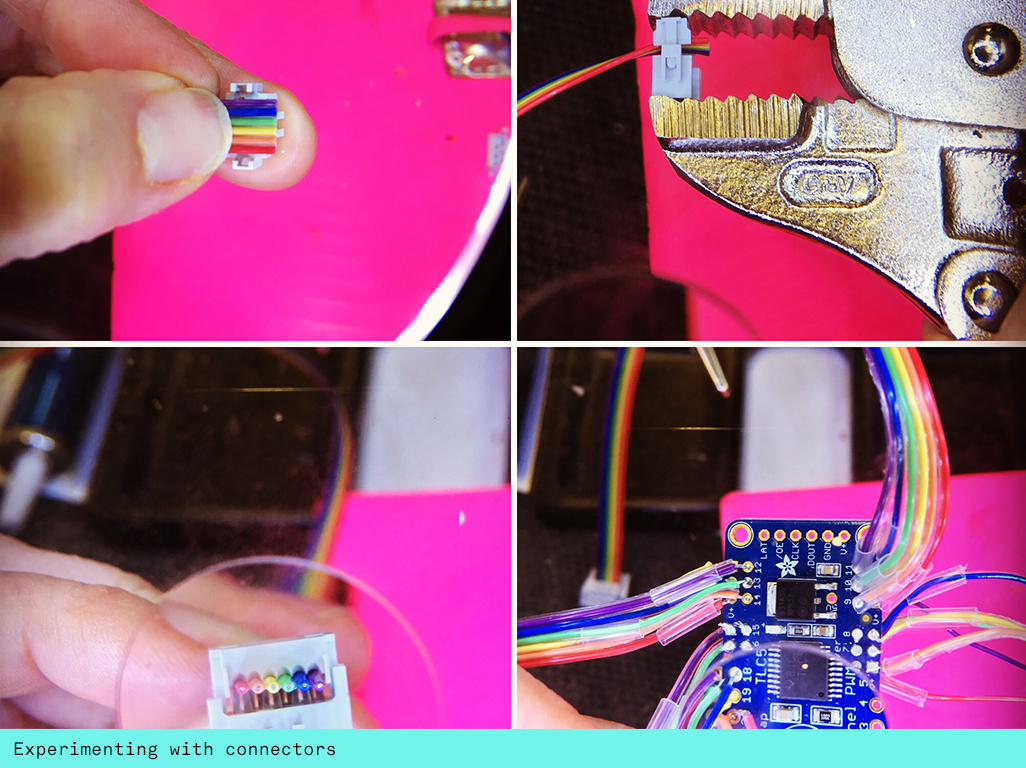
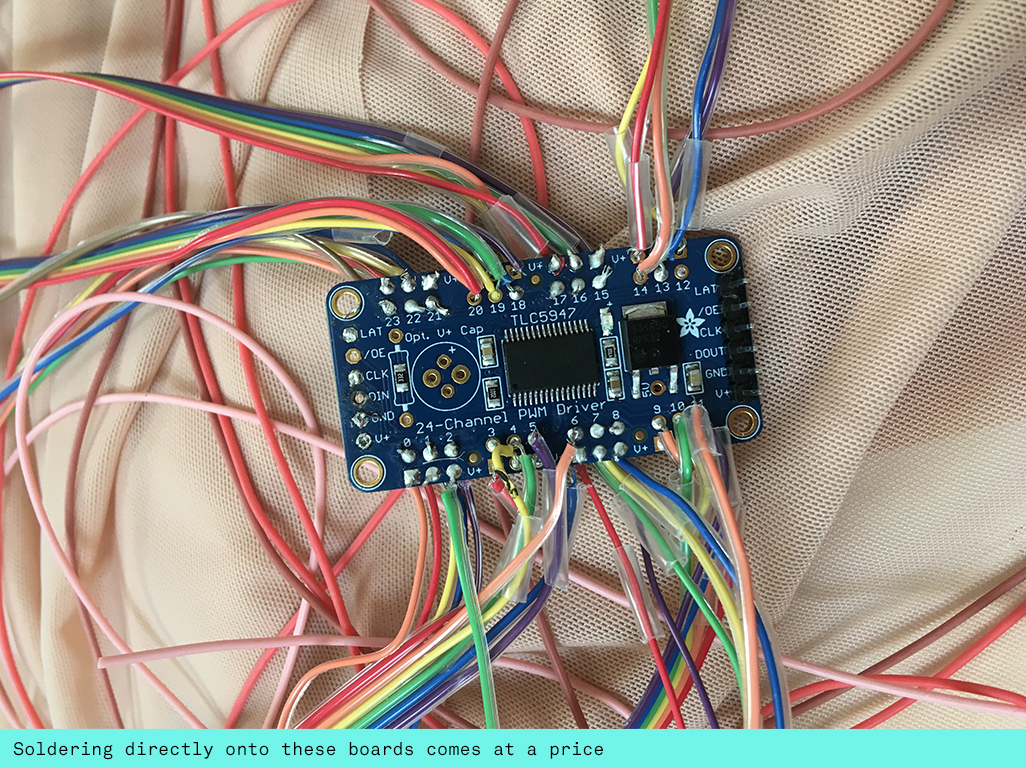
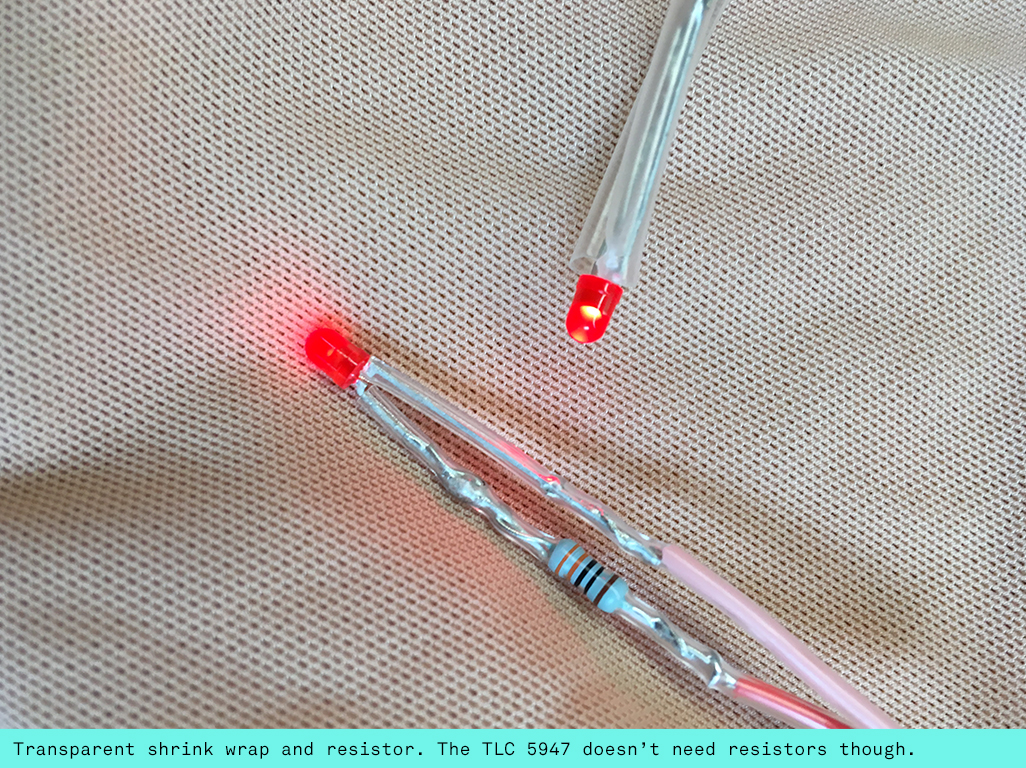
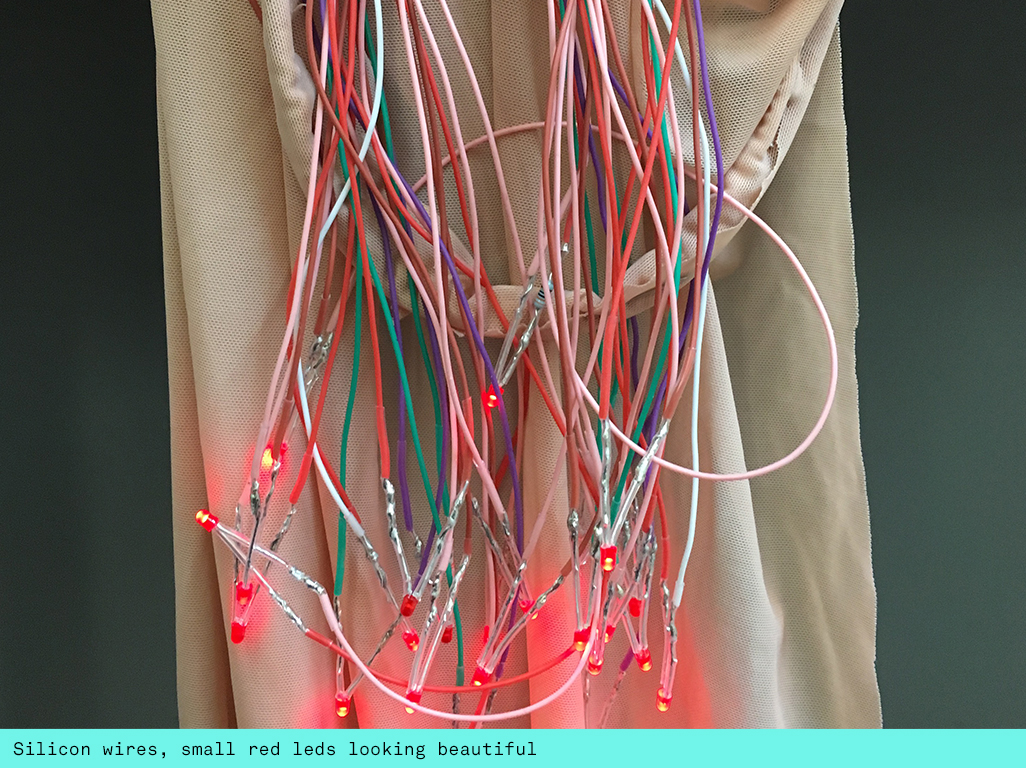
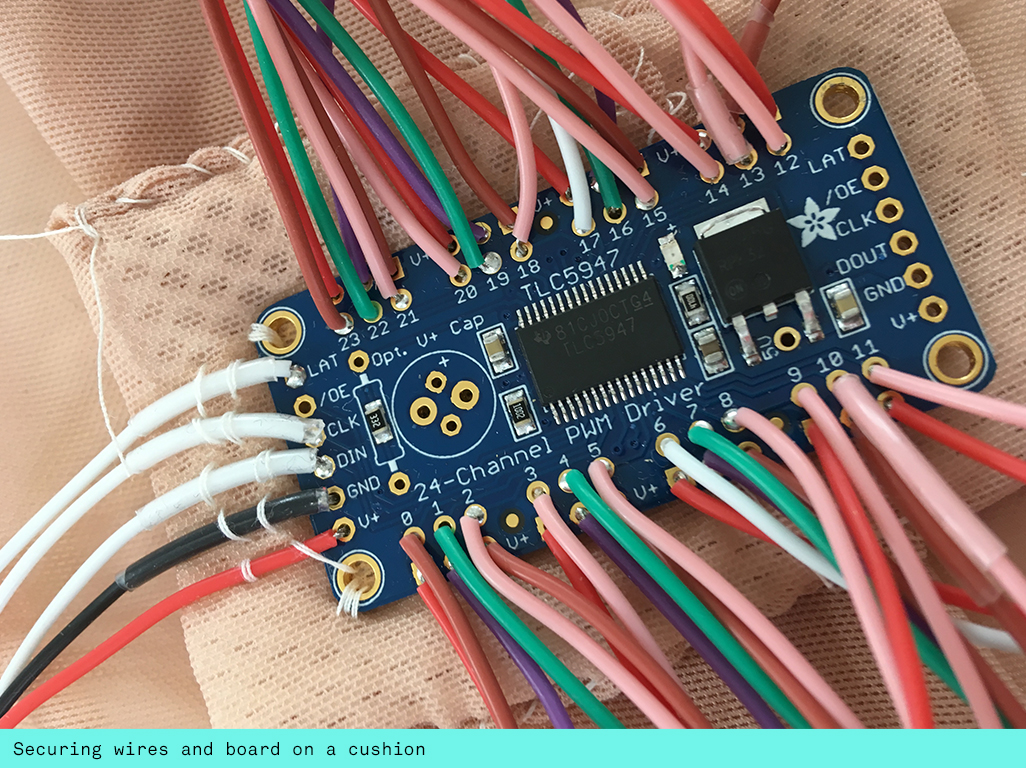
When I first received the board though I was eager to start and experimented with rainbow wires and connectors at the end so I could simply plug the leds in. Whist this was a great learning exercise I found pretty quickly that the wires broke off really quickly and additionally the power requirements of the driver board exceeded the Flora that I had everything connected to at the outset. I was trying to desolder the wires that I connected to the Flora board but found it impossible to desolder and unfortunately broke the board. In future I would use screw terminals and crimped wires to plug into them for this level of prototyping. For the look of my piece though I didn’t want the ugly plastic terminals to cover the board. When I ordered my new TLC 5947 I also got some BNTECHGO 28 Gauge Silicon wires which are a joy to work with. I was very careful with my connections and as soon as I soldered it sewed them onto a little cushioned pad to strengthen them. I attached the LEDs at the end and shrink wrapped them so they wouldn’t short. I used translucent shrink wrap as I liked the look this created.
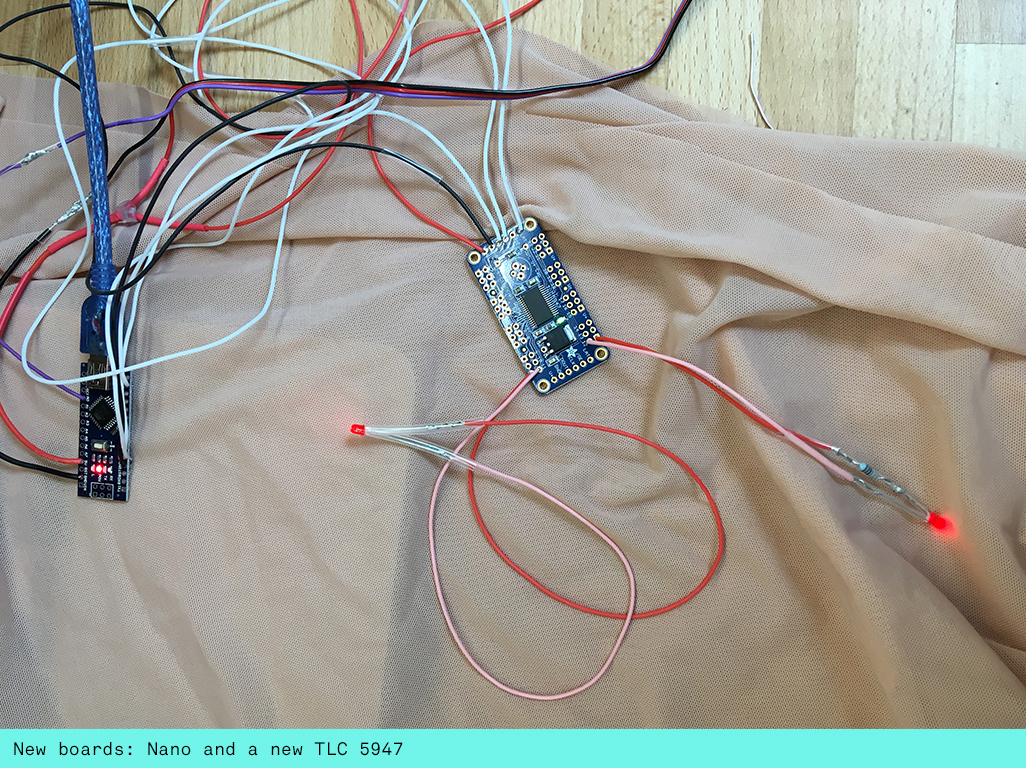
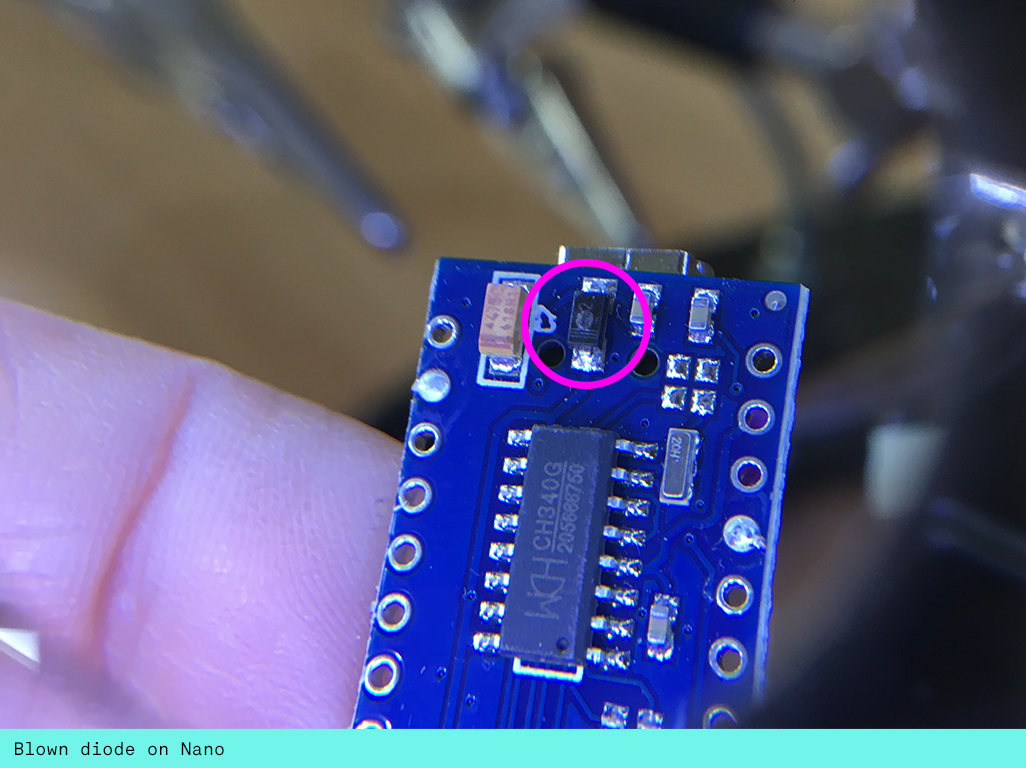
I ordered a Nano to replace the Flora and this seemed to work well, except I was unlucky that my diode blew almost straight away. This can happen with the cheap boards. To replace it I ordered an Arduino Micro but then ruined this one too as I found that my silicon wires broke off. I should have known this by then. On the micro I could have used the screw terminals but in the end run out of time ordering these in time. I was lucky that a friend was able to lend me another Nano and ended up hot glueing the connections. This makes it not very flexible and isn’t very pretty but definitely secured my connections a bit better.
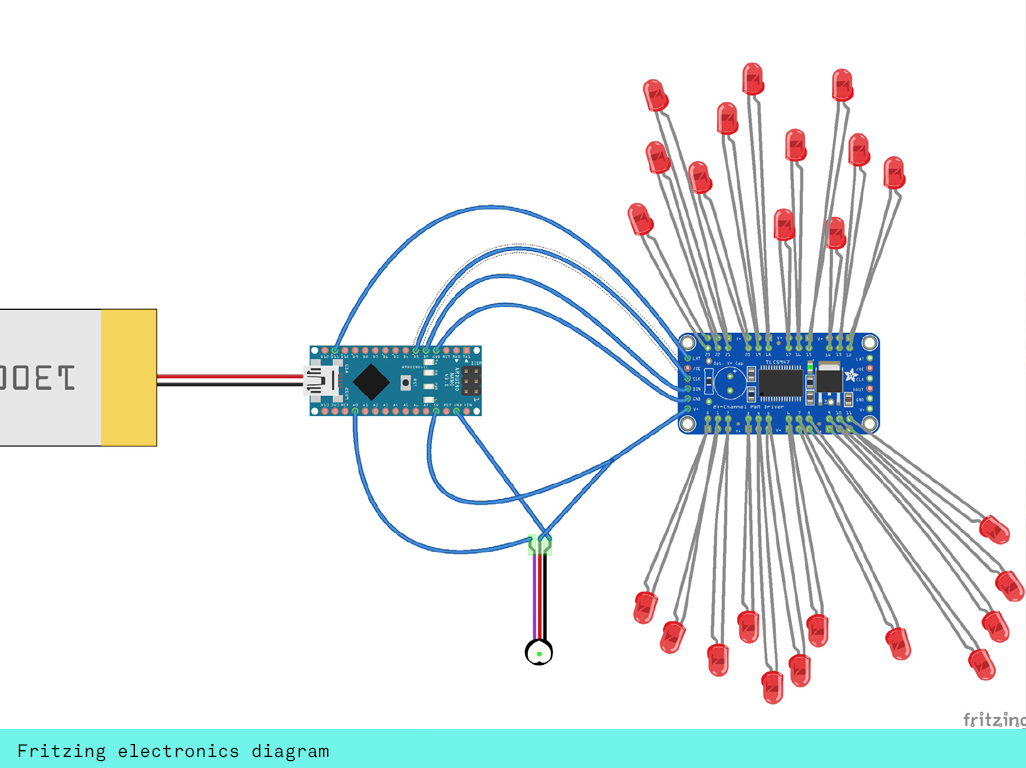
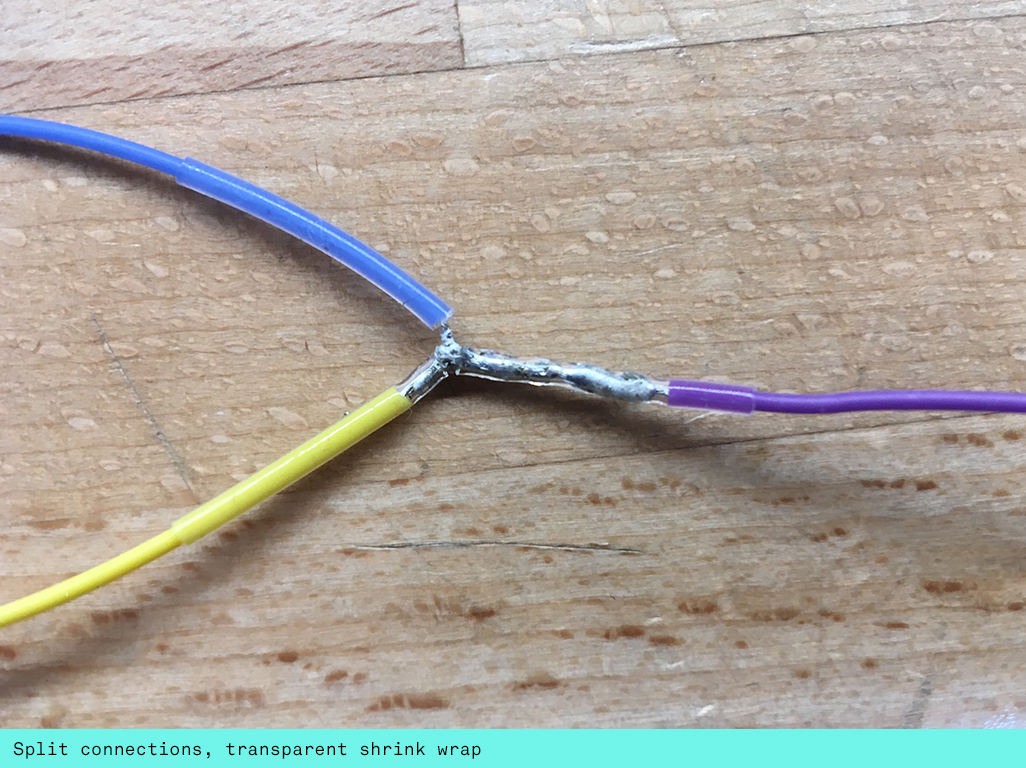
I ordered a pulse sensor from pulse sensor playground and fixed it as per instructions and then connected it to the Nano. I had to share the 5V connection with the LED driver board and split the cable to allow for them to fork out and connect both. Please refer to the Fritzing electronics sketch. I followed the examples that cam with the Pulse sensor playground. In the end I used the PulseSensor_speaker and Getting_BPM_to_Monitor examples that came in the examples folders. I created a threshold for the pulse data to eliminate the noise, then I mapped the BPM to the LEDs. I played with several functions to translate the data across the LEDs but found a simple fade on and off was most effective at communicating the breath data.
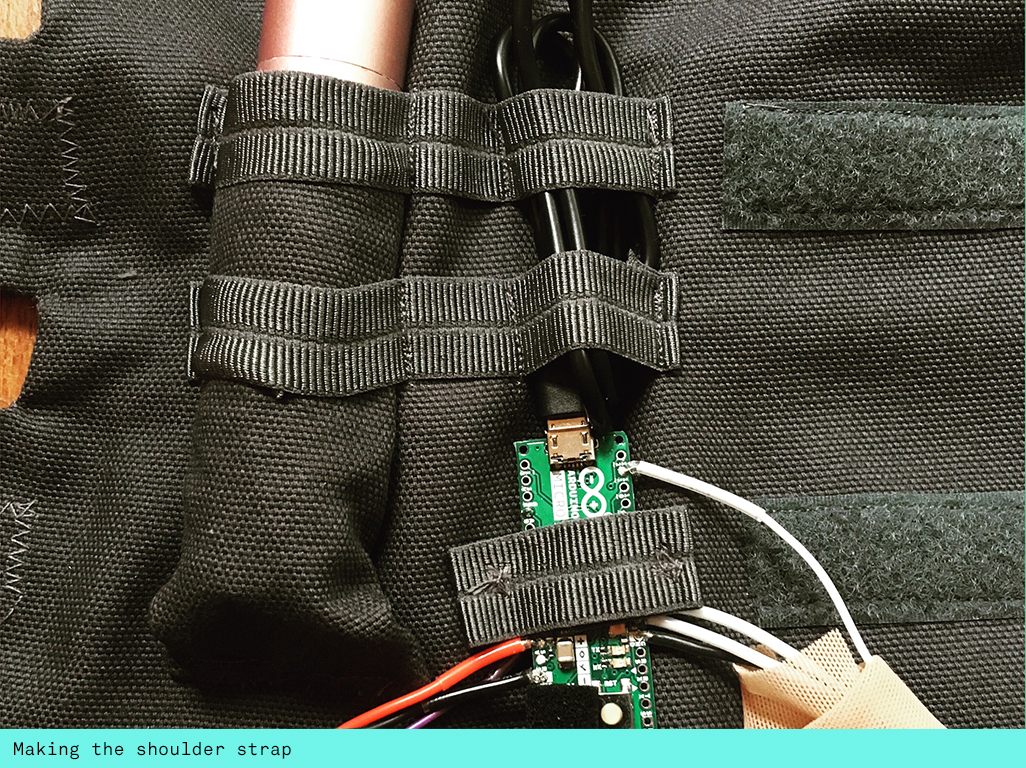
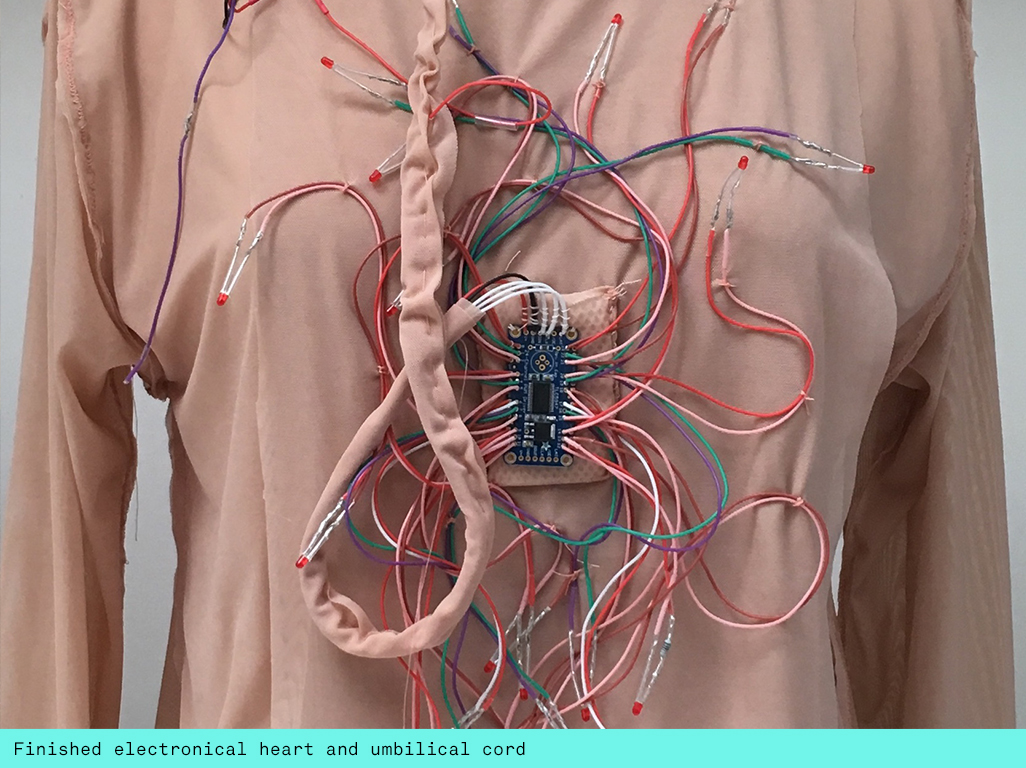
Lastly I made an arm band that was based on a blood pressure strap on. I found Rachel Freie’s DIY glove controller tutorial very useful here and also experimented with making the glove which works very well. However I decided the glove didn’t fit the overall look I was after so ditched it. I created a pocket for my Anker power core mini battery supply and made some simple pouches with elastic band for the wires and lastly a fold over strap for the nano board. For the LED shirt I placed the driver board in the center of a flesh coloured long sleeve top I had made. Then I curled the wires and LEDs so they formed an organic structure mimicking the internal body. I fastened everything with flesh coloured thread. Lastly I covered the silicon wires that connect the two wearables in the same material so it resembles an umbilical cord.

Future development
My initial intention was to have this piece networked so that the pulse data could be send via wifi. This would allow for a nice relationship between the wearer/sender and the wearer/receiver of the pulse data whilst not being strapped up via the umbilical cord. I can see this creating a meaningful connection in long distance relationships whilst also potentially being relevant in anxiety treatments. For the remote iOT version of this experience I would would experiment with an XBee Coordinator and Router.
Self evaluation
Despite all my challenges I think the piece turnt out well. It was super depressing to have my connections break off repeatedly and thereby having to buy three new boards, but I learnt the hard way and will plan my piece better next time. I also got very confident in soldering and desoldering and learning what is possible to rescue in this context. Most importantly I learnt that everybody has their own methods of making and sometimes they clash with other people’s approaches. This can be a confusing and time consuming landscape to navigate through but ultimately we all have to create our own language working with electronics. The ultimate goal here needs to be developing methods based on practicality verses design that suit each individual project.
References
Rosi Braidotti https://www.youtube.com/watch?v=OjxelMWLGCo
Irene Posch http://www.ireneposch.net/the-embroidered-computer/
Kobakant https://www.kobakant.at/DIY/?p=1272
LED driver board TLC 5947 https://learn.adafruit.com/tlc5947-tlc59711-pwm-led-driver-breakout/connecting-to-the-arduino
Pulse sensor http://www.theorycircuit.com/pulse-sensor-arduino/
Rachel Freire E-Textile Glove Controller https://www.instructables.com/id/DIY-Glove-Controller-With-E-Textile-Sensors/