


Interactive Light Sculpture
An Interactive Light Sculpture made with transparent acrylic. As a spectators hand moves up and down the height of the sculpture the light follows the hand and the sound reacts to the hands vertical movement.
Produced by: Colin Higgs
Inspiration
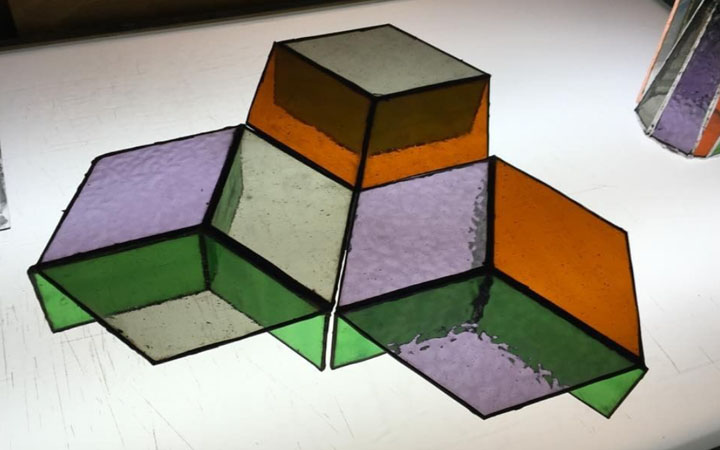
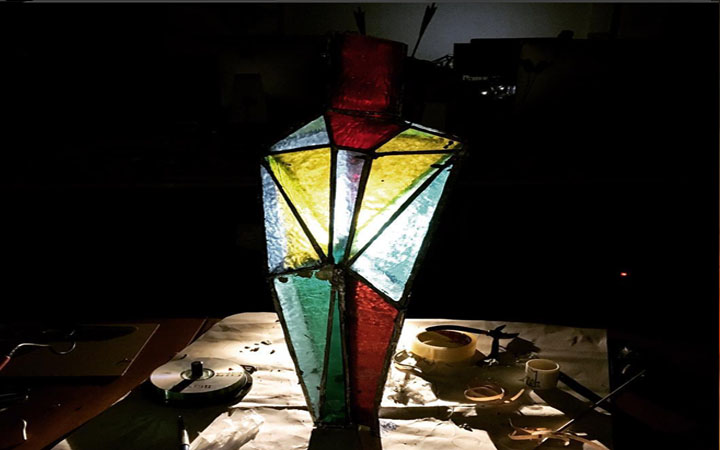
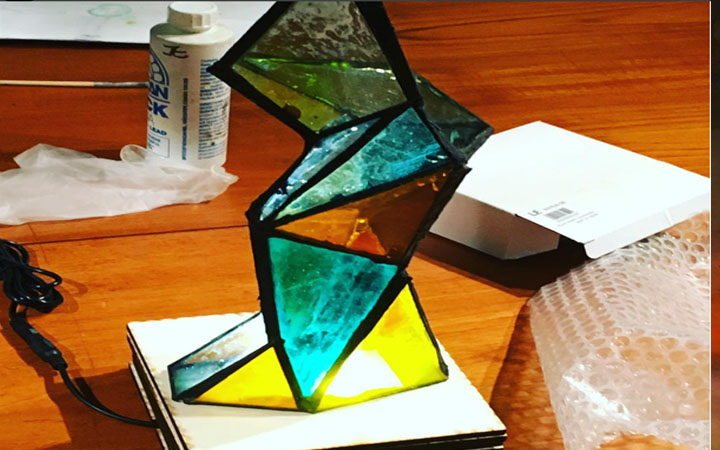
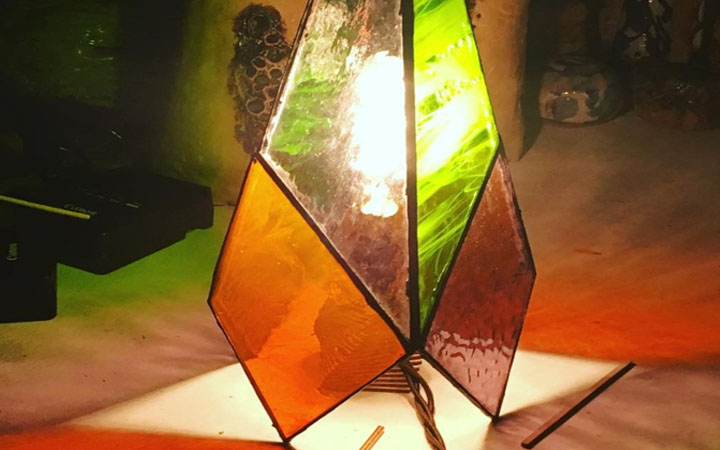
The original concept of the project was to produce a light sculpture made of stained glass in 3D. The initial idea was based on the aesthetics of my previous work.
The problem with this material was a matter of practicality. One problem with stain glass is the drilling of holes. A small hole is achievable a larger hole will tend to fracture. The wires would needed to flow in between each 3D pyramid. So holes of about 8mm would need to be made. That can be problematic due to the material qualities. Due to this issue the material was changed to clear acrylic with an added acrylic spray used to diffuse the light.
The Sculpture
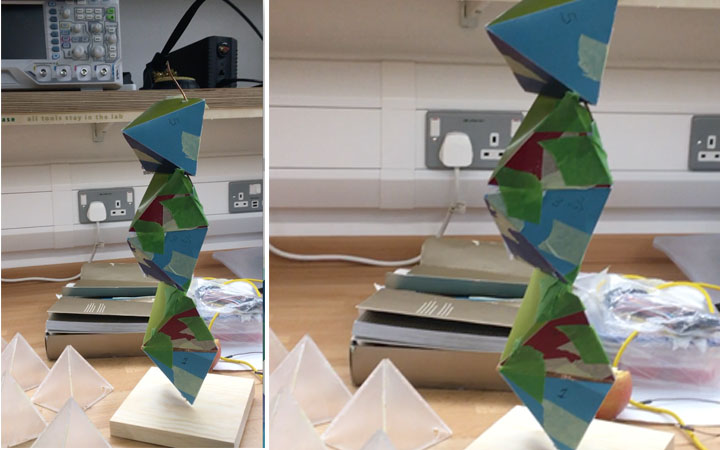
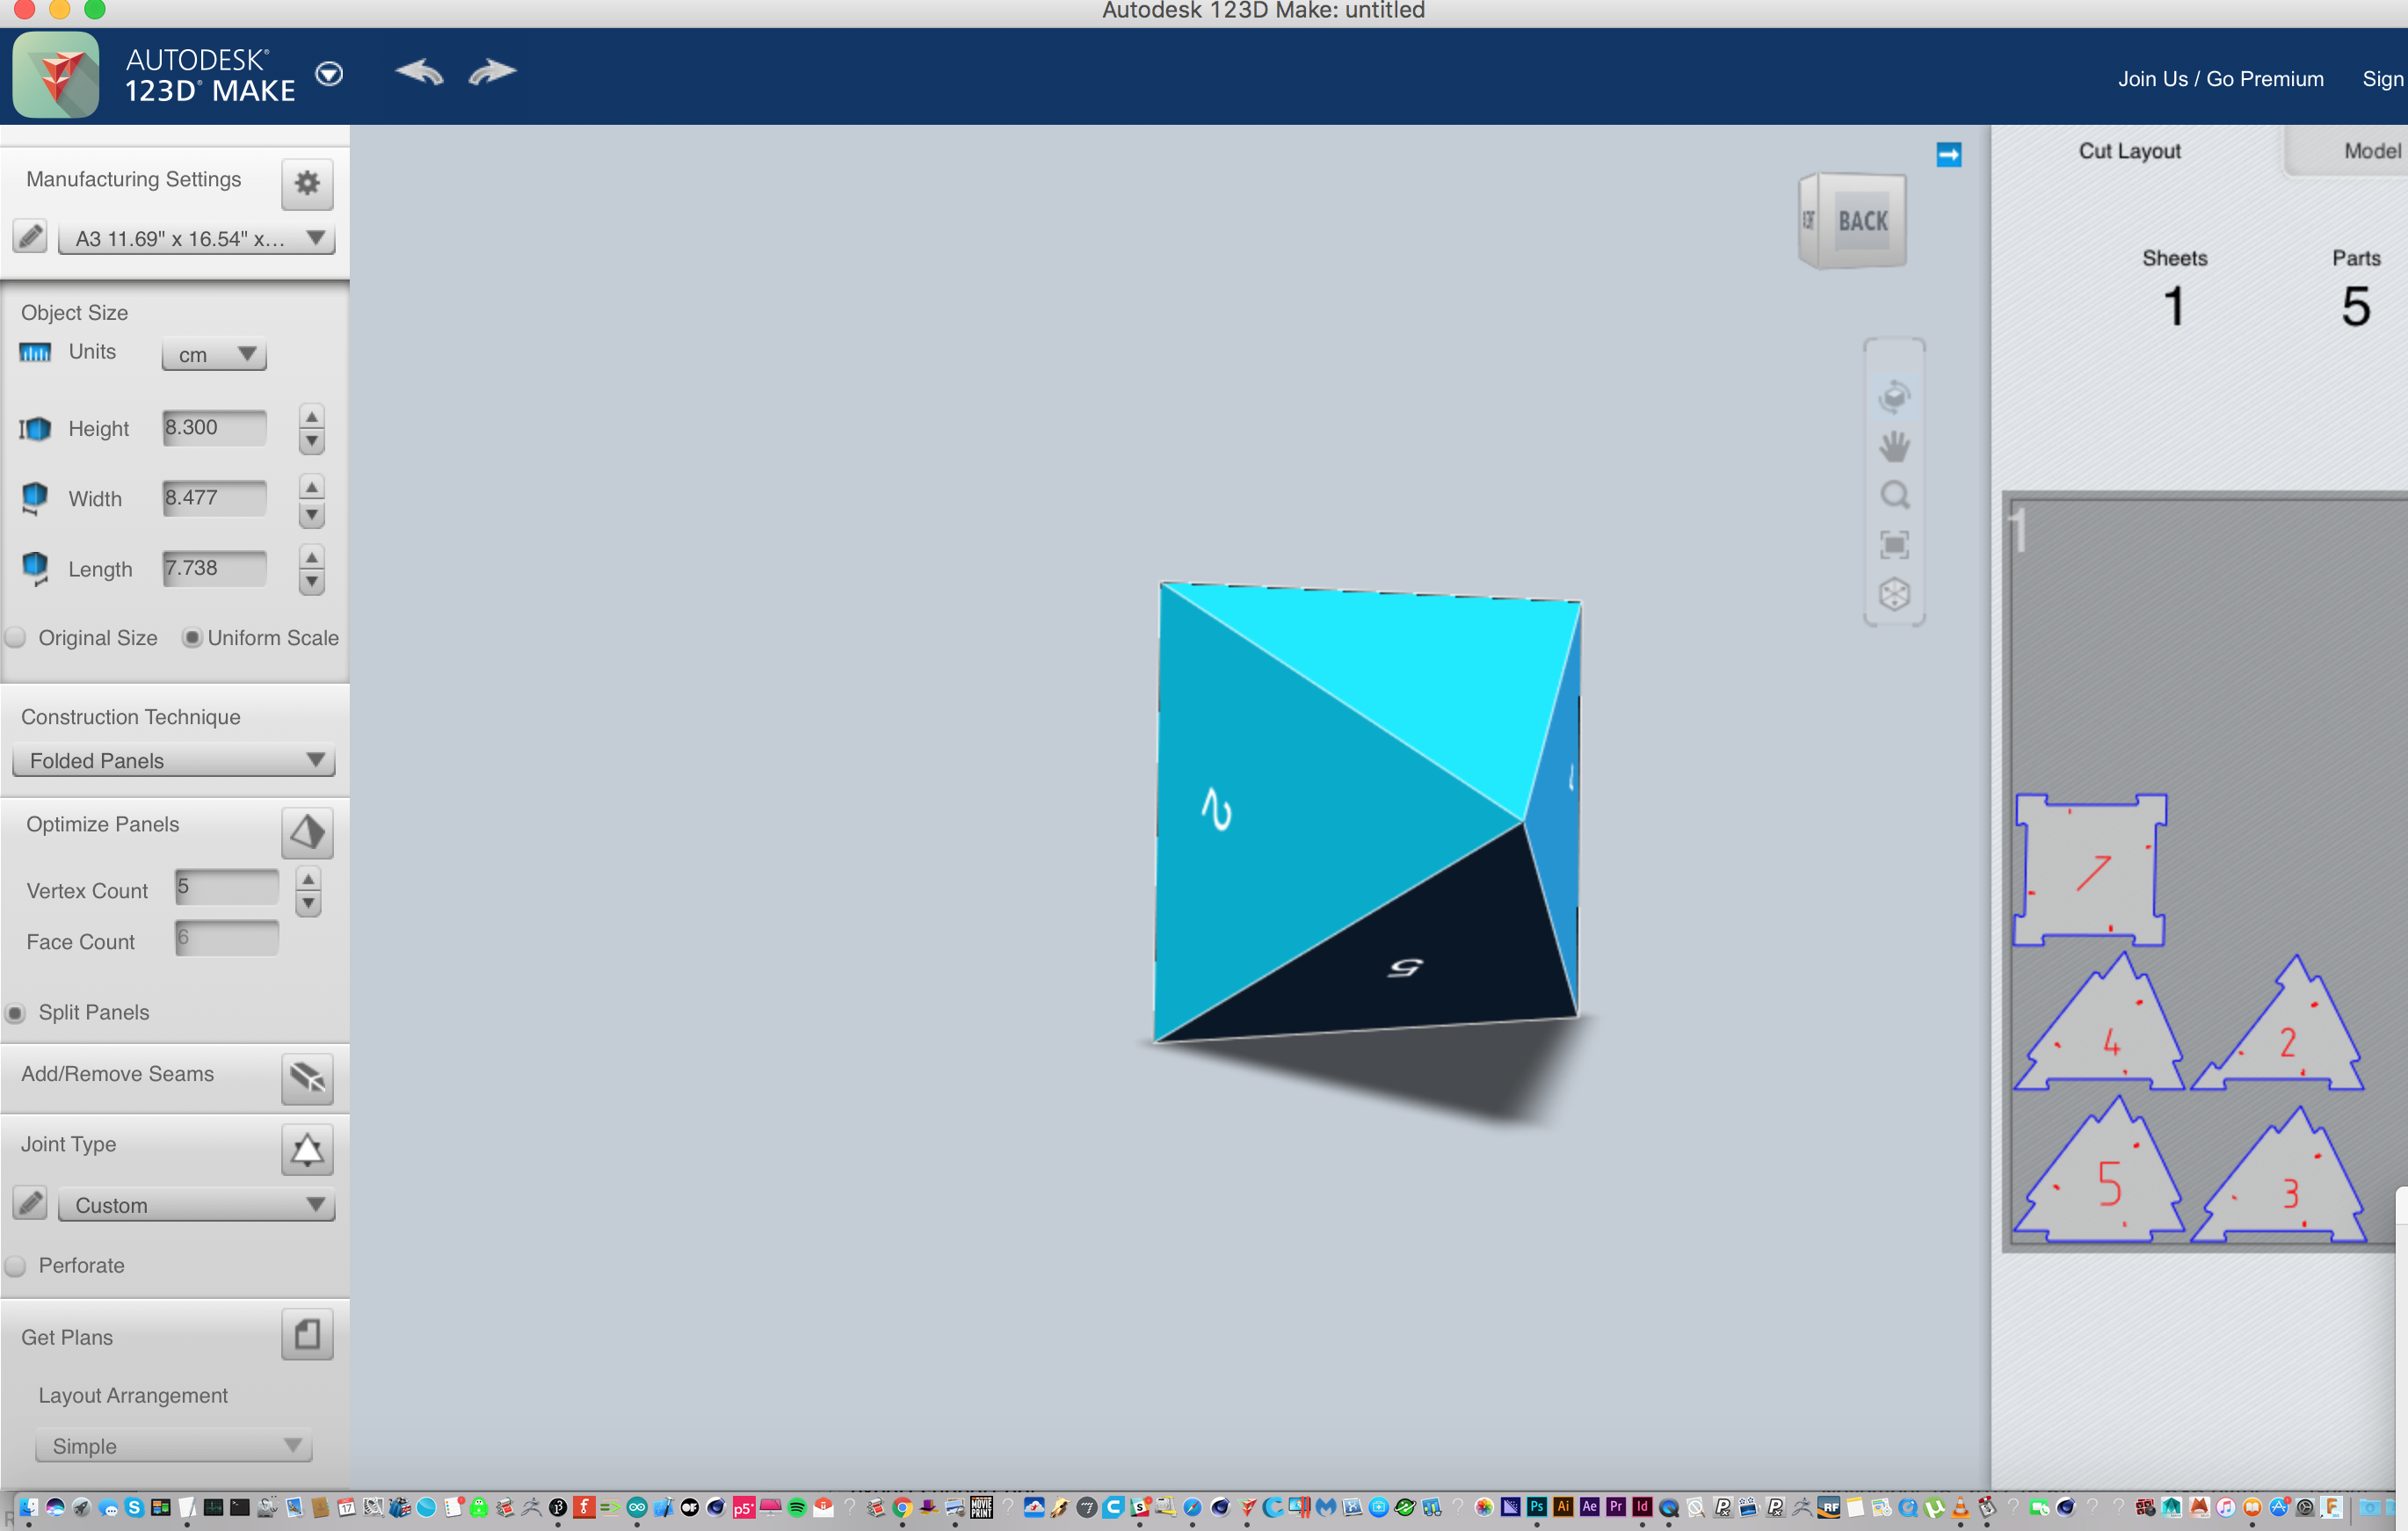
The initial design was realised in 3D and composited to produce a mock-up with light and sound. From the early stage of development it was important to make a paper mock-up and think about the support of the structure. This was accomplished without an issue. The support of the paper pyramids was made with 3mm copper wire. The pyramids were each slightly bent into each other to have a more organic shape and appearance.
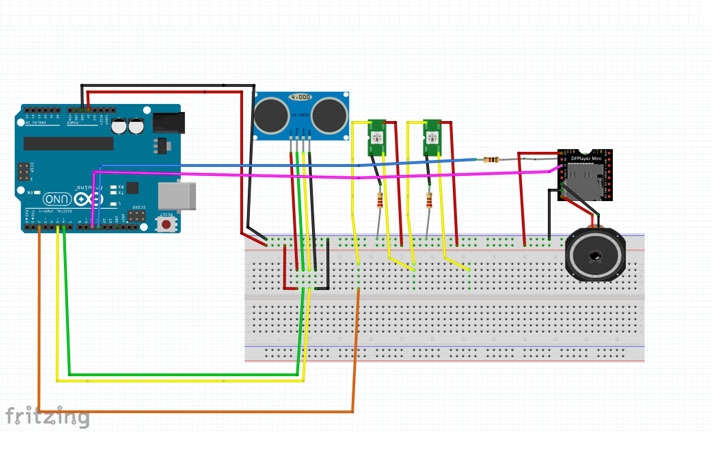
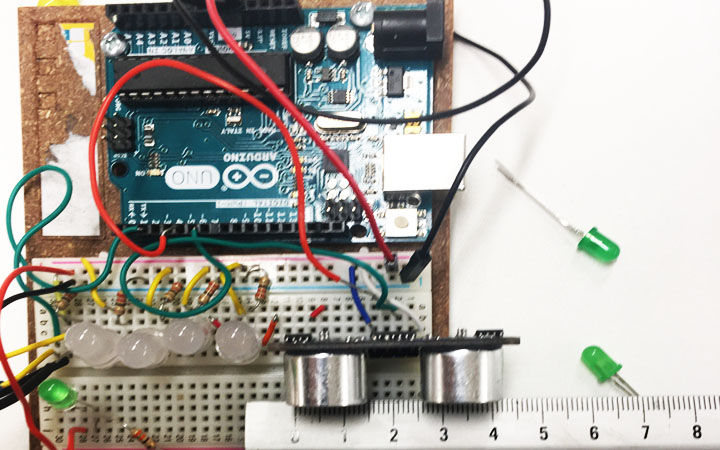
The next step was to make a prototype on the breadboard.
Technical
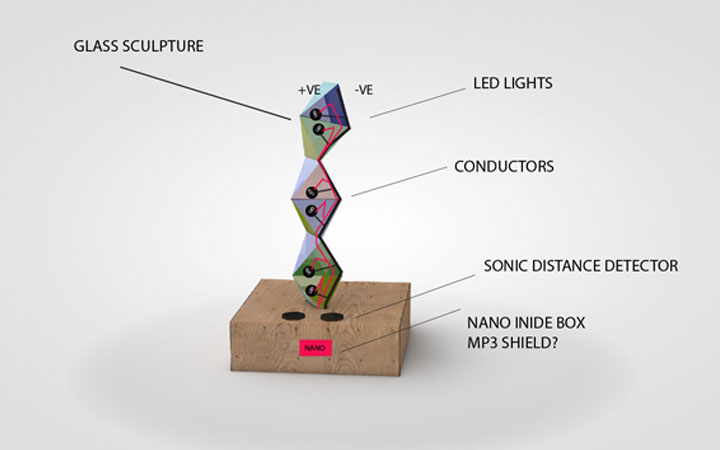
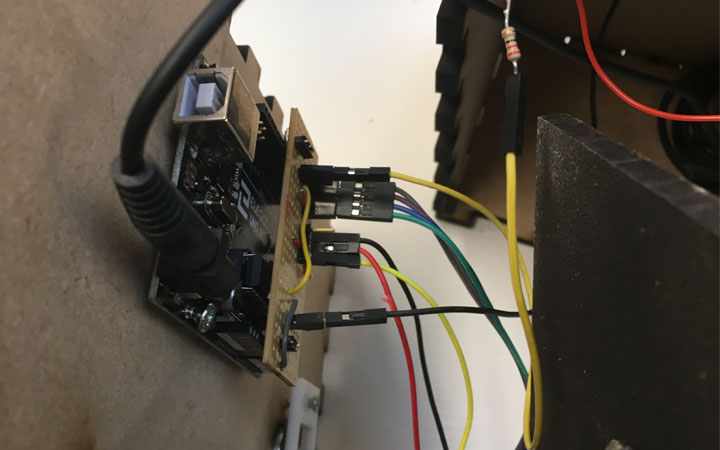
The design of the electronics was made on an Arduino Uno board.
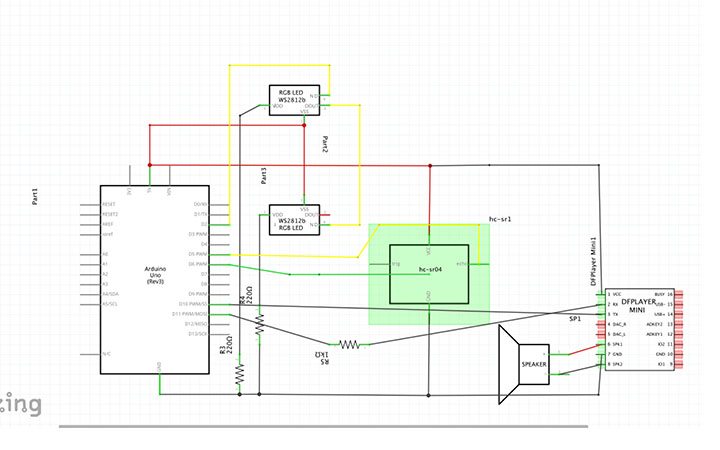
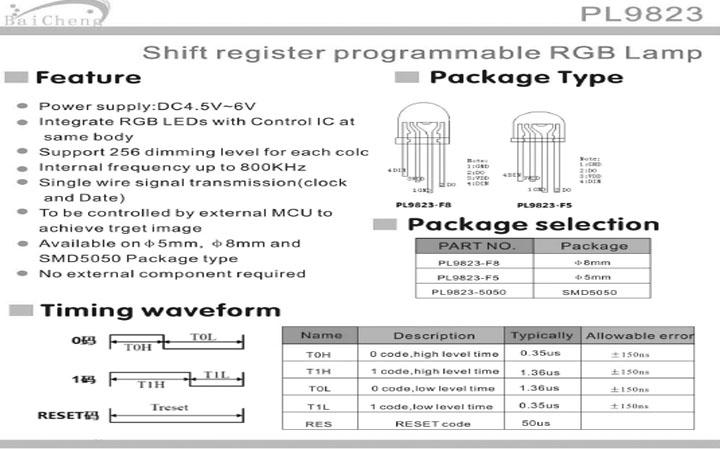
Using fritzing the initial electronics was designed to make a a sequence of 6 LEDs.
(LED 8mm PL9823-F8for WS2812 RGB Integrated Controller LEDs) These were to be controlled with a neopixel library with Arduino.
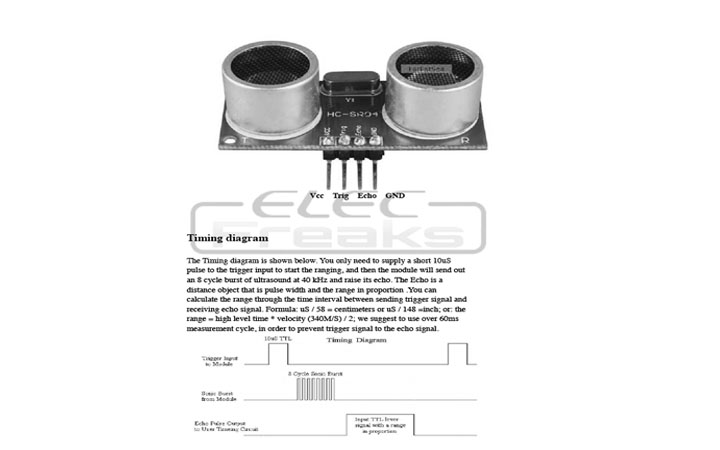
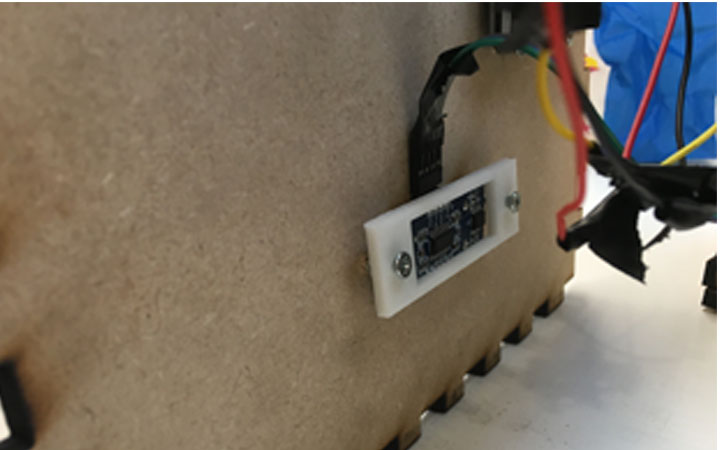
Once this had been built a proximity sensor was added into the circuit and tested with the lights and calibrated to the approximate height of the sculpture. HC-SR04 sensor was integrated into Arduino with a newping library.
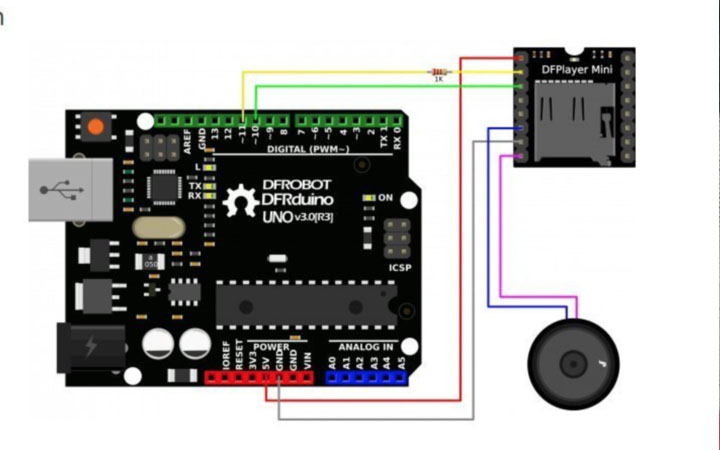
The final component I planned to use was a DFPlayer Mini SKU:DFR0299 mp3 player with a DFRobotDFPlayerMini library.
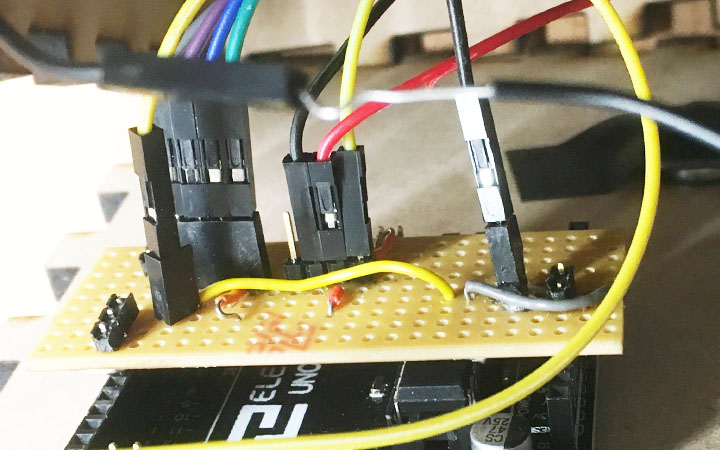
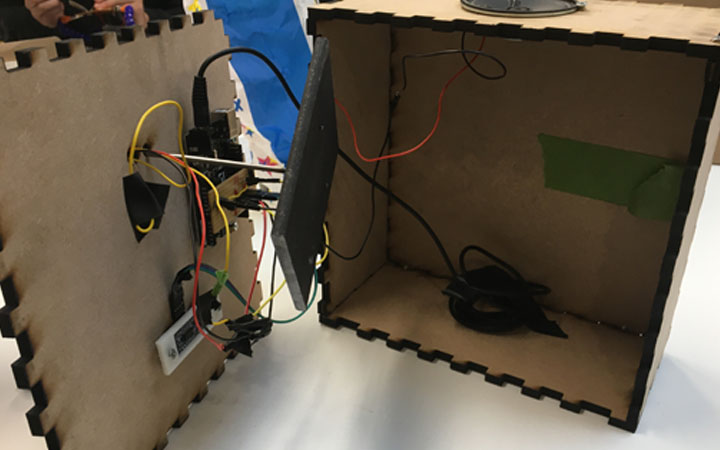
All the electronic inputs and outputs were made onto a protoboard.
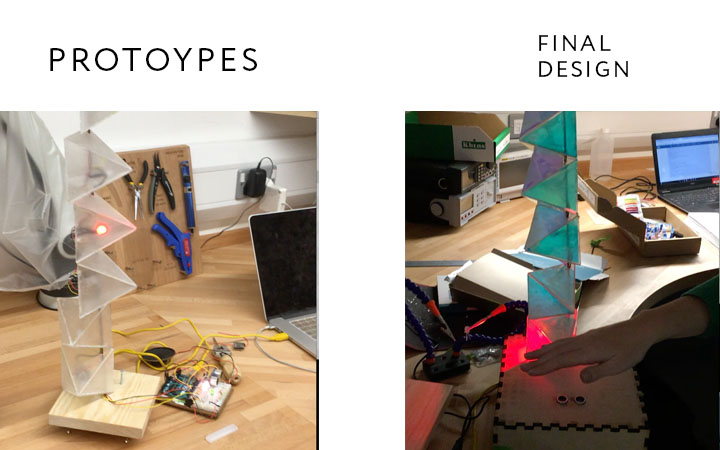
Fabrication
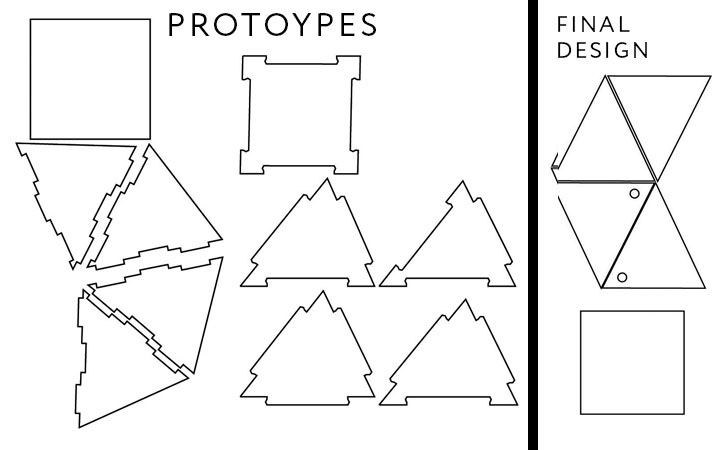
The initial fabrication of the light was to laser cut the 3D pyramid light pieces with 2mm acrylic sheets. The 3D pyramid structures were reconstructed in 2D with Adobe Illustrator based on the paper mockup dimensions. The pieces were cut out and assembled with glue but not before testing a tooth fit system that was not as seamless a direct assembly method. The acrylic pyramids were glued and then coated with a frosted spray and attached together with copper wiring.
The problem with this assembly was the support method. Copper wire 3mm seemed a good choice it couldn’t support the 6 acrylic square pyramids when tested. The alternative that was quick to test was a steel wire 3mm. The only issues with the steel wire was it could not be “moulded” into shape like the copper paper prototype had been and also the support of the steel wire was needed.
The next step was to solder the LEDs with wire as a daisy chain knowing that they only needed 3 wires to make the circuit. (The LED inputs were positive, negative, data in and out). Initially, jumper wires with female headers and wire was tested but it didn’t work so they were directly soldered and connected with wire. After this was done the circuit was retested with Arduino and then the sound chip was tested with the lights.
A further problem arose with the sound chip that delays were needed to play the sd card mp3’s and that didn’t work with speed of movement of the hand across the sculpture. The lights were effected by the mp3 delay and didn’t update in time. The mp3 player idea had to be dumped and another sound idea found. The idea of using the basic “arduino” tone library was thought of but thus wouldn’t compile with the “newping” library so an alternative library had to be found. I was lucky to use a library that was written to overcome this error called the “toneplayer” library.
Once this had been made to work the protoboard circuit was made and tested with Arduino and then assembled into a working prototype. The white acrylic pyramids were further adapted by adding on an iridescent film that was glued onto them and a basic box was made with the lasercuter to house the electronics.
Before the components were assembled inside the box, the steel wire needed a support system and this was accomplished by mig-welding a steel base onto the wire. The components were then assembled into the laser cut box. The sonar sensor was attached to the wooden box by using a 3d printed support plate. The speaker was supported by 2 screws.


REFERENCES:
ADAFRUIT NEOPIXEL:
http://satujamsaja.blogspot.com.ee/2016/06/arduino-controlling-pl9823-f8-rgb-led.html
https://learn.adafruit.com/adafruit-neopixel-uberguide/arduino-library-use
NEW PING:
https://playground.arduino.cc/Code/NewPing
DFPlayer Mini SKU:DFR0299
DFRobotDFPlayerMini.h
https://www.dfrobot.com/wiki/index.php/DFPlayer_Mini_SKU:DFR0299
TONE PLAYER
http://www.gammon.com.au/forum/?id=11504&reply=11#reply11
NEW TONE LIBRAY:
https://forum.arduino.cc/index.php?topic=468862.0
https://bitbucket.org/teckel12/arduino-new-tone/wiki/Home