KIT-E-KAT
IOT - THERMAL PRINTER PROJECT
A customisable character linking the Telegram messaging app with the Arduino MKR1000 board, outputting illustrations via a thermal receipt printer.

I wanted to take on an “internet of things” project to get some experience in interfacing the Arduino with web applications - using the thermal printer as my output of choice.I’ve been interested in using thermal printers in my games because I feel like as everything becomes digital, it feels novel and nostalgic to be given an actual physical object.
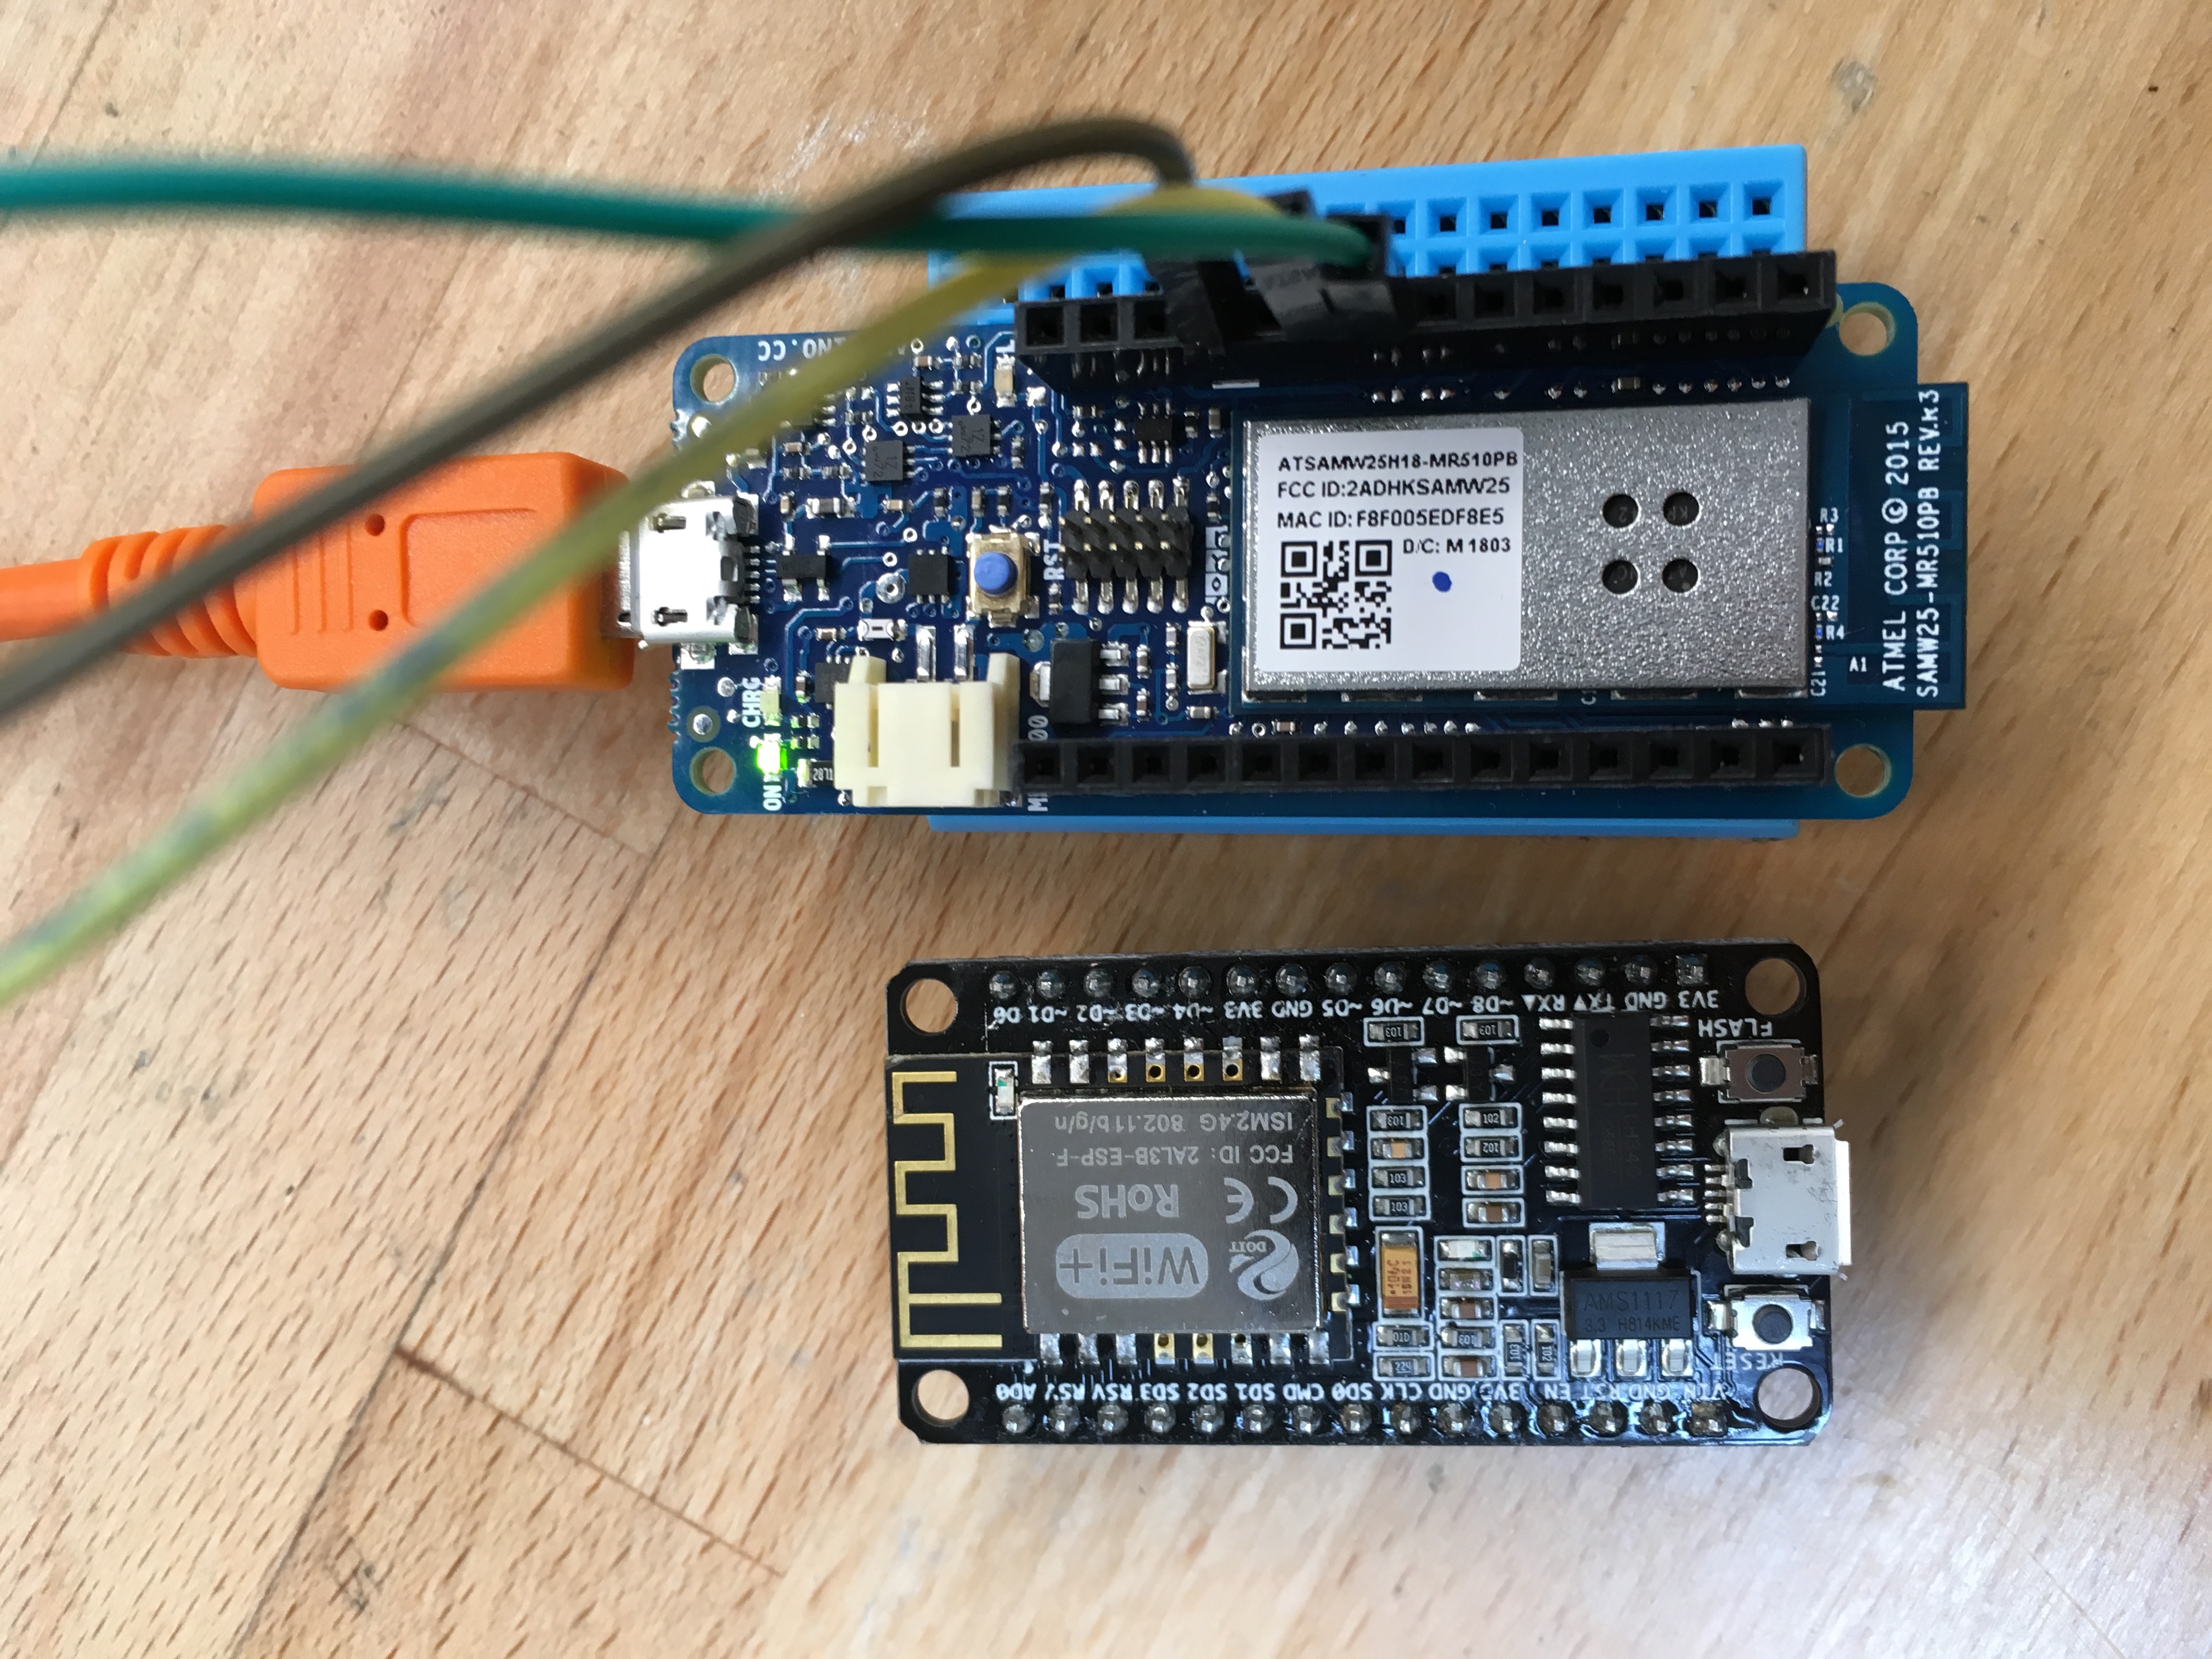
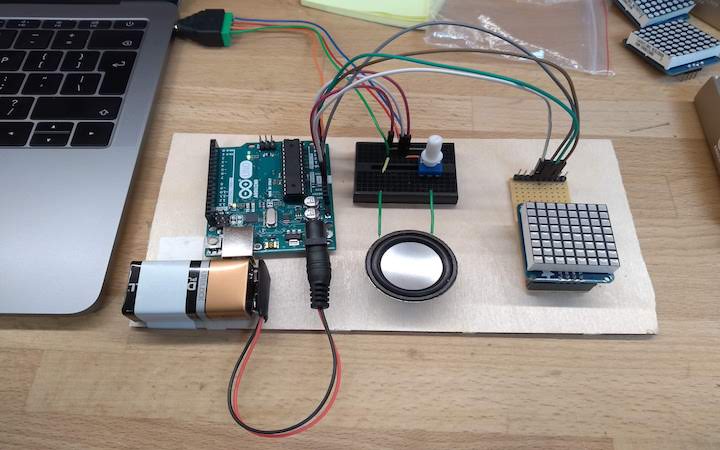
I went back and forth between the MKR and the ESP as I was trying to figure out which would give me better access to libraries, and which would have a more stable, reliable connection to wifi. The ESP seemed like a more reliable connection - but due to low memory, it was prone to timing out when I tried to send through the BMP image files. I thought I might have to go with the ESP as the software serial library I usually used for the thermal printer wasn’t supported - but I found a workaround using hardware serial and was able to run communication at two different speeds.
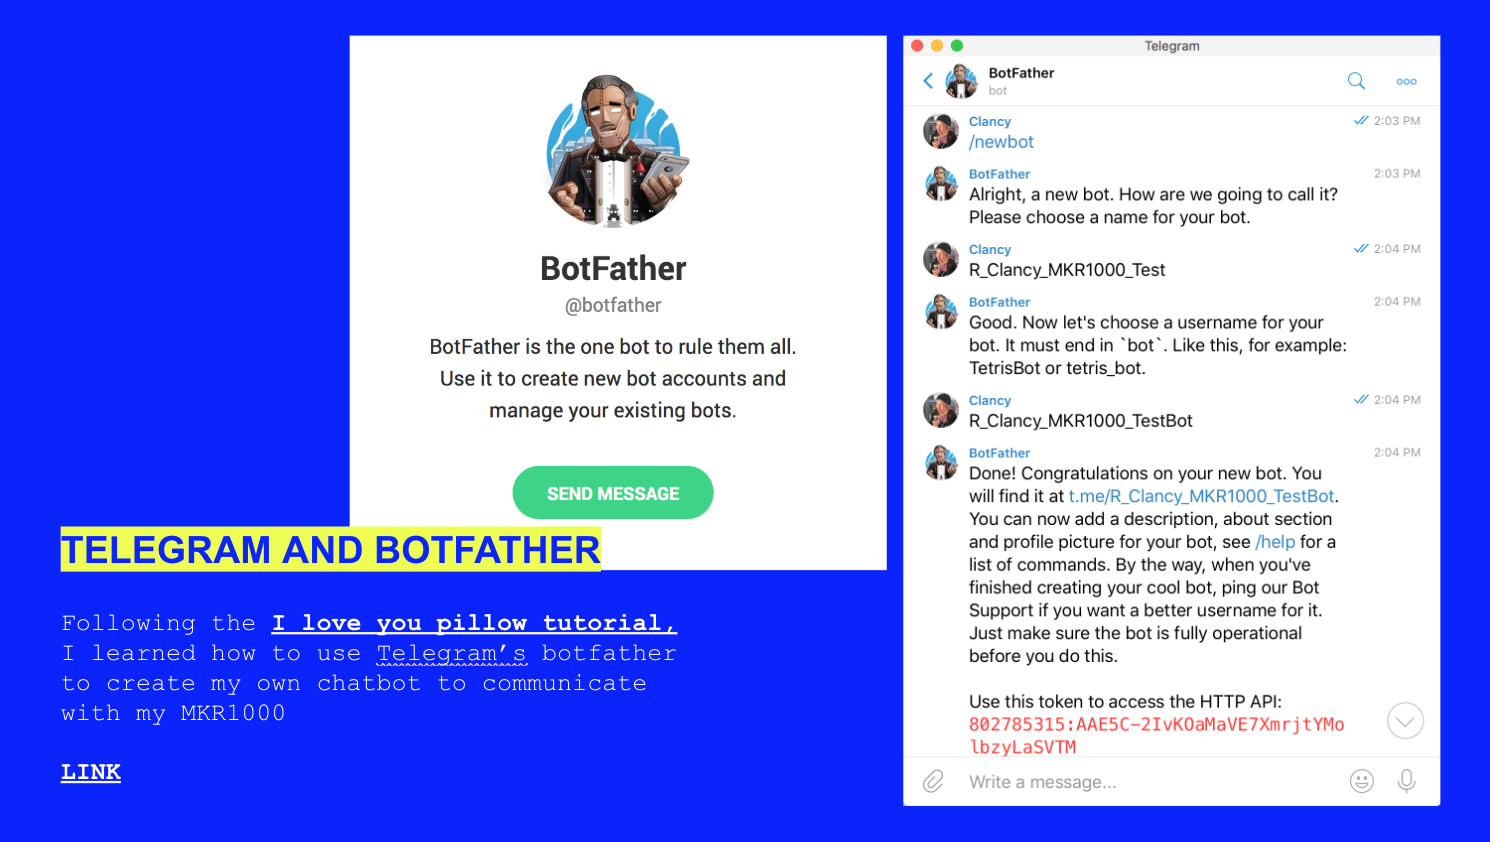
Following the I love you pillow tutorial, I learned how to use Telegram’s Botfather to create my own chatbot to communicate with my MKR1000. This provides me with a chatbot which functions as a regular contact in the Telegram app - meaning other people can add my bot and chat with it from their devices, both mobile and desktop. Botfather issues you a "bot token" - the address of your specific bot which you will need to reference in the Arduino sketch.
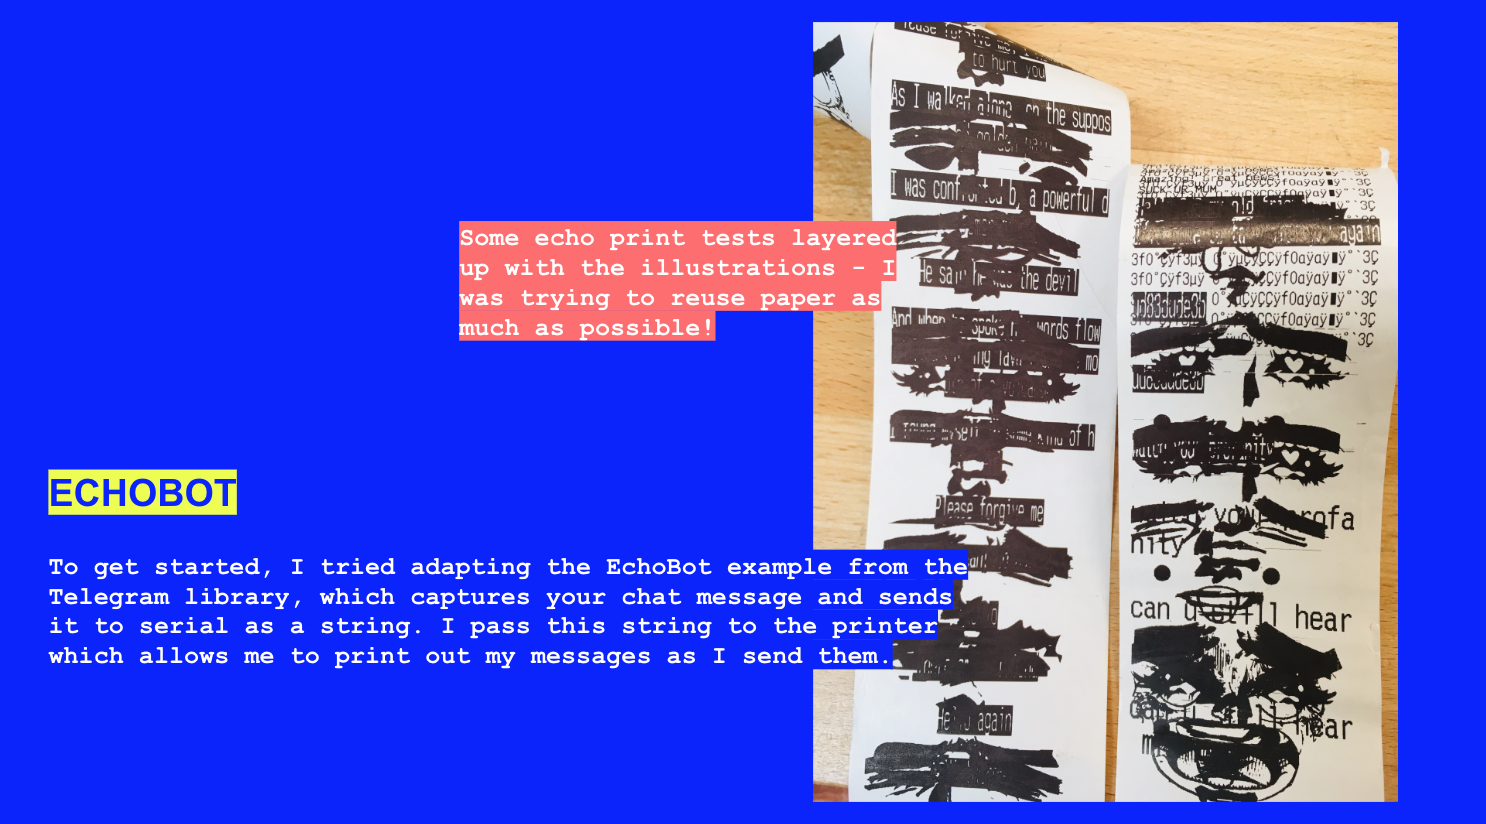
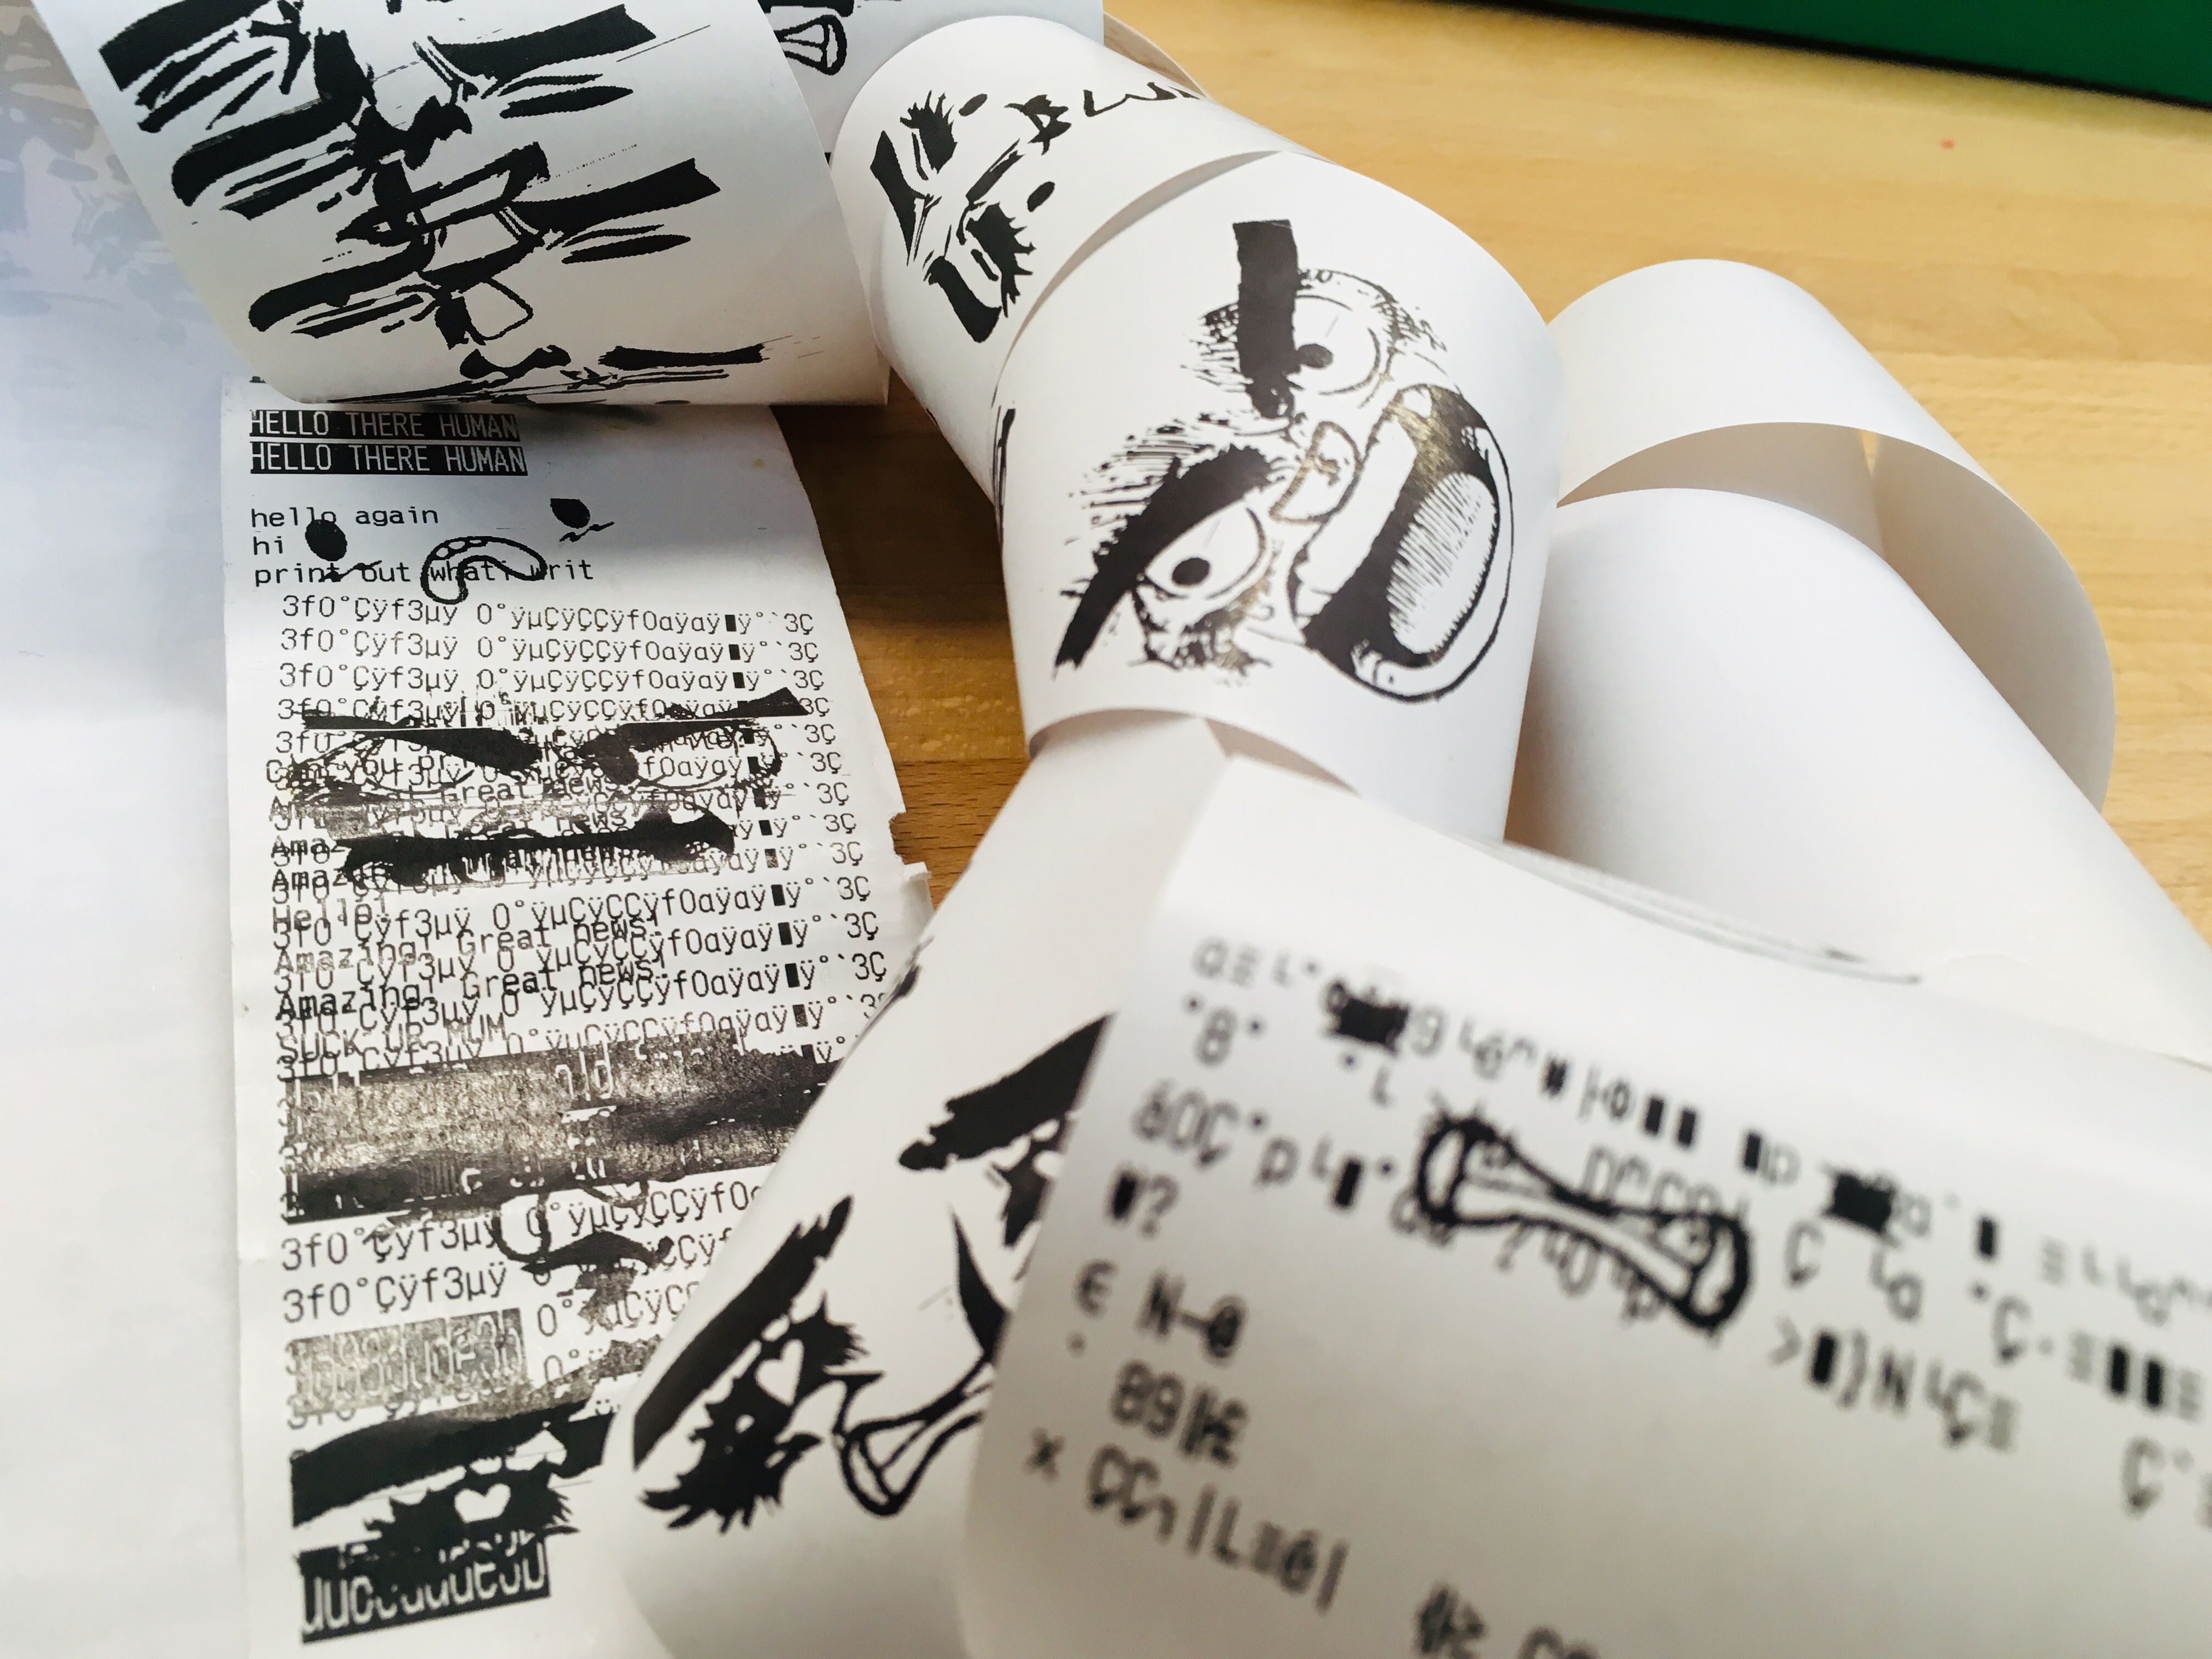
To get started, I tried adapting the EchoBot example from the Telegram library, which captures your chat message and sends it to serial as a string. I pass this string to the printer which allows me to print out my messages as I send them.
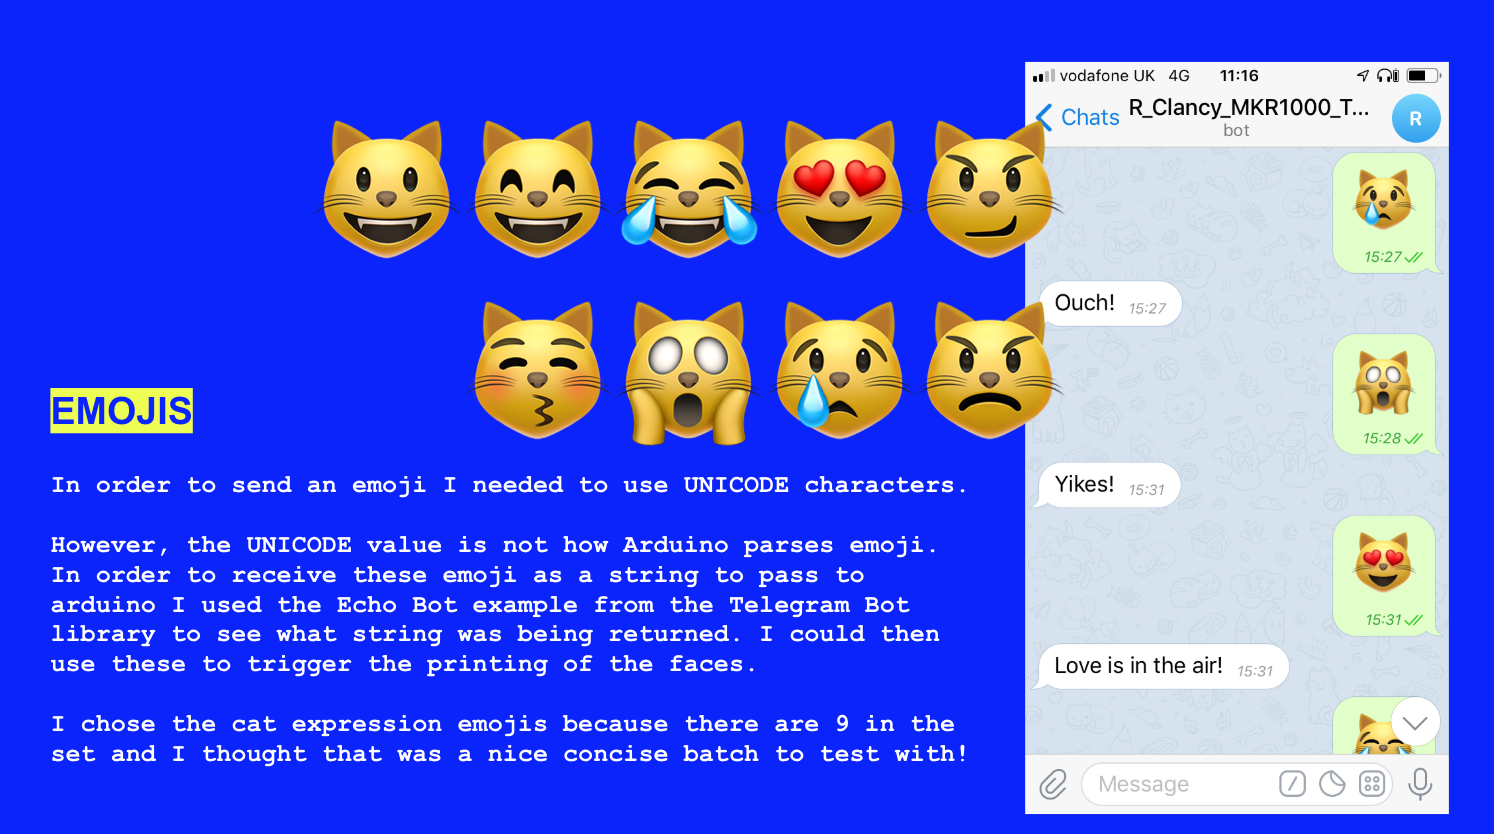
In order to send an emoji I needed to use UNICODE characters. However, the UNICODE value is not how Arduino parses emoji. In order to receive these emoji as a string to pass to arduino, I used the Echo Bot example from the Telegram Bot library to see what string was being returned. I could then use these to trigger the printing of the faces. I chose the cat expression emojis because there are 9 in the set and I thought that was a nice concise batch to test with!
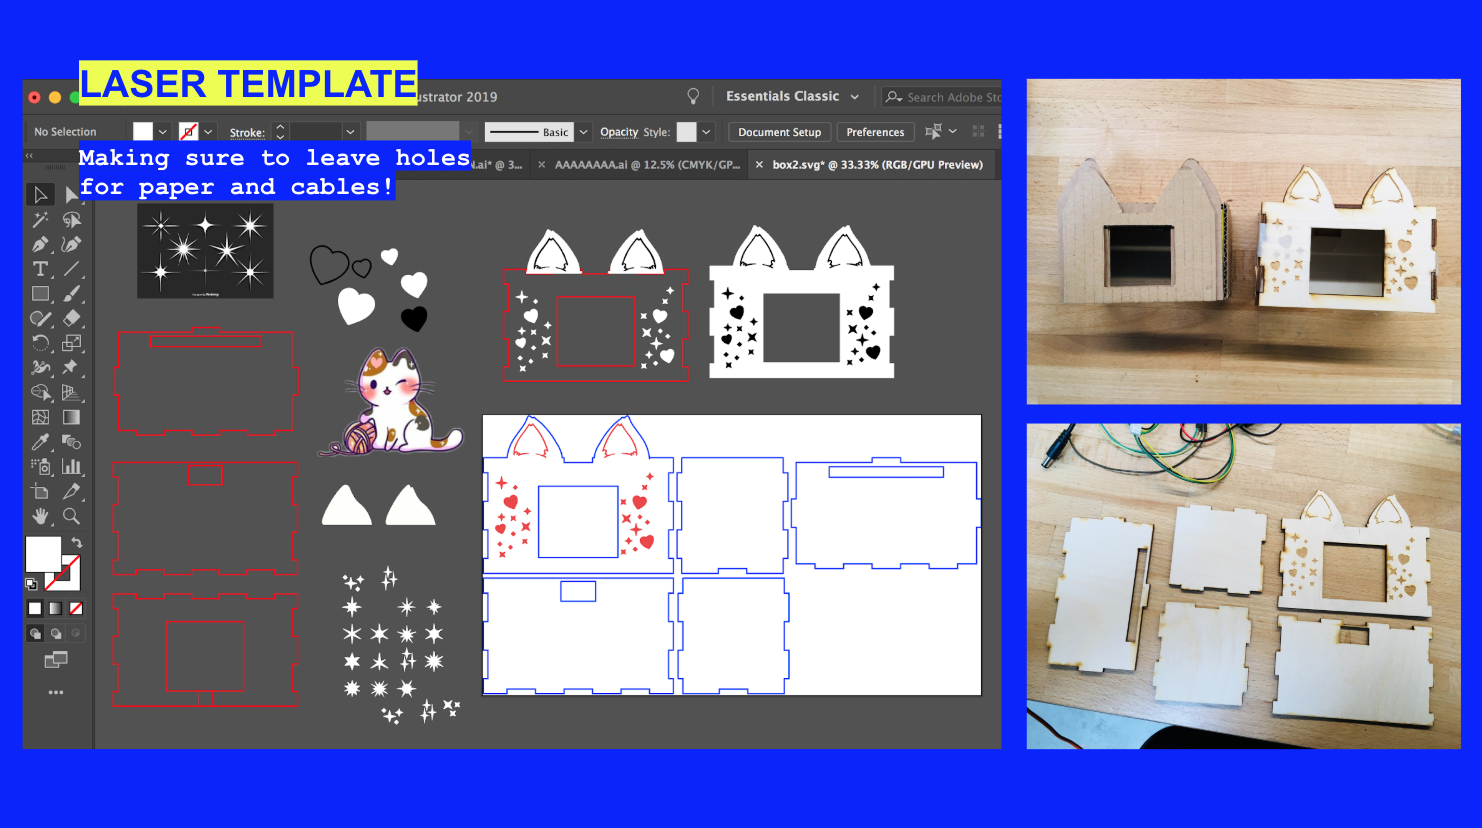
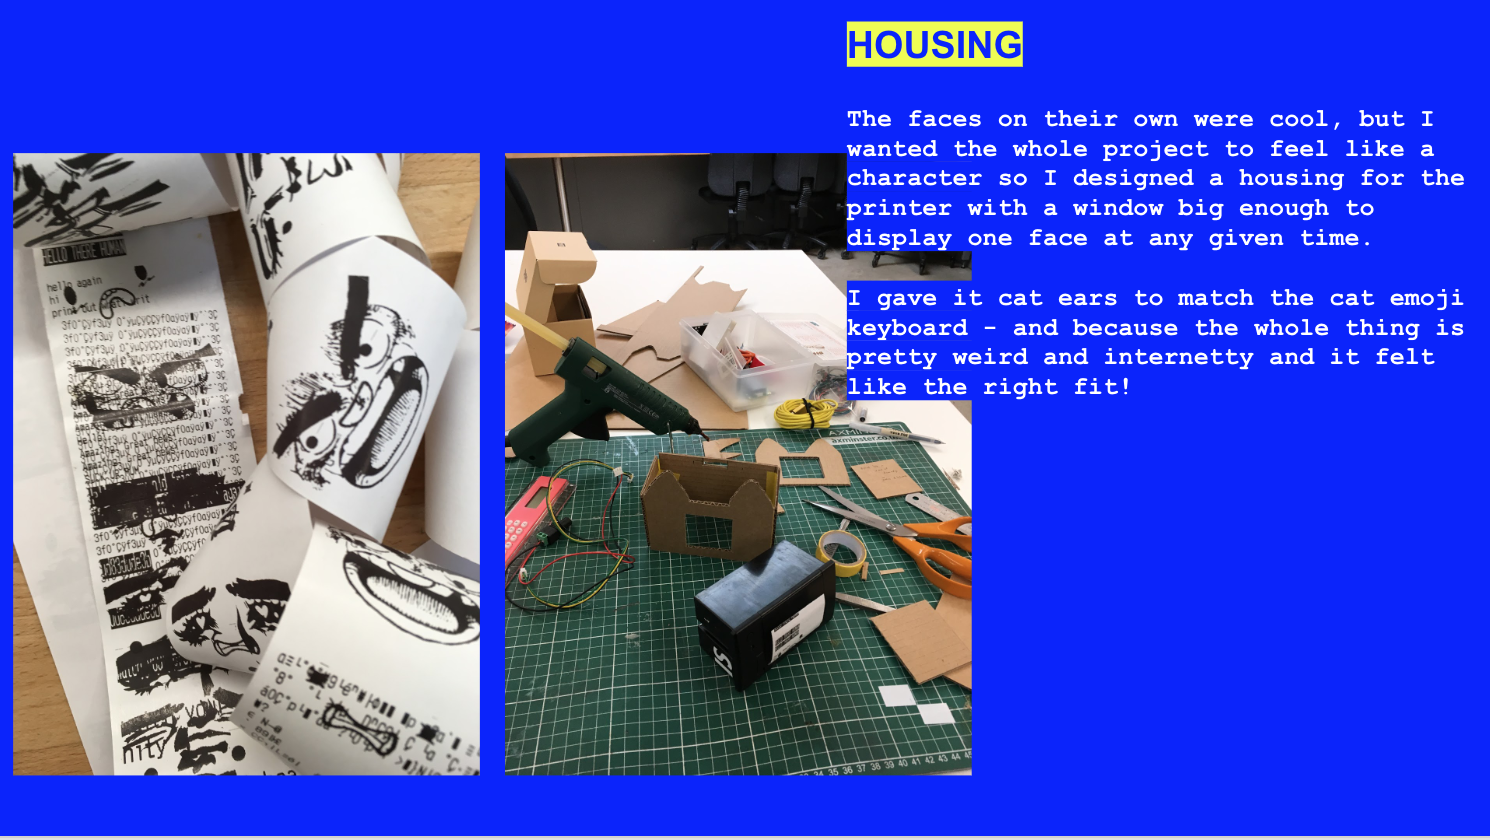
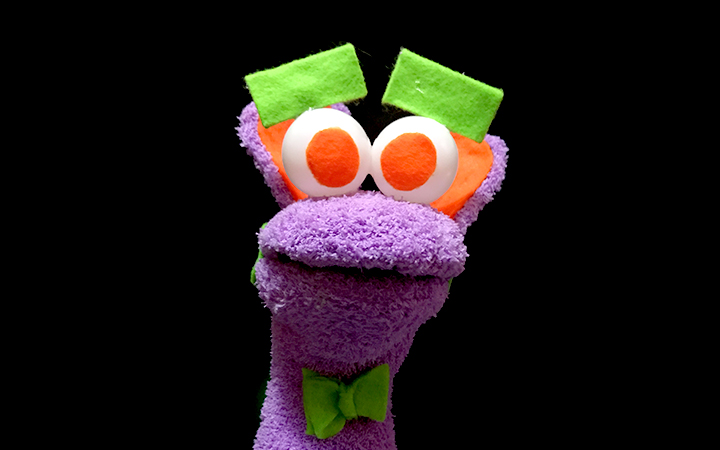
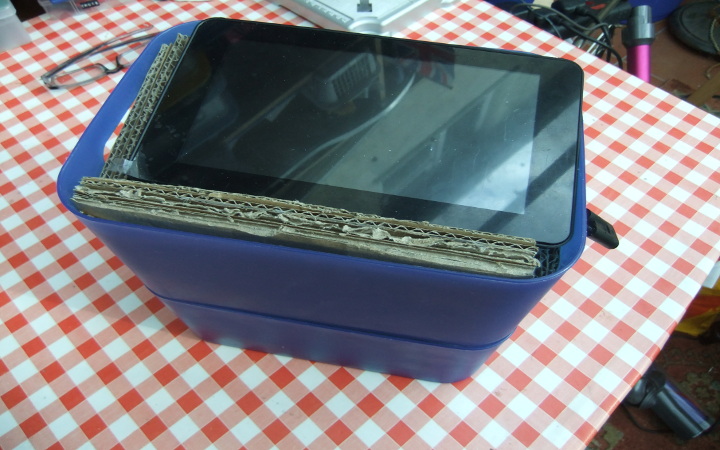
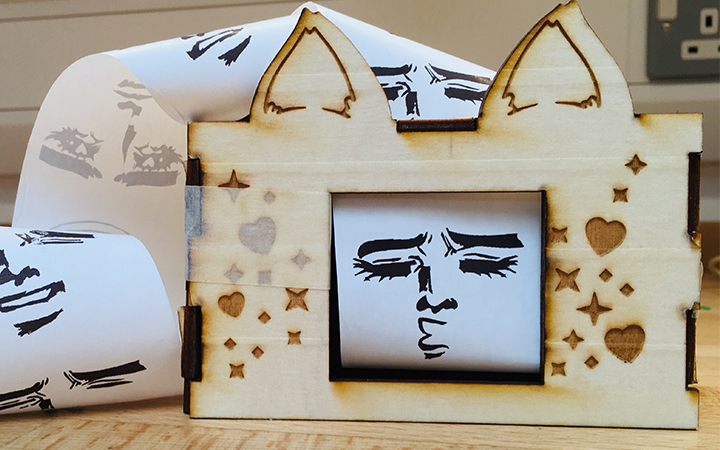
The faces on their own were cool, but I wanted the whole project to feel like a character so I designed a housing for the printer with a window big enough to display one face at any given time. I gave it cat ears to match the cat emoji keyboard - and because the whole thing is pretty weird and internetty and it felt like the right fit!
LIBRARIES
- Adafruit Thermal
- ArduinoJson
- WiFi101
- SPI
- TelegramBot
HARDWARE
- Adafruit thermal printer
- 5v switching power supply
- MKR1000 board
- NodeMCU ESP8266 (testing only)
- Arduino
- Telegram messenger