


Visual Noise
This projection-mapped work explores noise in different ways, with the visual outcomes ranging from predictable to unexpected. Can simple geometry, lines, circles and noise combine to make fluid, natural and physical looking forms?
produced by: Izzy McLellan
Introduction
This project was an opportunity for an investigation into achieving increasingly natural and unpredictable appearing forms using a simple set of tools - circles, lines and noise. The starting point was a choice of using the circle as the shape to map to, a shape which prompts natural forms and growth patterns. I wanted every choice to reflect and respect this base form, to highlight and enhance its features. We chose to projection-map onto concentric circles (an inner circle at the back and two rings in front of varying distances from the projector). To me, this suggested an effective technique to explore in some way could be creating an even further illusion of depth within the code, not just the shape, to give the illusion of a tunnel. Each of the three sketches in inspired by a slightly different element from science and nature.
Concept and background research
Visual inspiration came from elements of mathematics, physics and nature, and in particular, early inspiration came from looking into the uses of circles in generative, modern, kinetic and sculptural art.
"As in chemistry, ‘the formula creates the form’."
- Eye Magazine, The designer as programmer, Karl Gerstner: Review of 5x10 Years of Graphic Design, 2002.
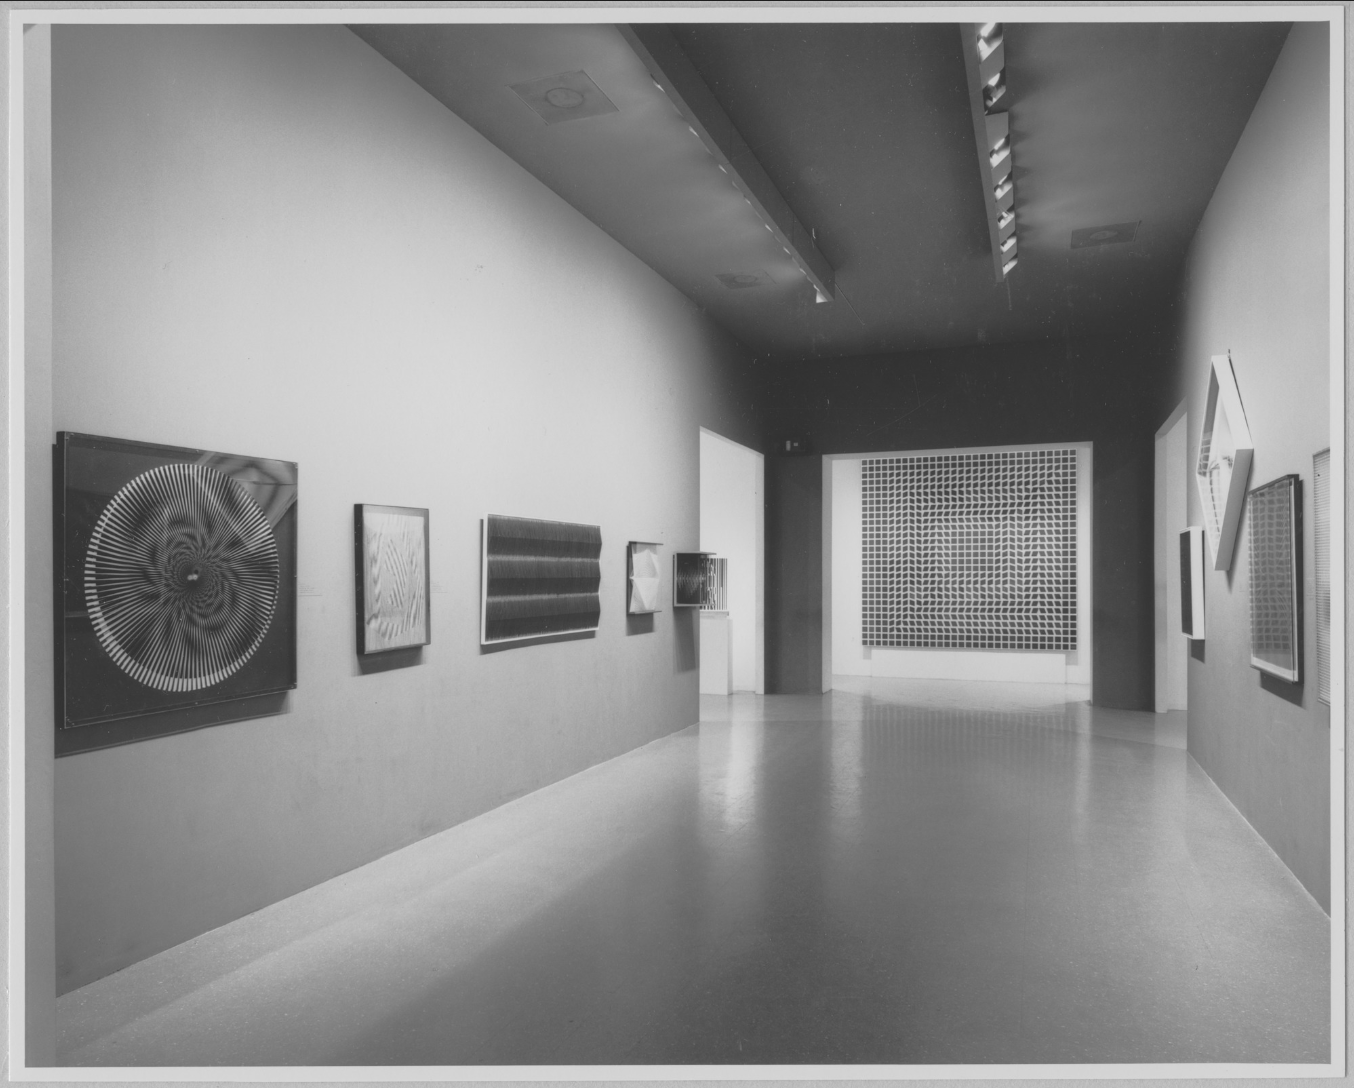
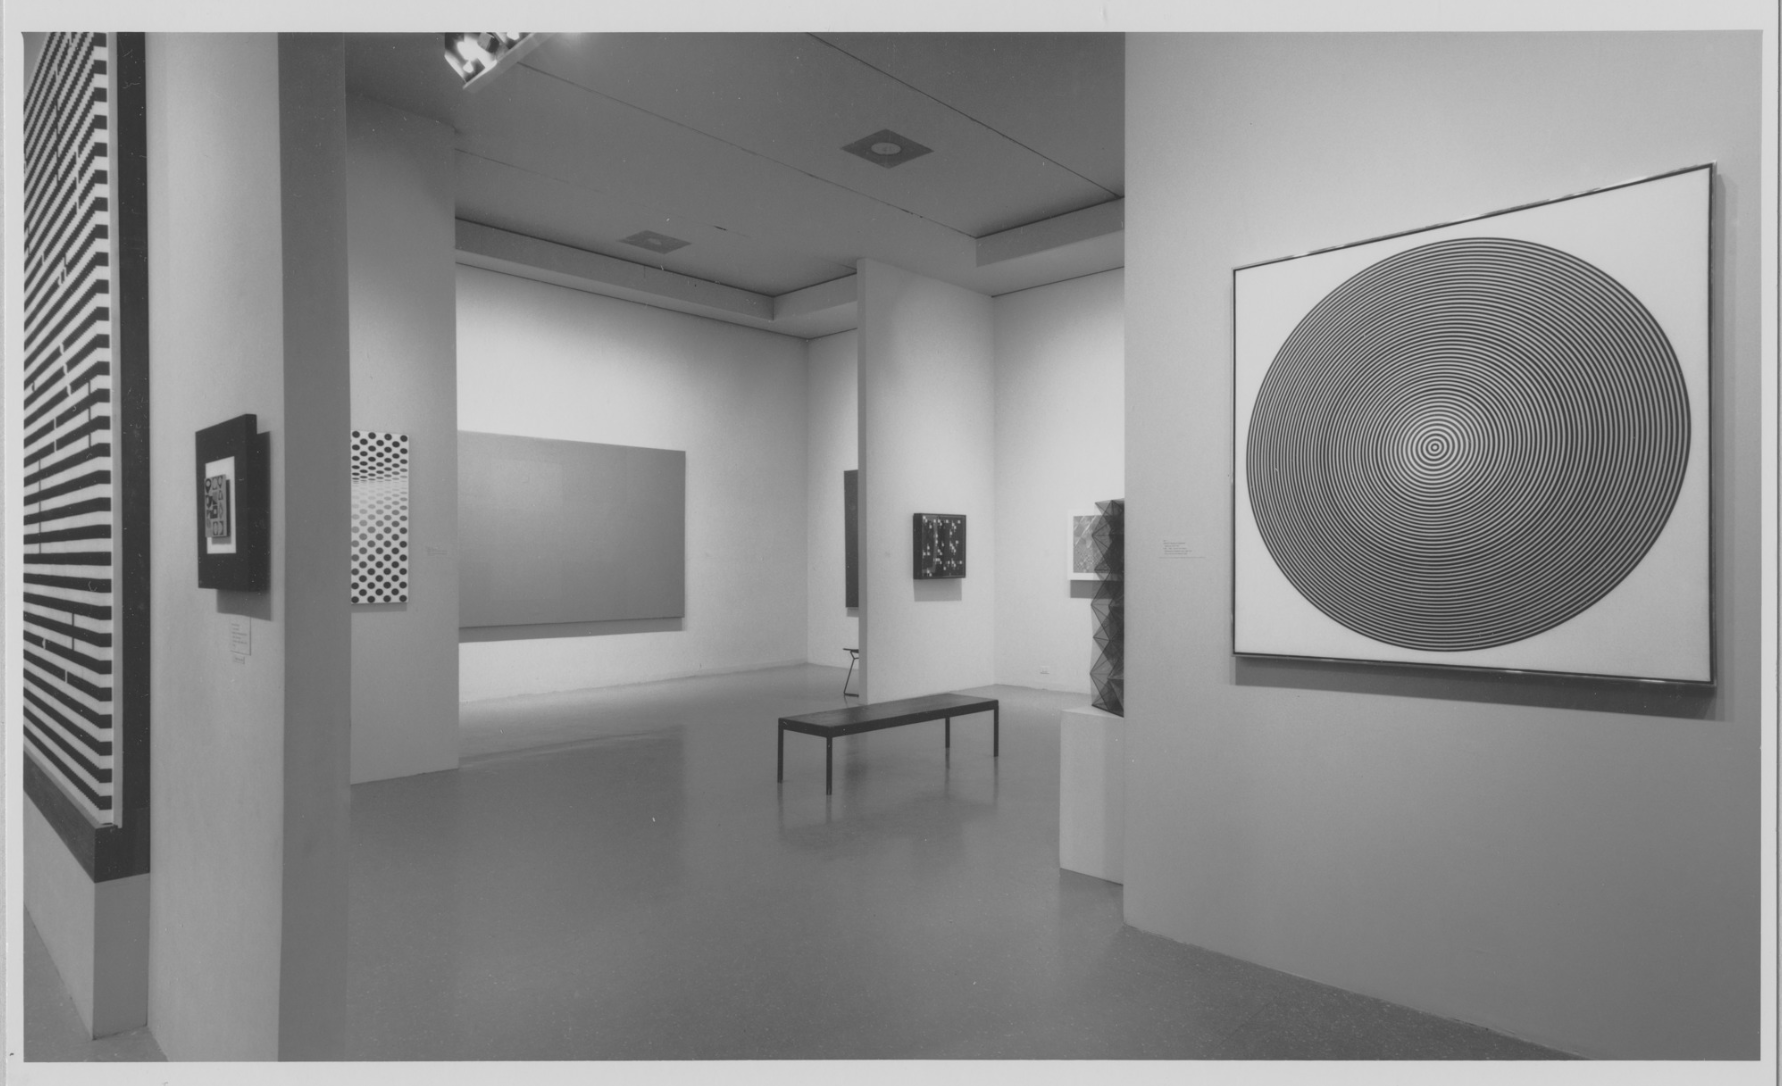
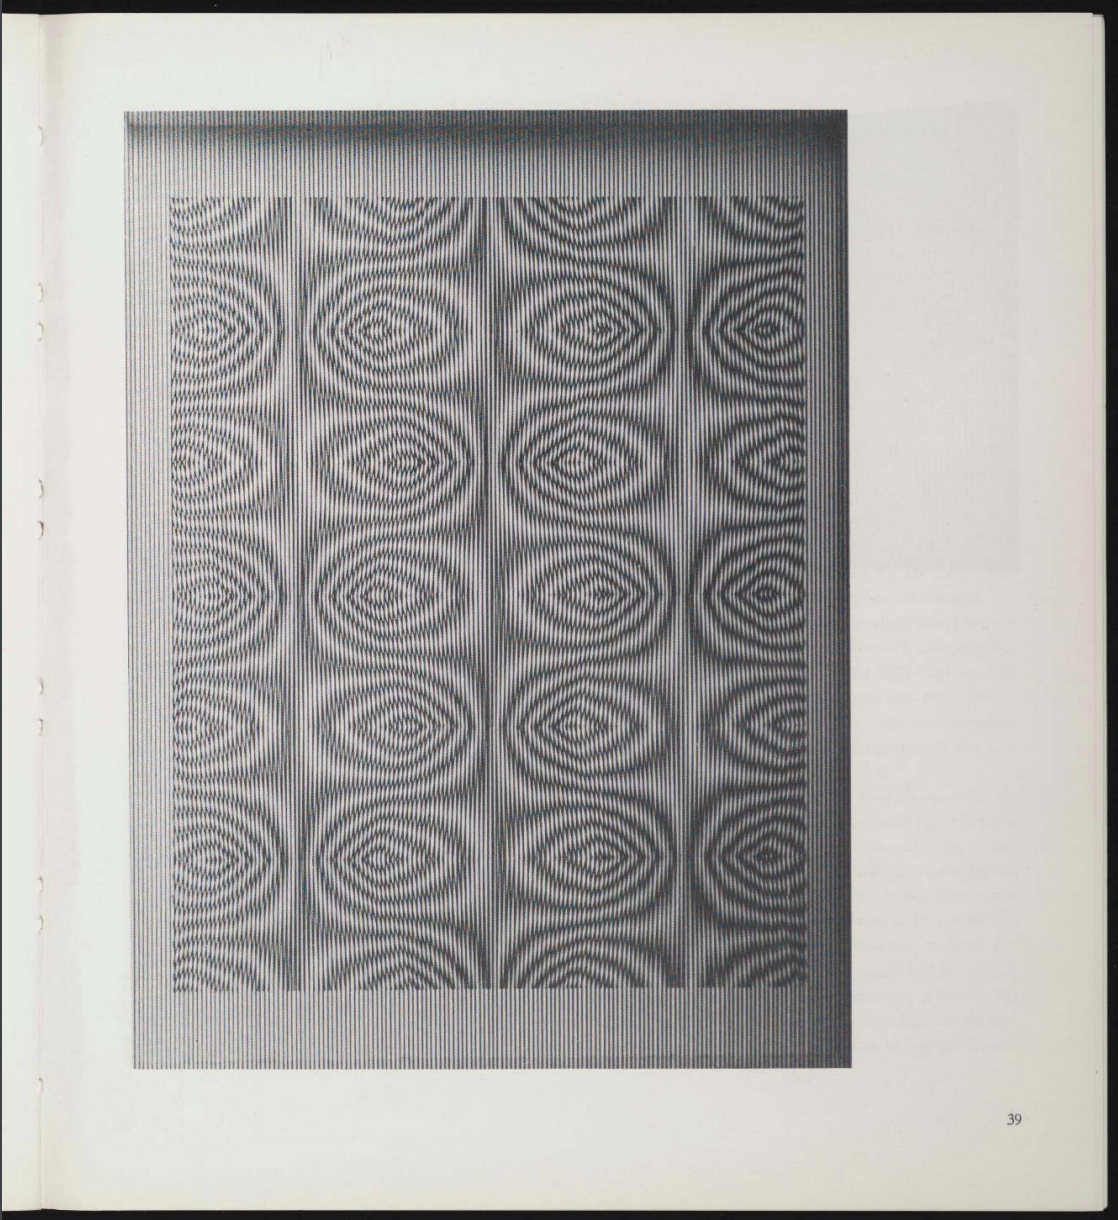
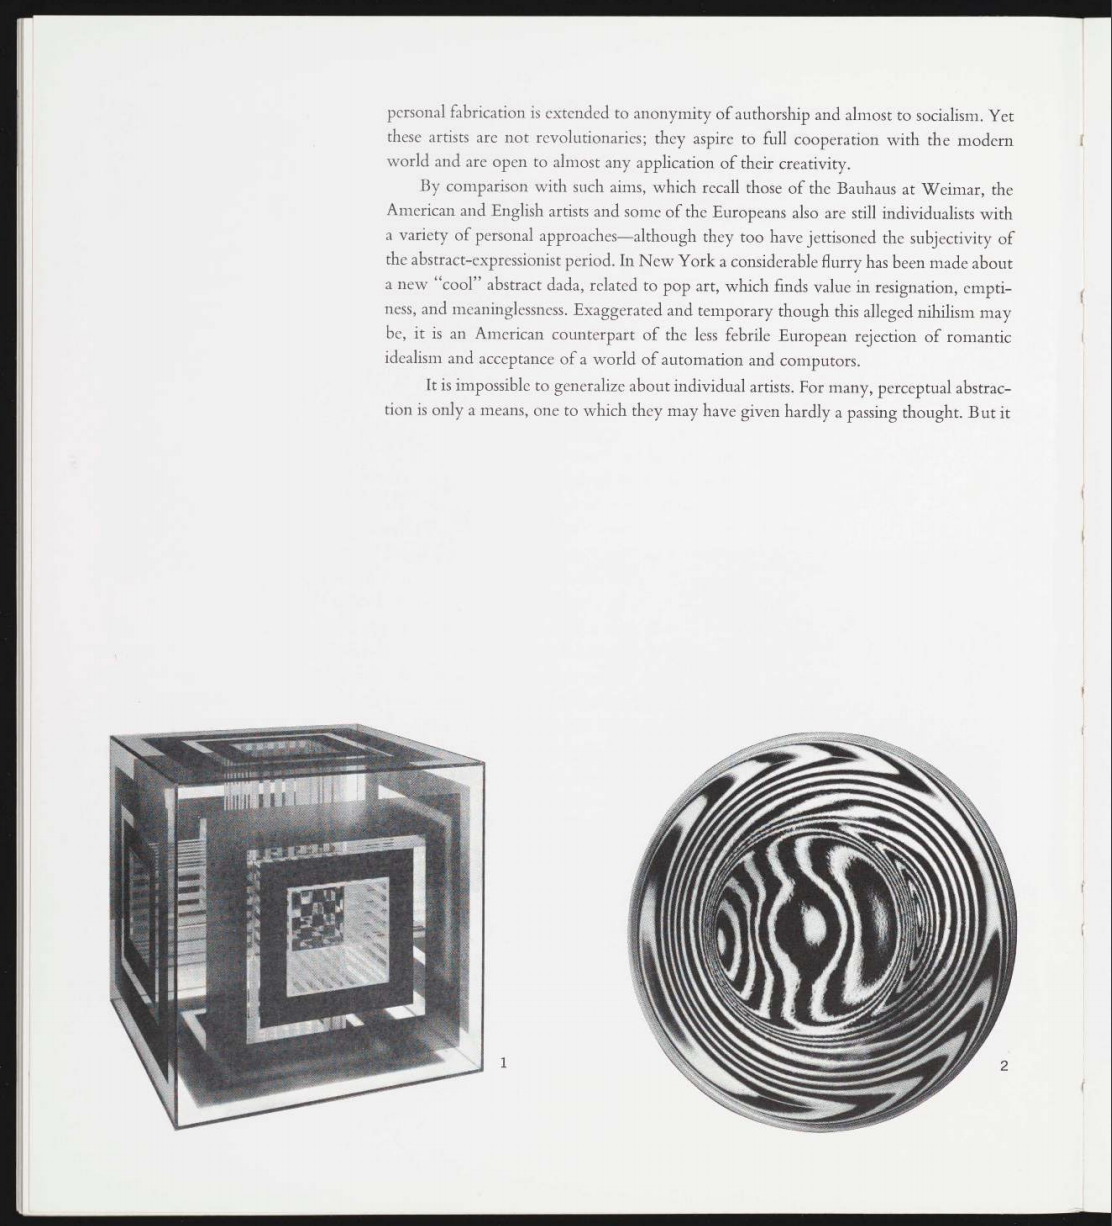
Images
1 - 4. 'The Responsive Eye' February 23–April 25, 1965, The Museum of Modern Art.
5. Karl Gerstner (Swiss, 1930–2017), 'Das Gelbe Exzentrum,' 1956, acrylic on panel.
6. Takahiro Kurashima, acrylic.
Technical
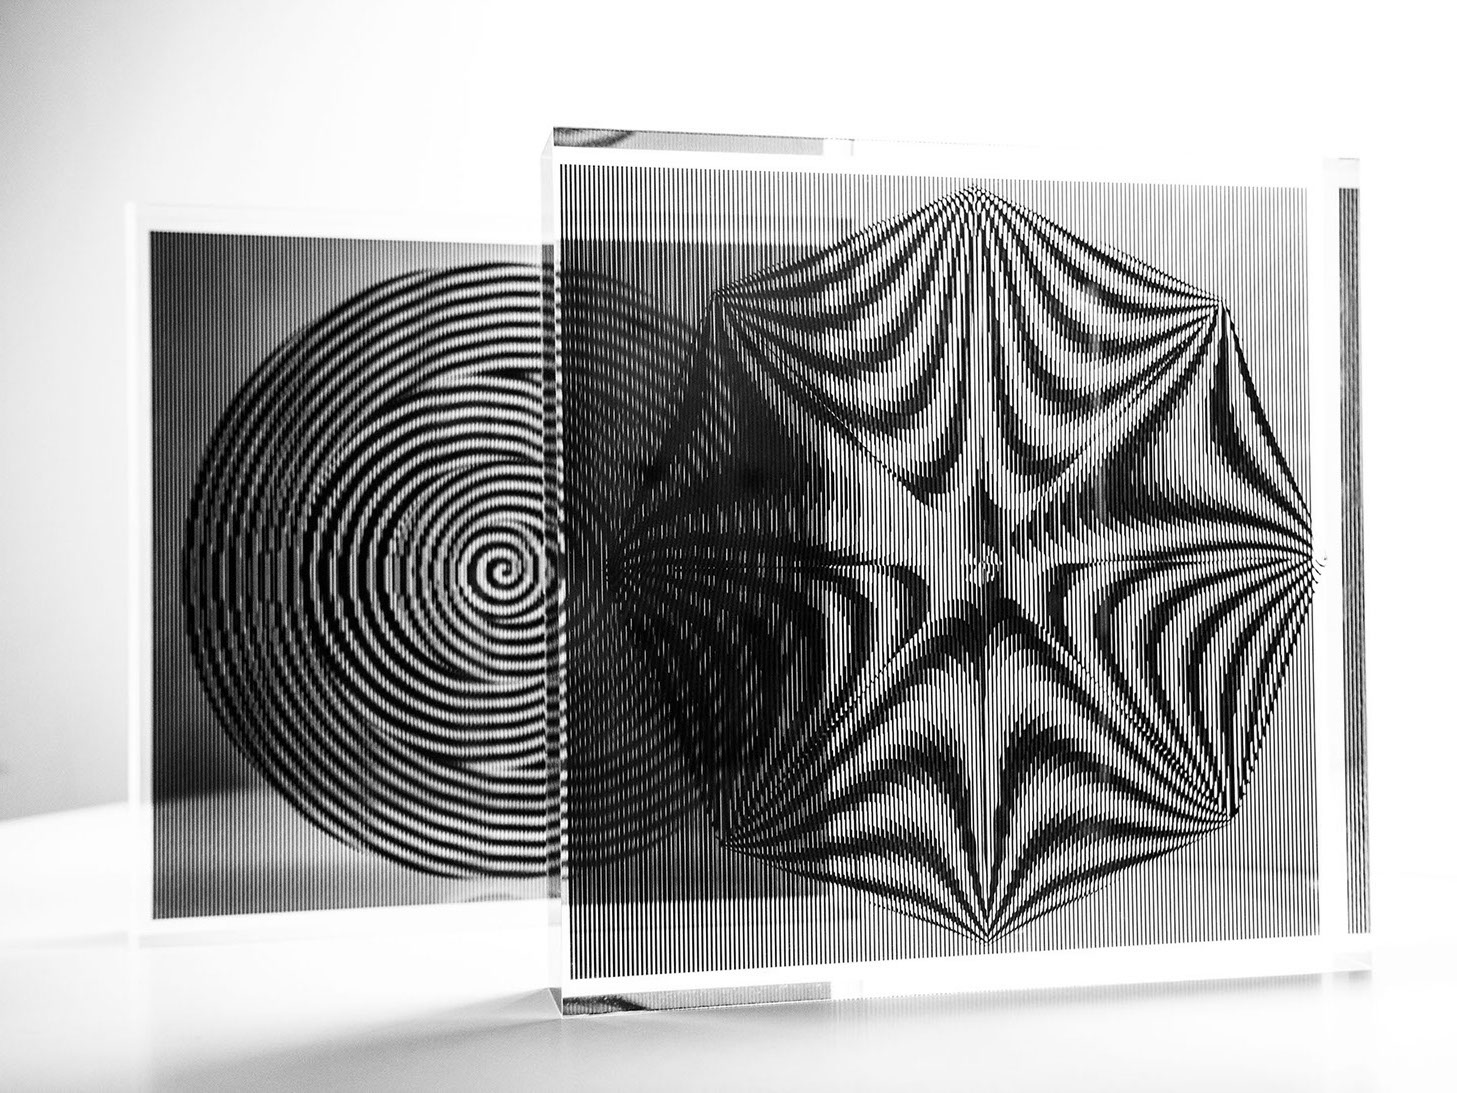
The sketches were coded using openFrameworks in conjunction with the addon ofxPiMapper, which presented some intital problems when attempting to use circles, particularly when layered. Working with the other members of my group and reaching out to the workshops in creative coding forum, a solution of masking within our fbo classes was found which allowed us to use a quad masked to a circle to layer shapes and create the rings of our sketches.
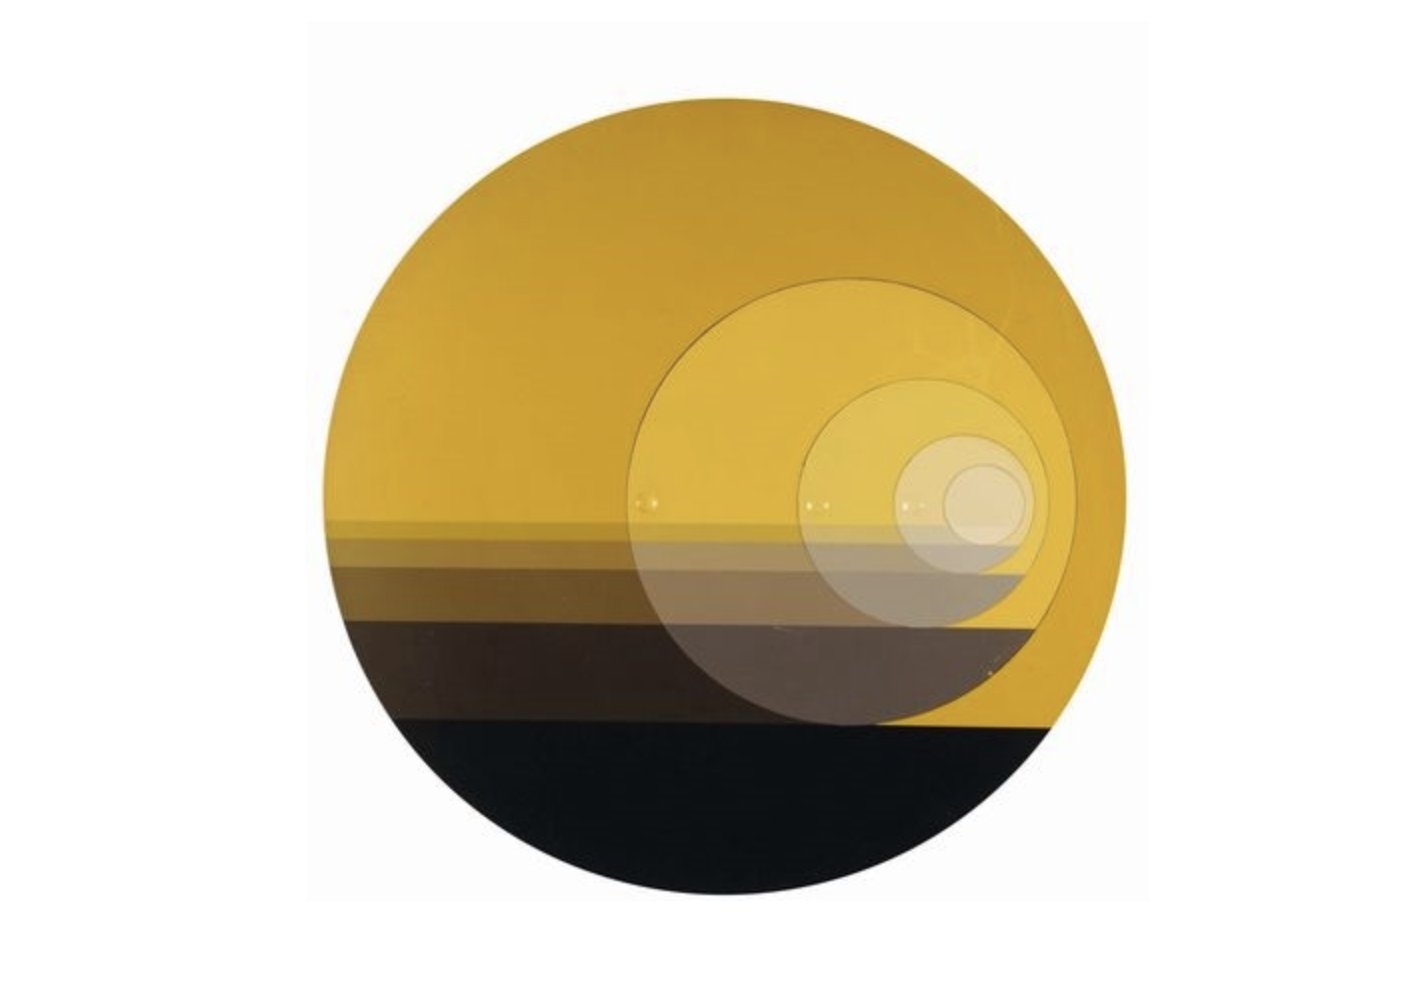
Scene 1 A set of lines, with the two coordinates locked to the circumferences of the circles, and continuing into the centre circle to give an illusion of depth further than the physical shape. The colour of the lines is a lerp controlled also by noise, so the appear to pulse in a wave, further adding to the depth. They move around the circumferences controlled by perlin noise. There is circle detailing in each ring (that within the rings fades towards the edge, and between the rings fades towards the centre). This sketch is inspired by perspective, horizons and planetary forms. As a theme of the project is inspiration from nature, to produce a more calming effect the transitions are smooth and the noise gradually increases in speed, and then decreases.
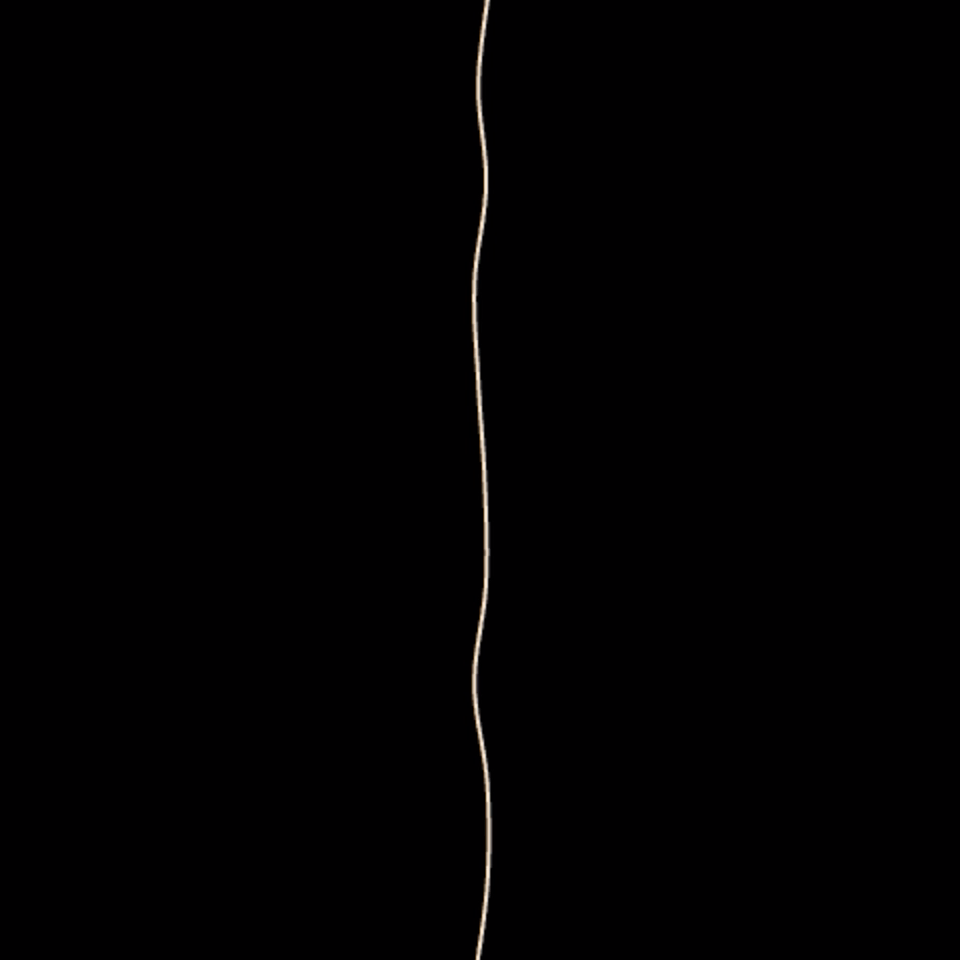
Scene 2 A sketch that uses a line crossing the boundaries of the circles, with its vertices locked around the radius' of the three different sized circles. These vertices move around the circumferences with incremental values of perlin noise. The resulting effect when combined with a non-updating background is something that reminds me of the motion of wings, making curved drawings.
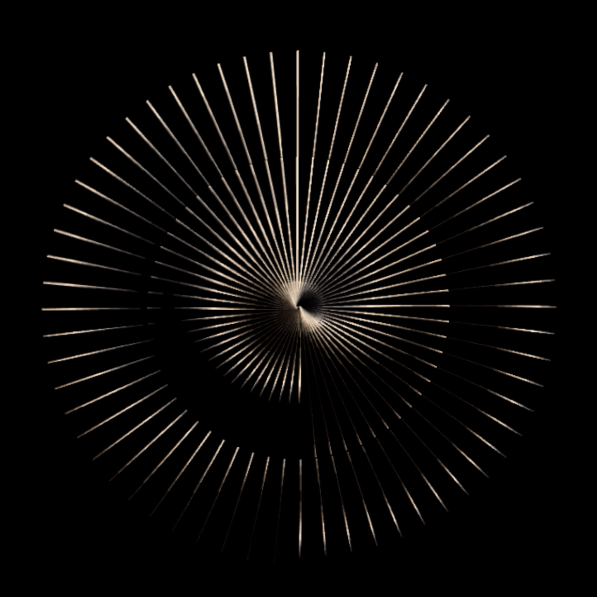
Scene 3 A sketch that uses a recording of a generative sketch, and puts it through a radial slitscanner in various directions to produce natural looking forms. This sketch is the last of the series, and uses a noise-controlled curved line like the previous sketch, but by putting it through a slitscanner different kinds of curves emerge. What I found with this sketch was that the results were the most unexpected, and small changes in the code for the content would produce drastic changes once it had been recorded and scanned.
Building the shape The circles were lasercut from foam board to give a clean and crisp edge, we also lasercut the backing supports in order to make the shape 3-dimentional and control the distance of one circle from another.
Images
1 . The sketch before being processed by the slitscanner.
2. The sketch after.
Future development
To further develop my work I would like to explore creating new tools with code that can produce unpredictable results, like I found with the slitscanner.
Self evaluation
Despite the technical difficulties that came with the decision to work with the tricky shape of a circle, I found that it was balanced with the creative potential it affords. However, I think with the middle sketch I could have tested it on the shape itself sooner, to ensure it fully enhanced the underlying geometry. This also would have been beneficial in experimenting with how best to align the projector in order to fit to the shape with minimal editing of the vertices in ofxPiMapper, which warps the form of the circles. I think I could have also either introduced more continuous variation within the stekches, or stortened their lengths and included more new ideas.
References
Slit-scanner Lesson, T., Papatheodorou. (2018). https://learn.gold.ac.uk/mod/page/view.php?id=600223