Spatial Sound Sequence Generator
My physical computing project is a spatial sound sequence generator. Inspired by spatial audio and surround sound, I wanted to create a device that spread sound between multiple speakers or sound sources.
produced by: Danny Keig
Process and Design
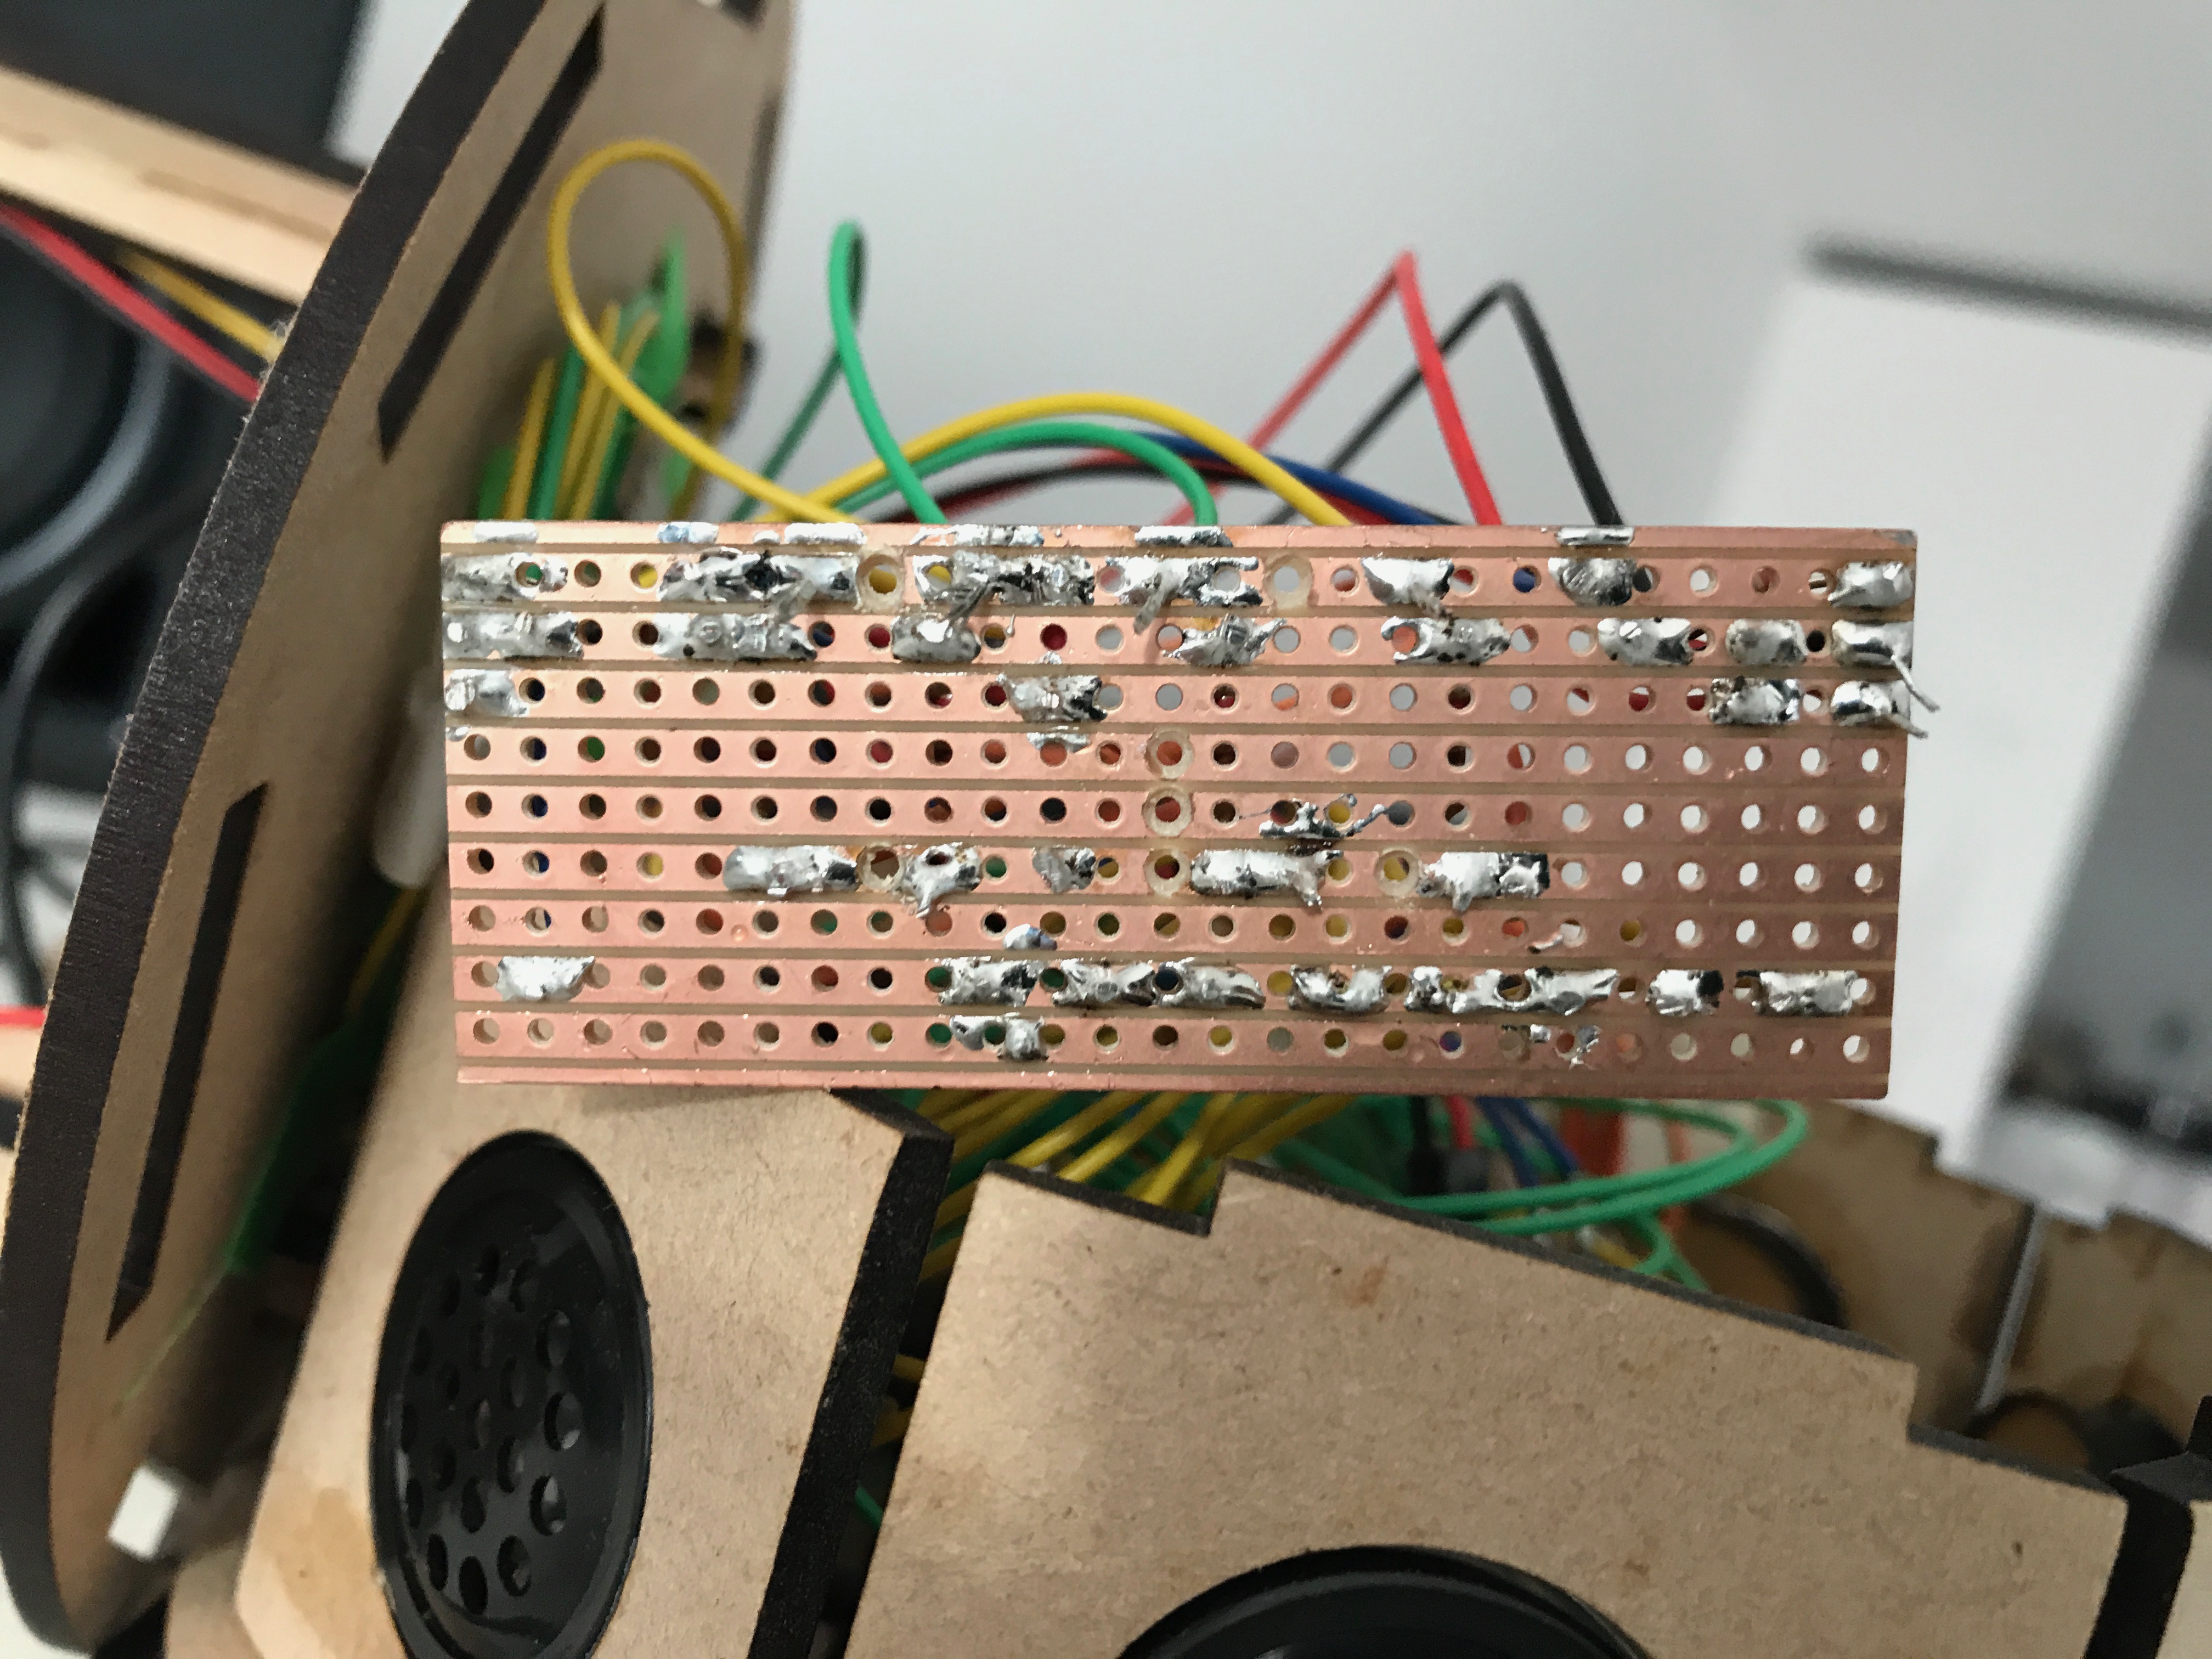
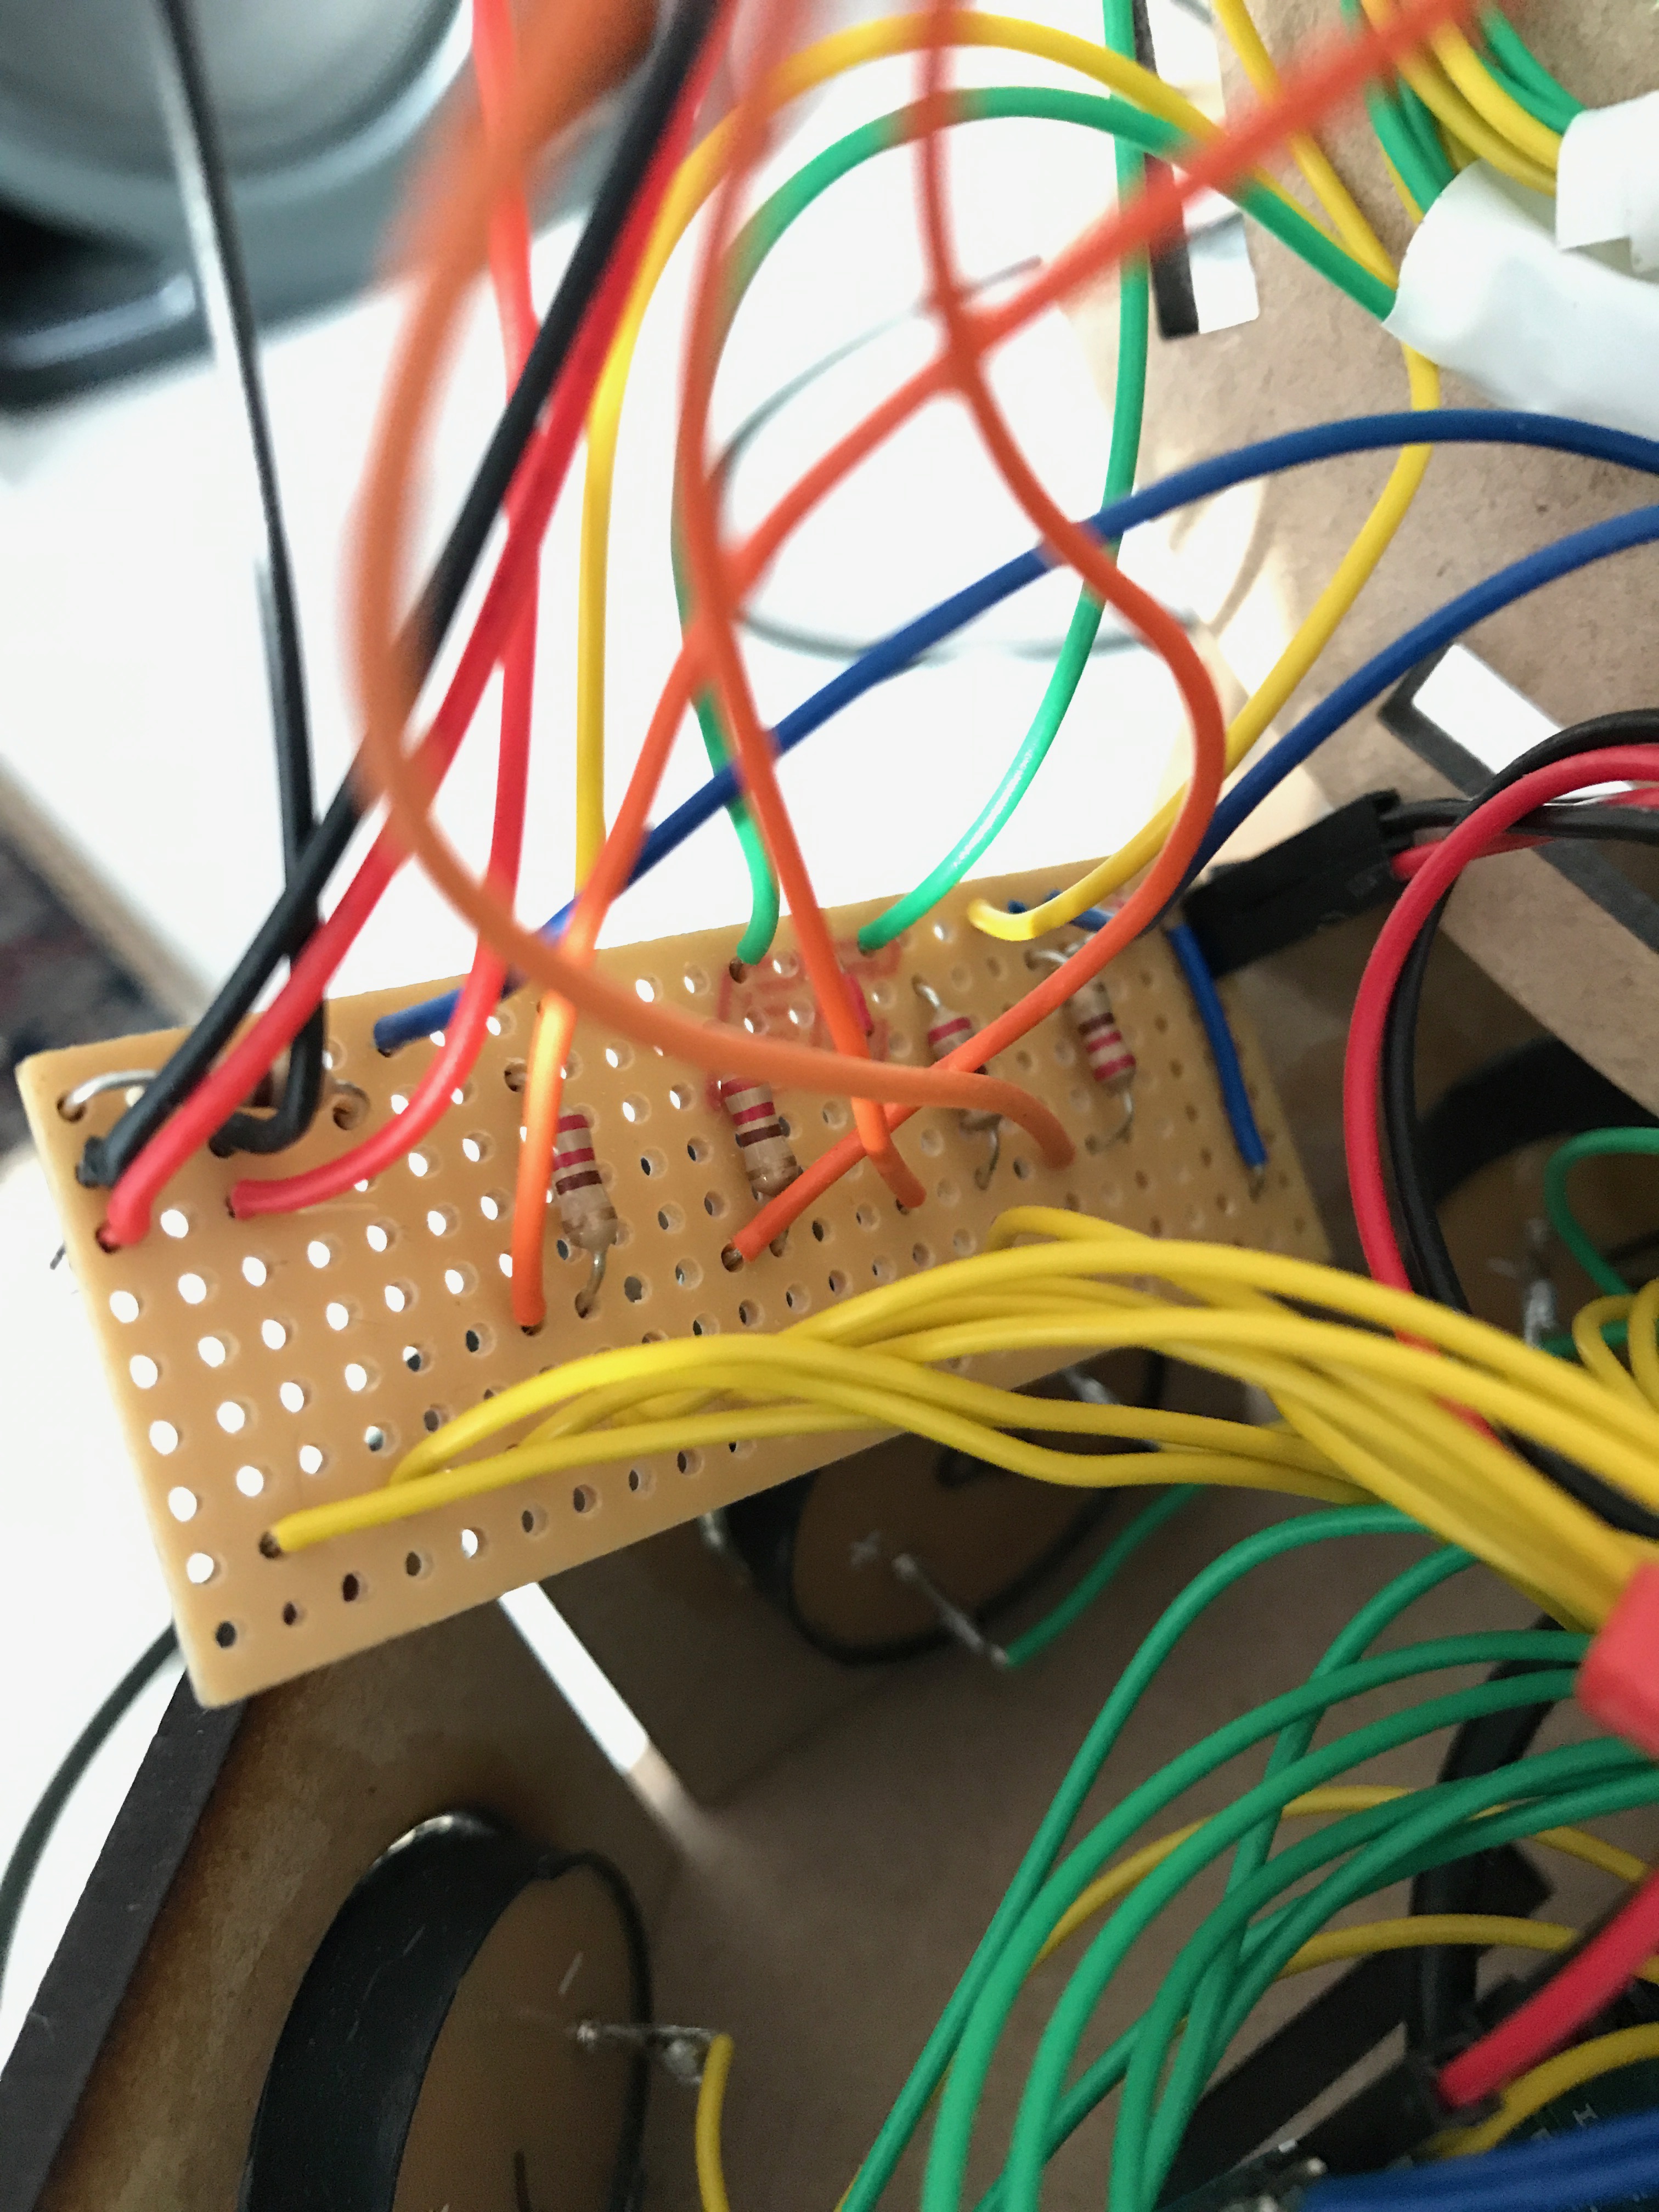
Initially I thought I would use speakers, and perhaps mp3 audio files playing from a SD card, however in the end my minimal viable product required me to stick to familiar components such as piezo speakers and the tone function from the Arduino IDE. This still allowed me to experiment a great deal with multiple sound sources which was the primary focus.
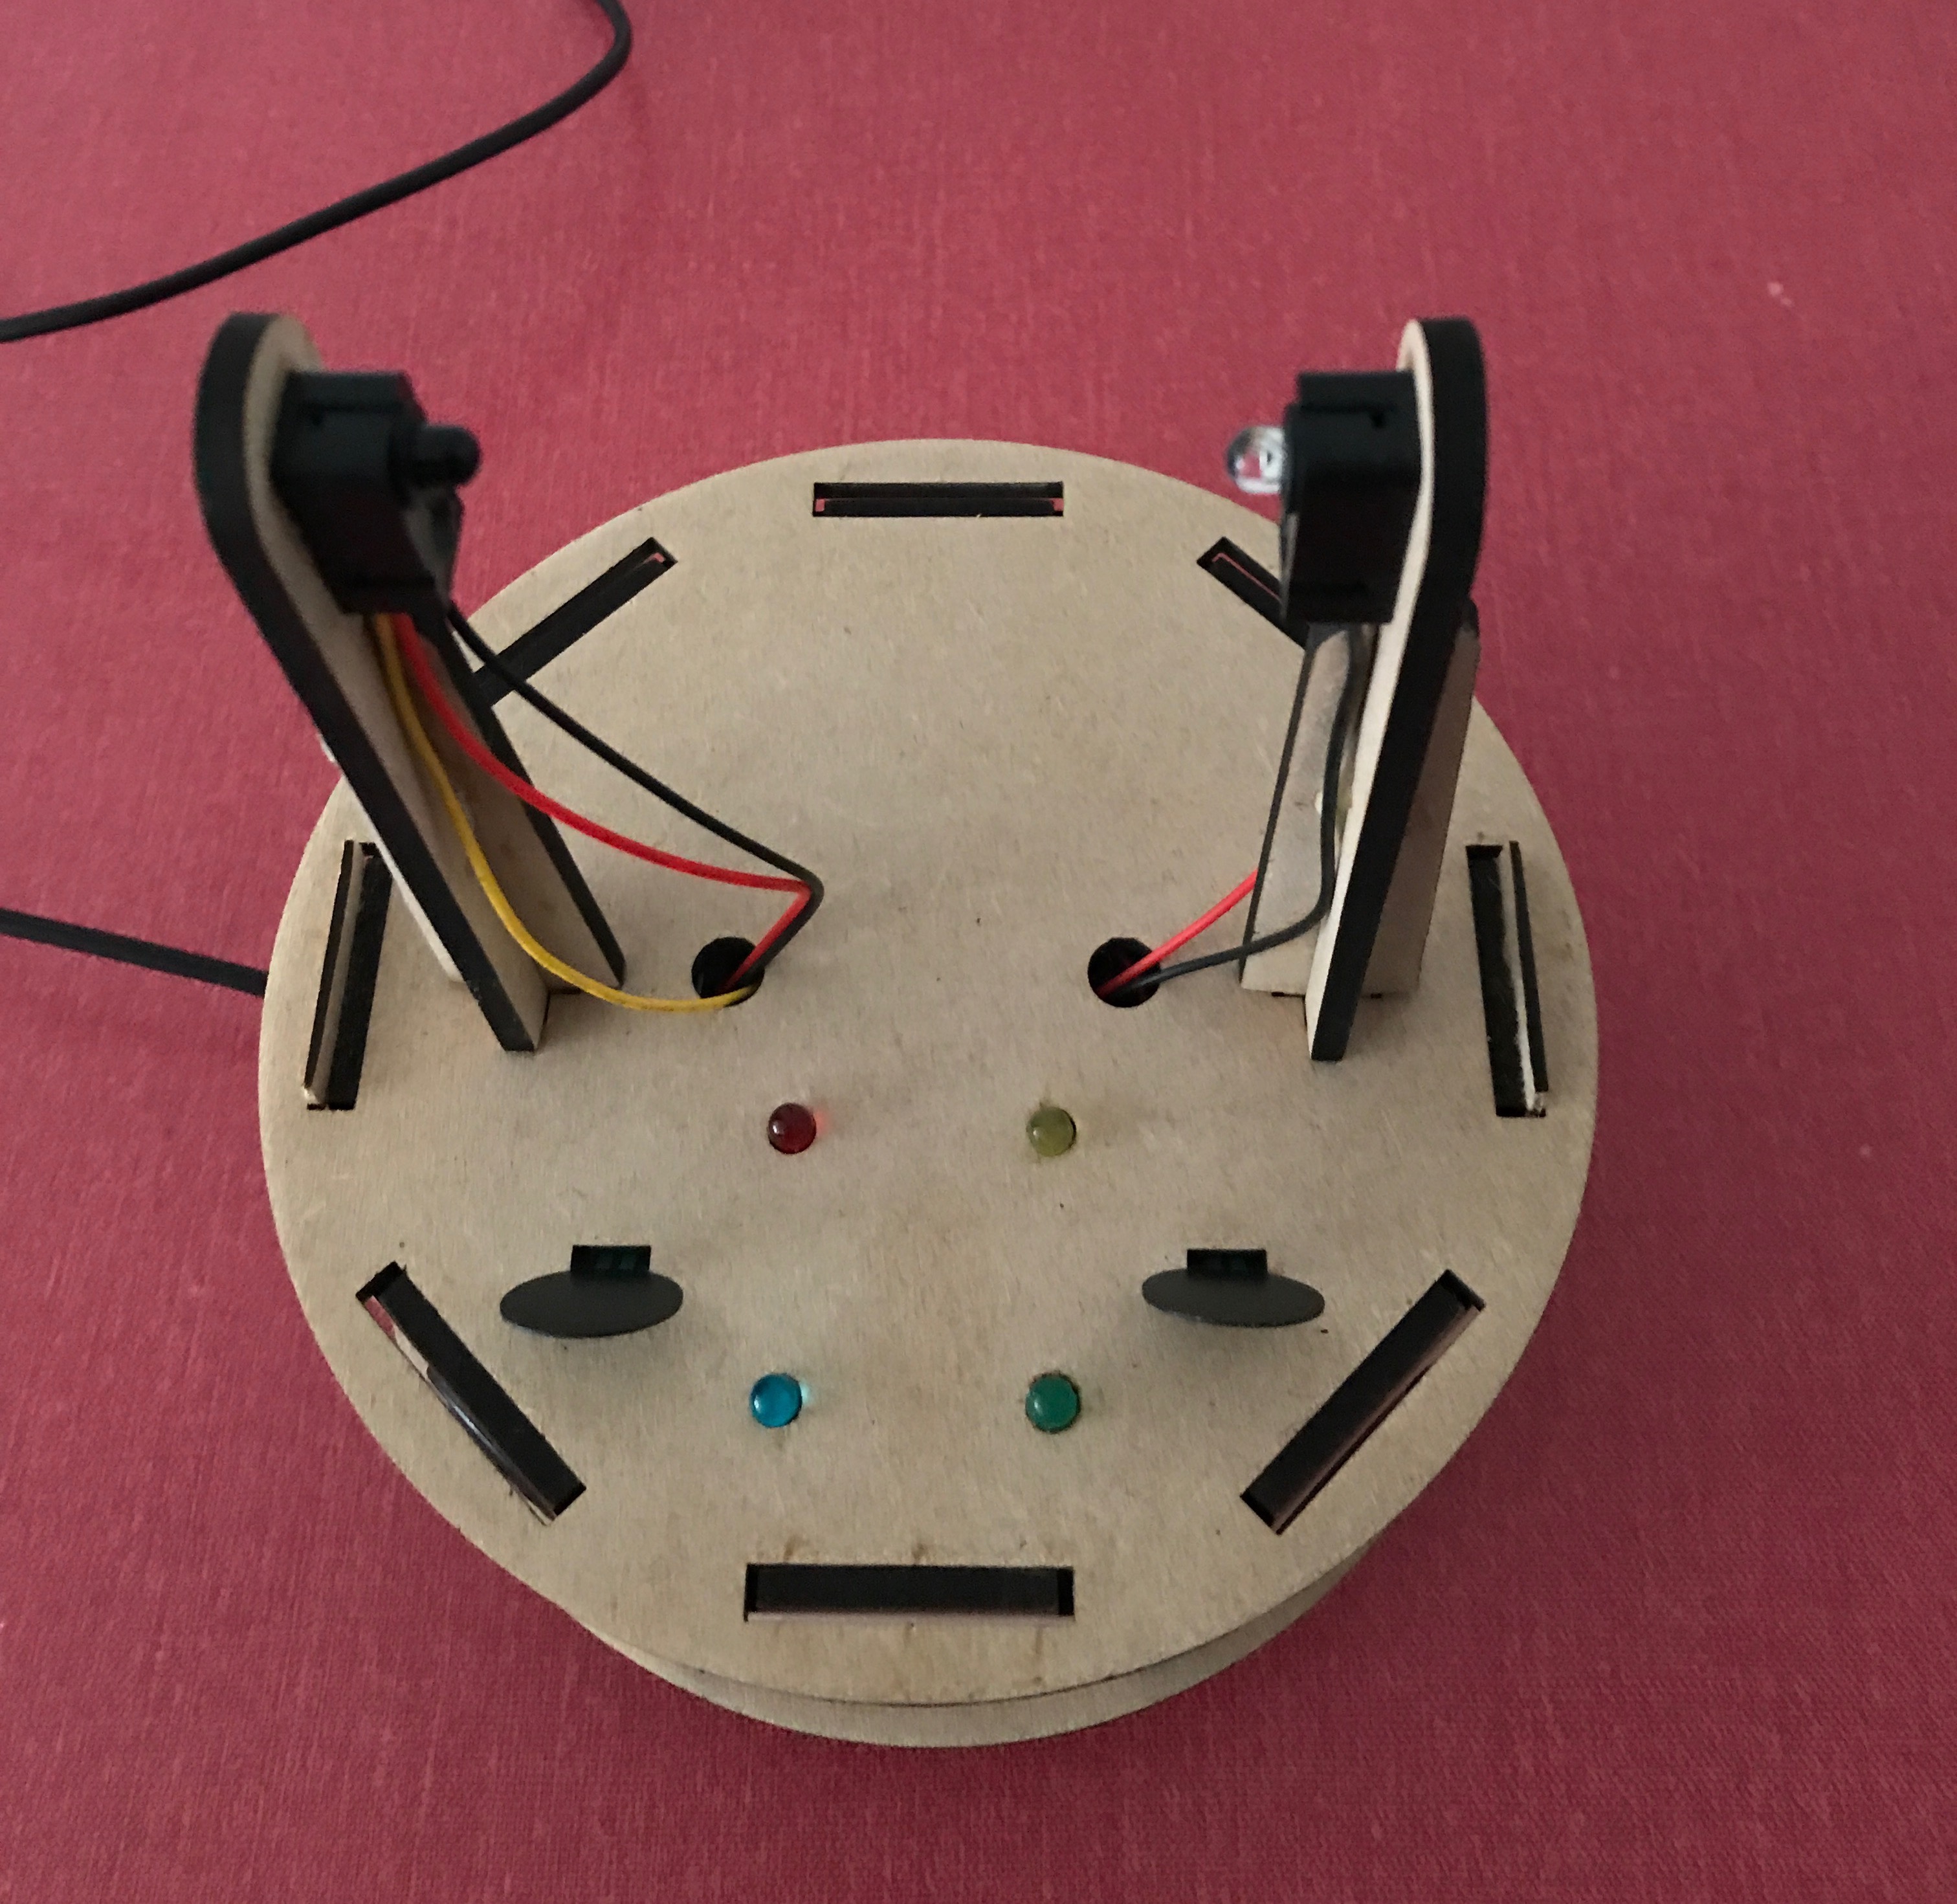
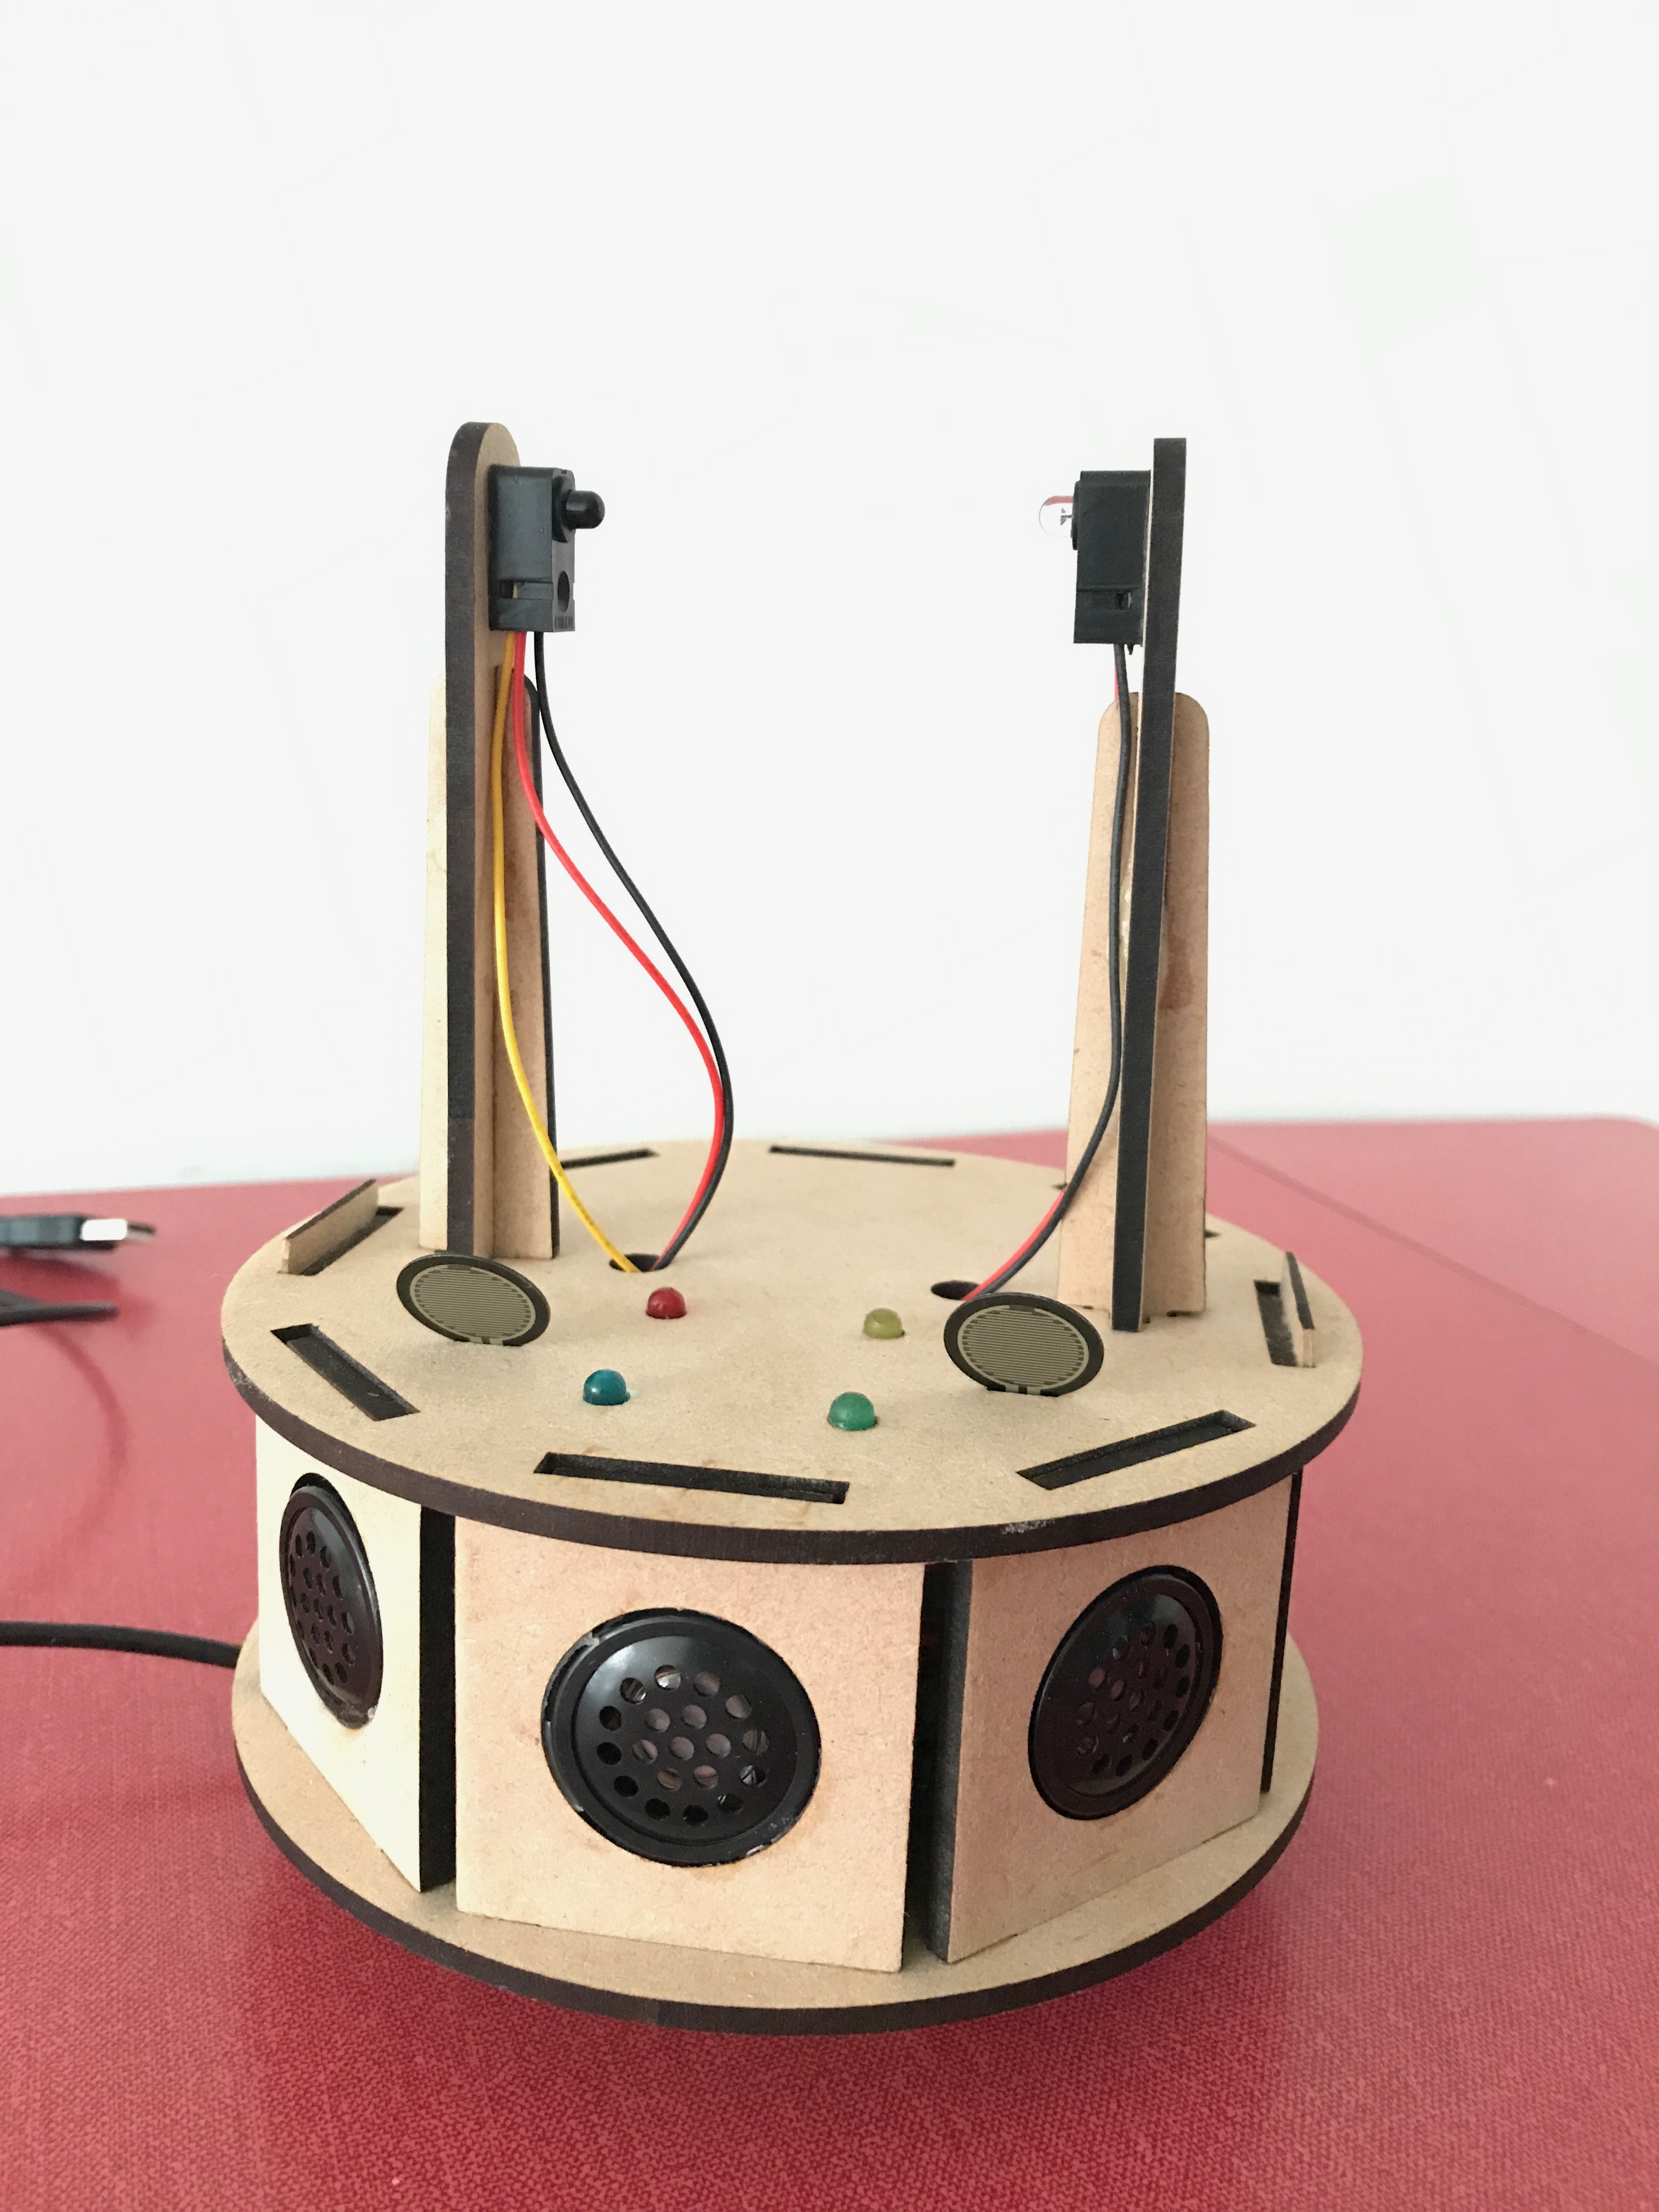
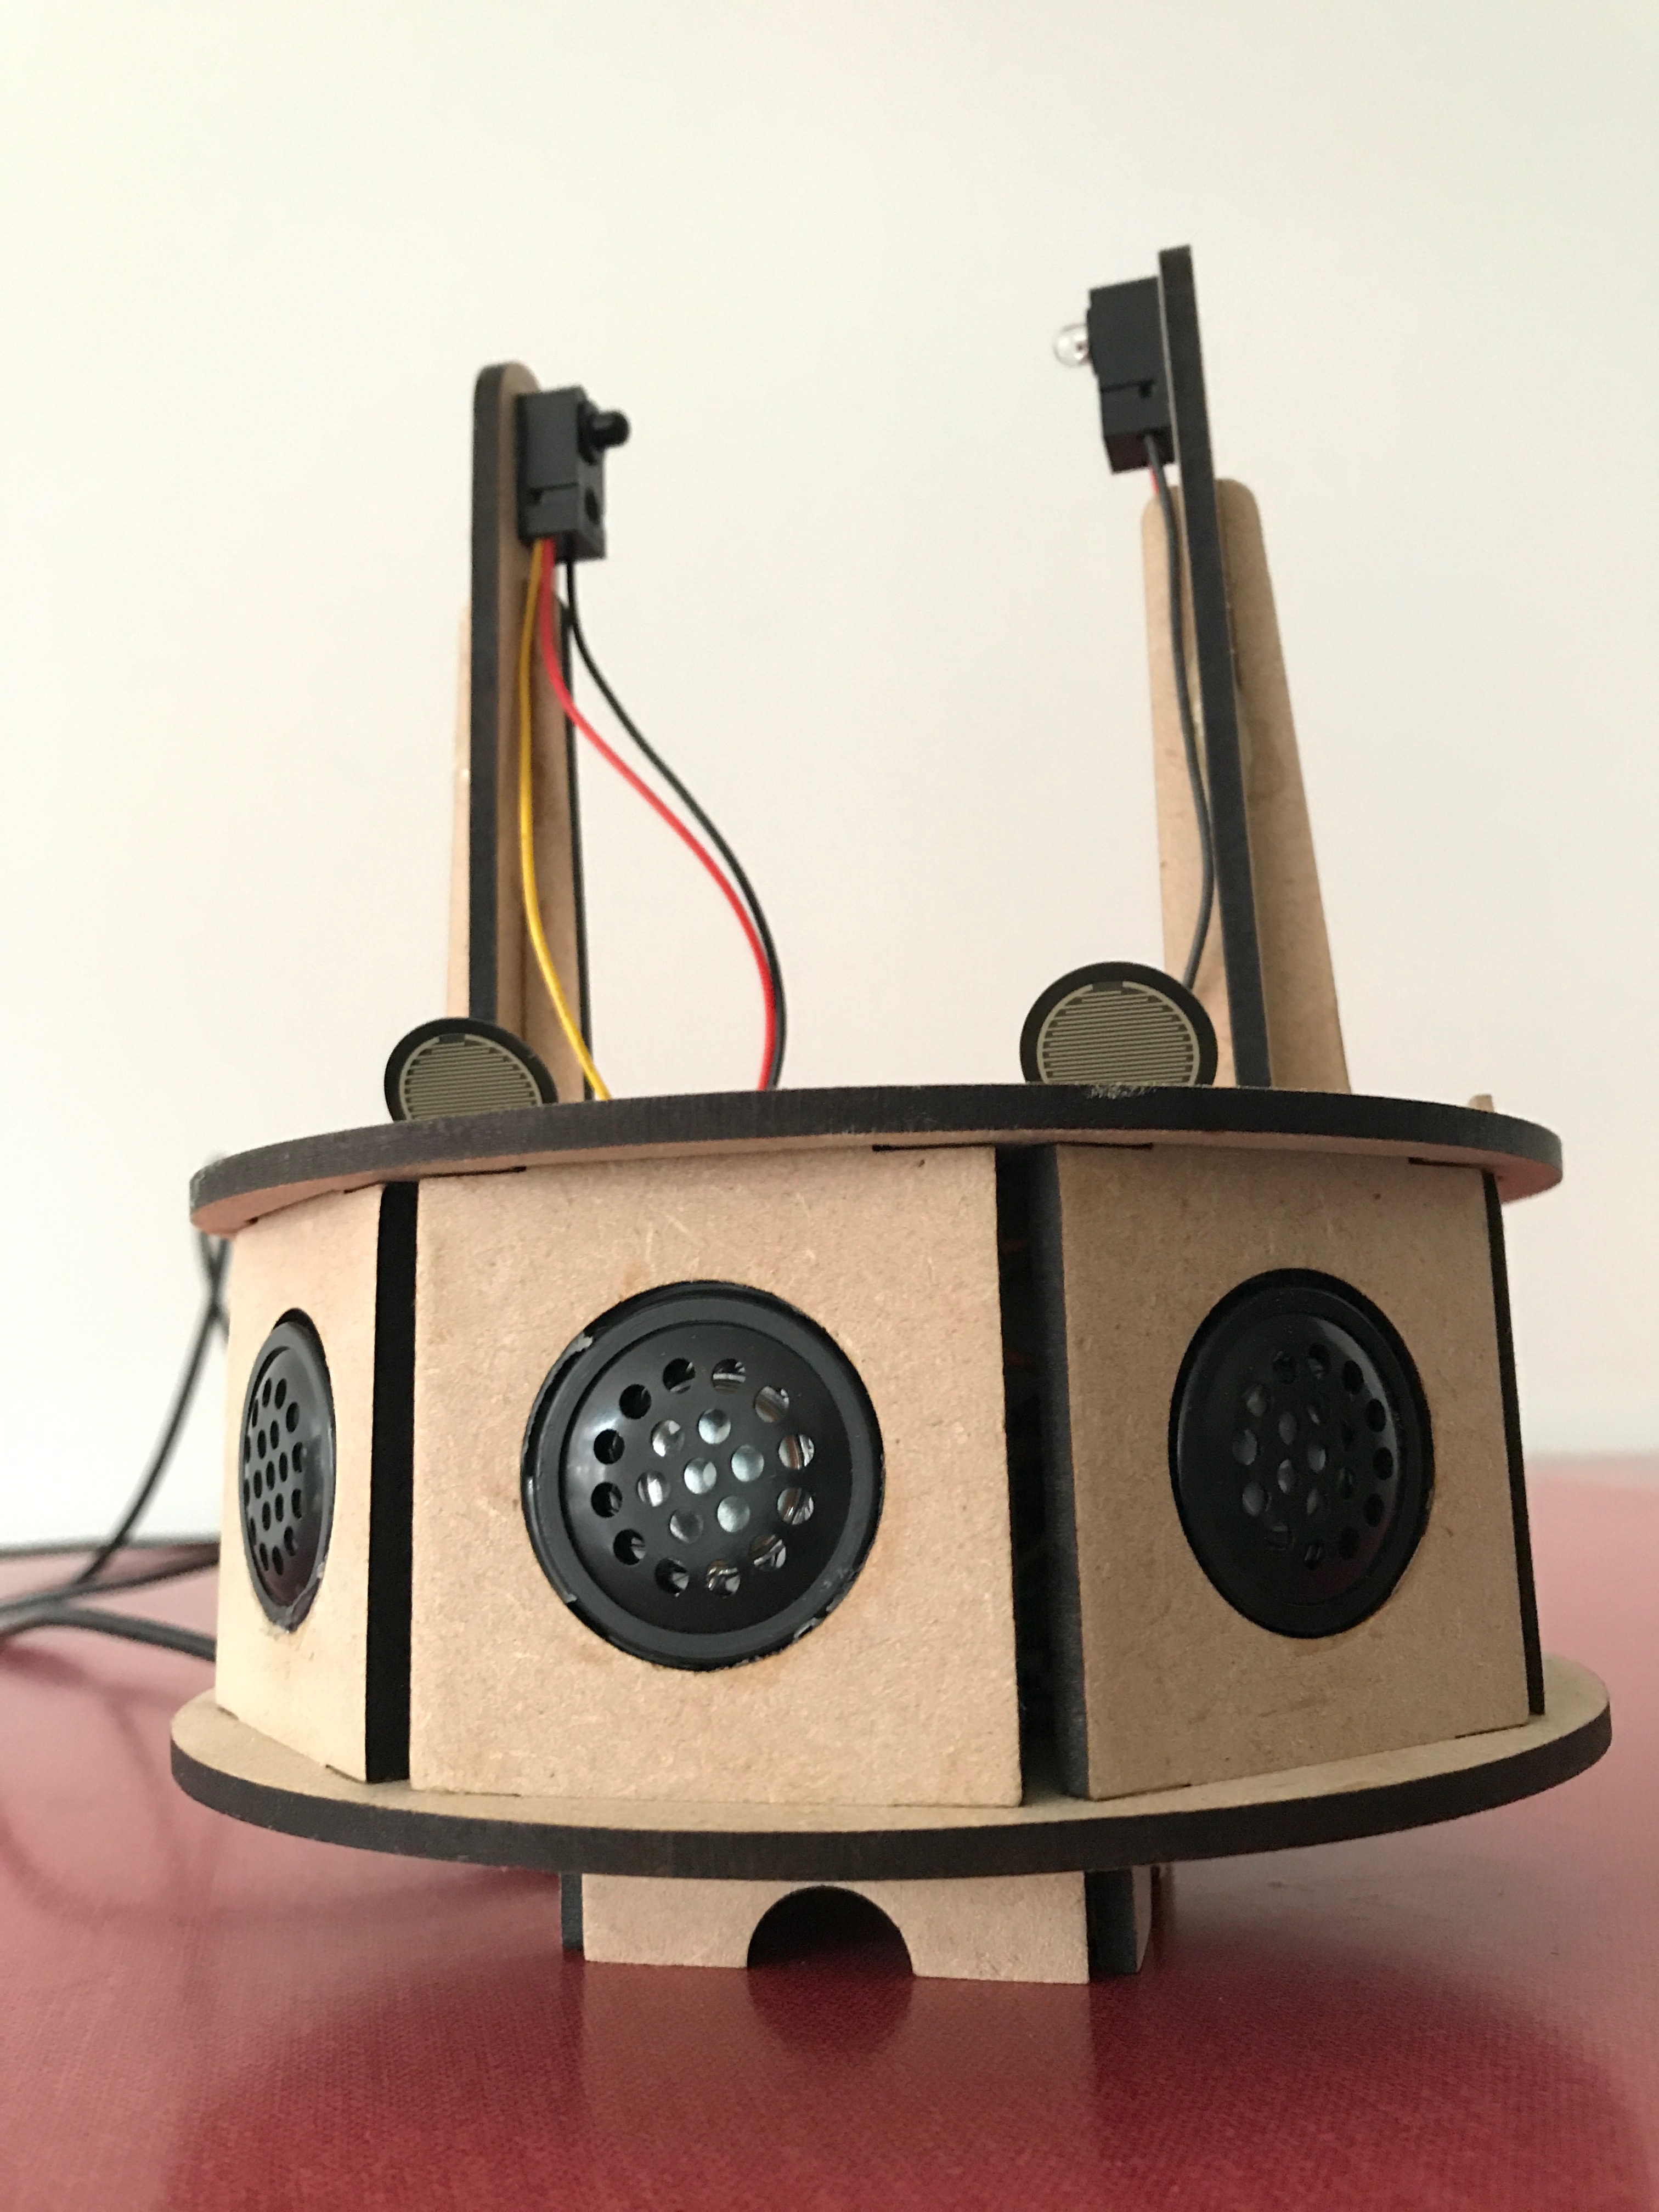
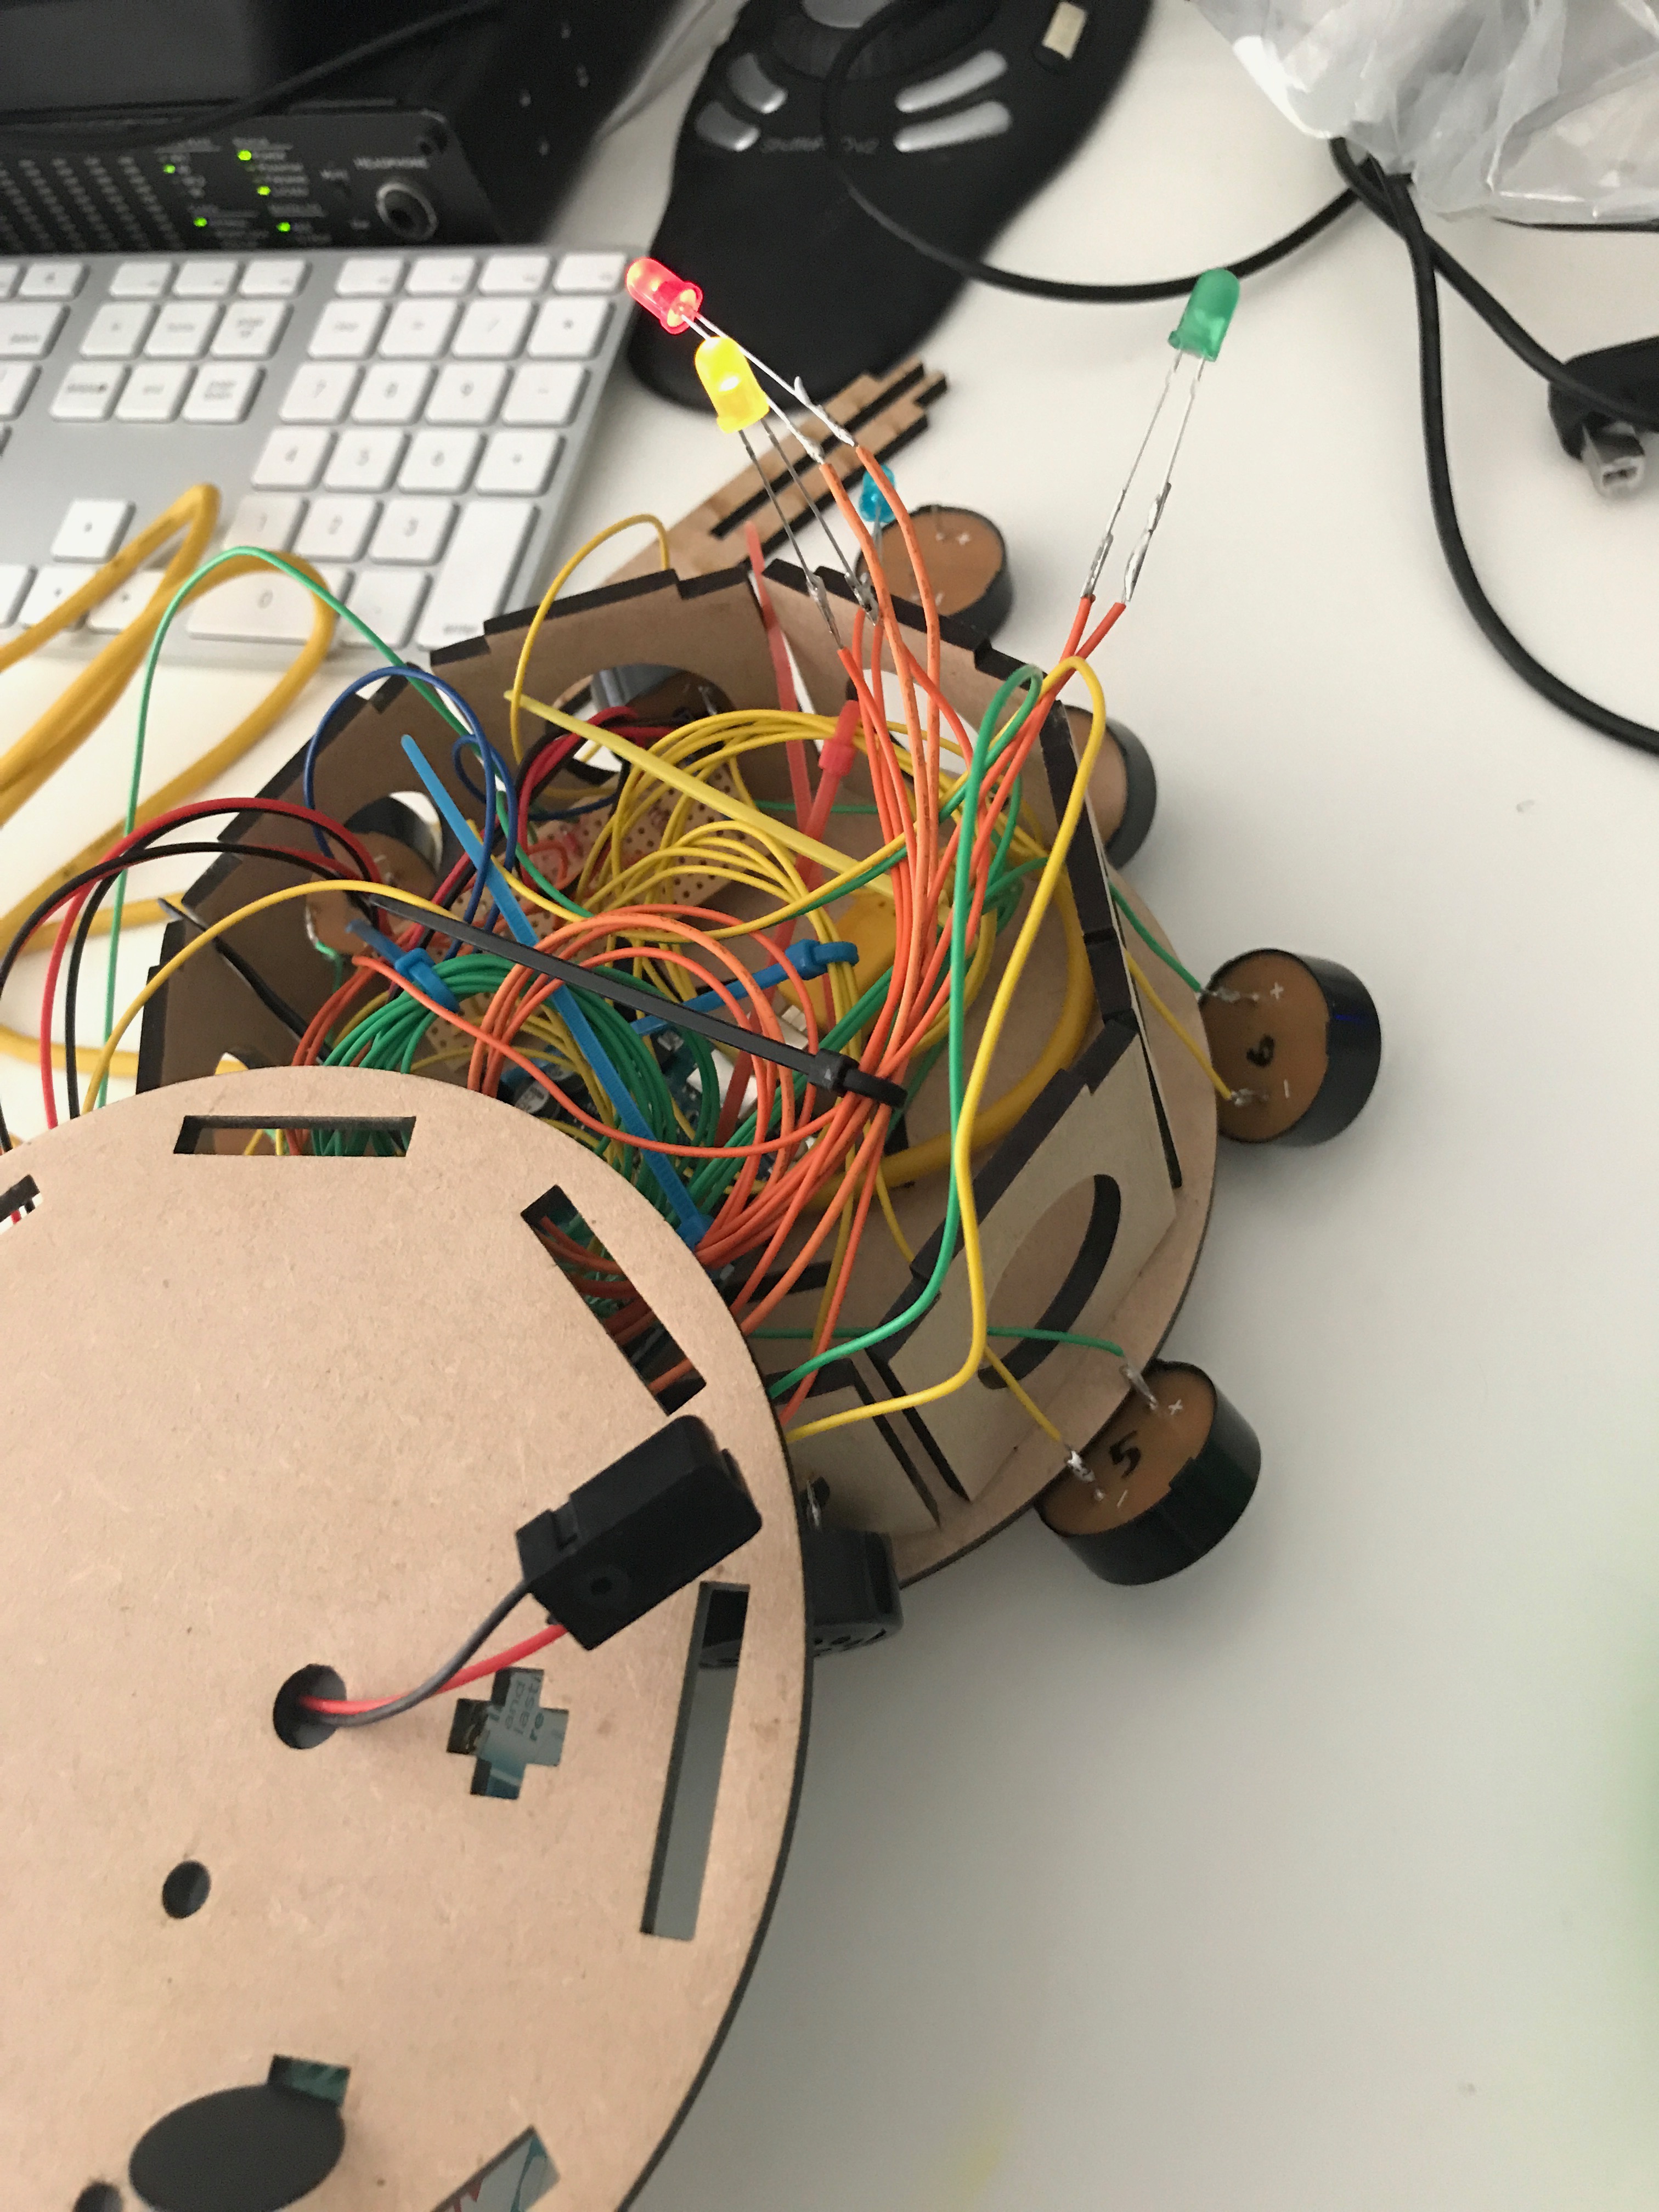
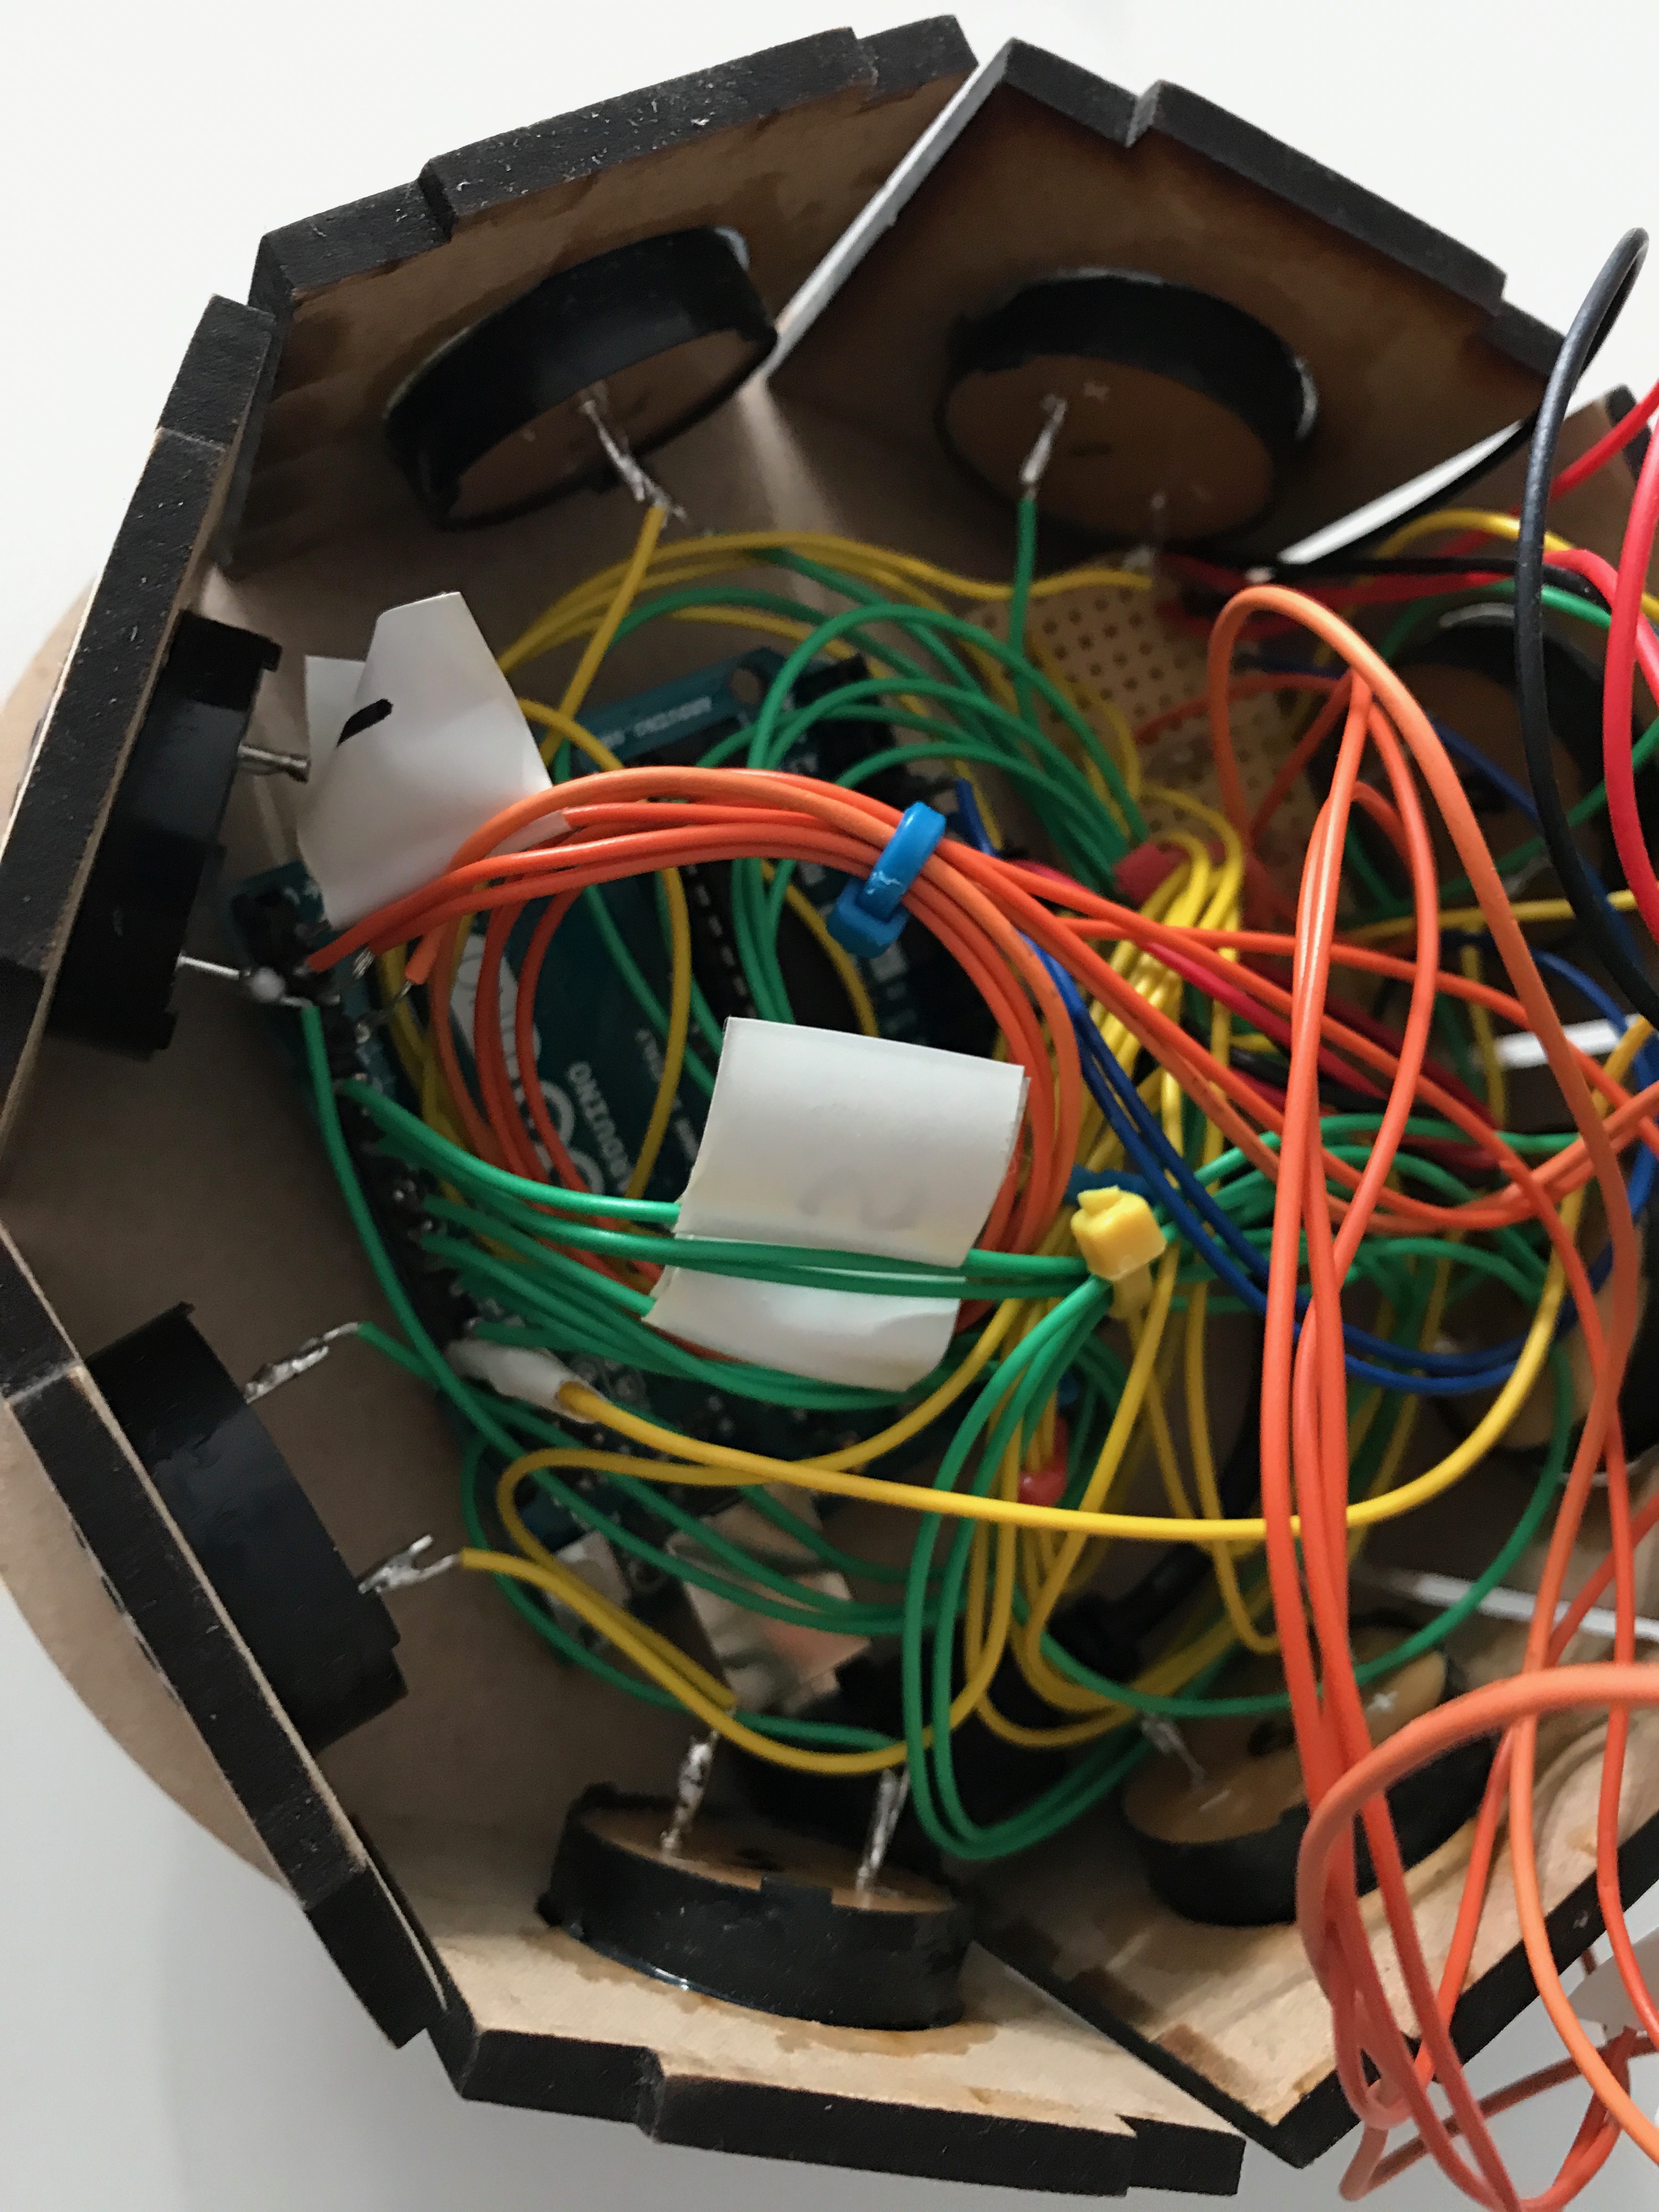
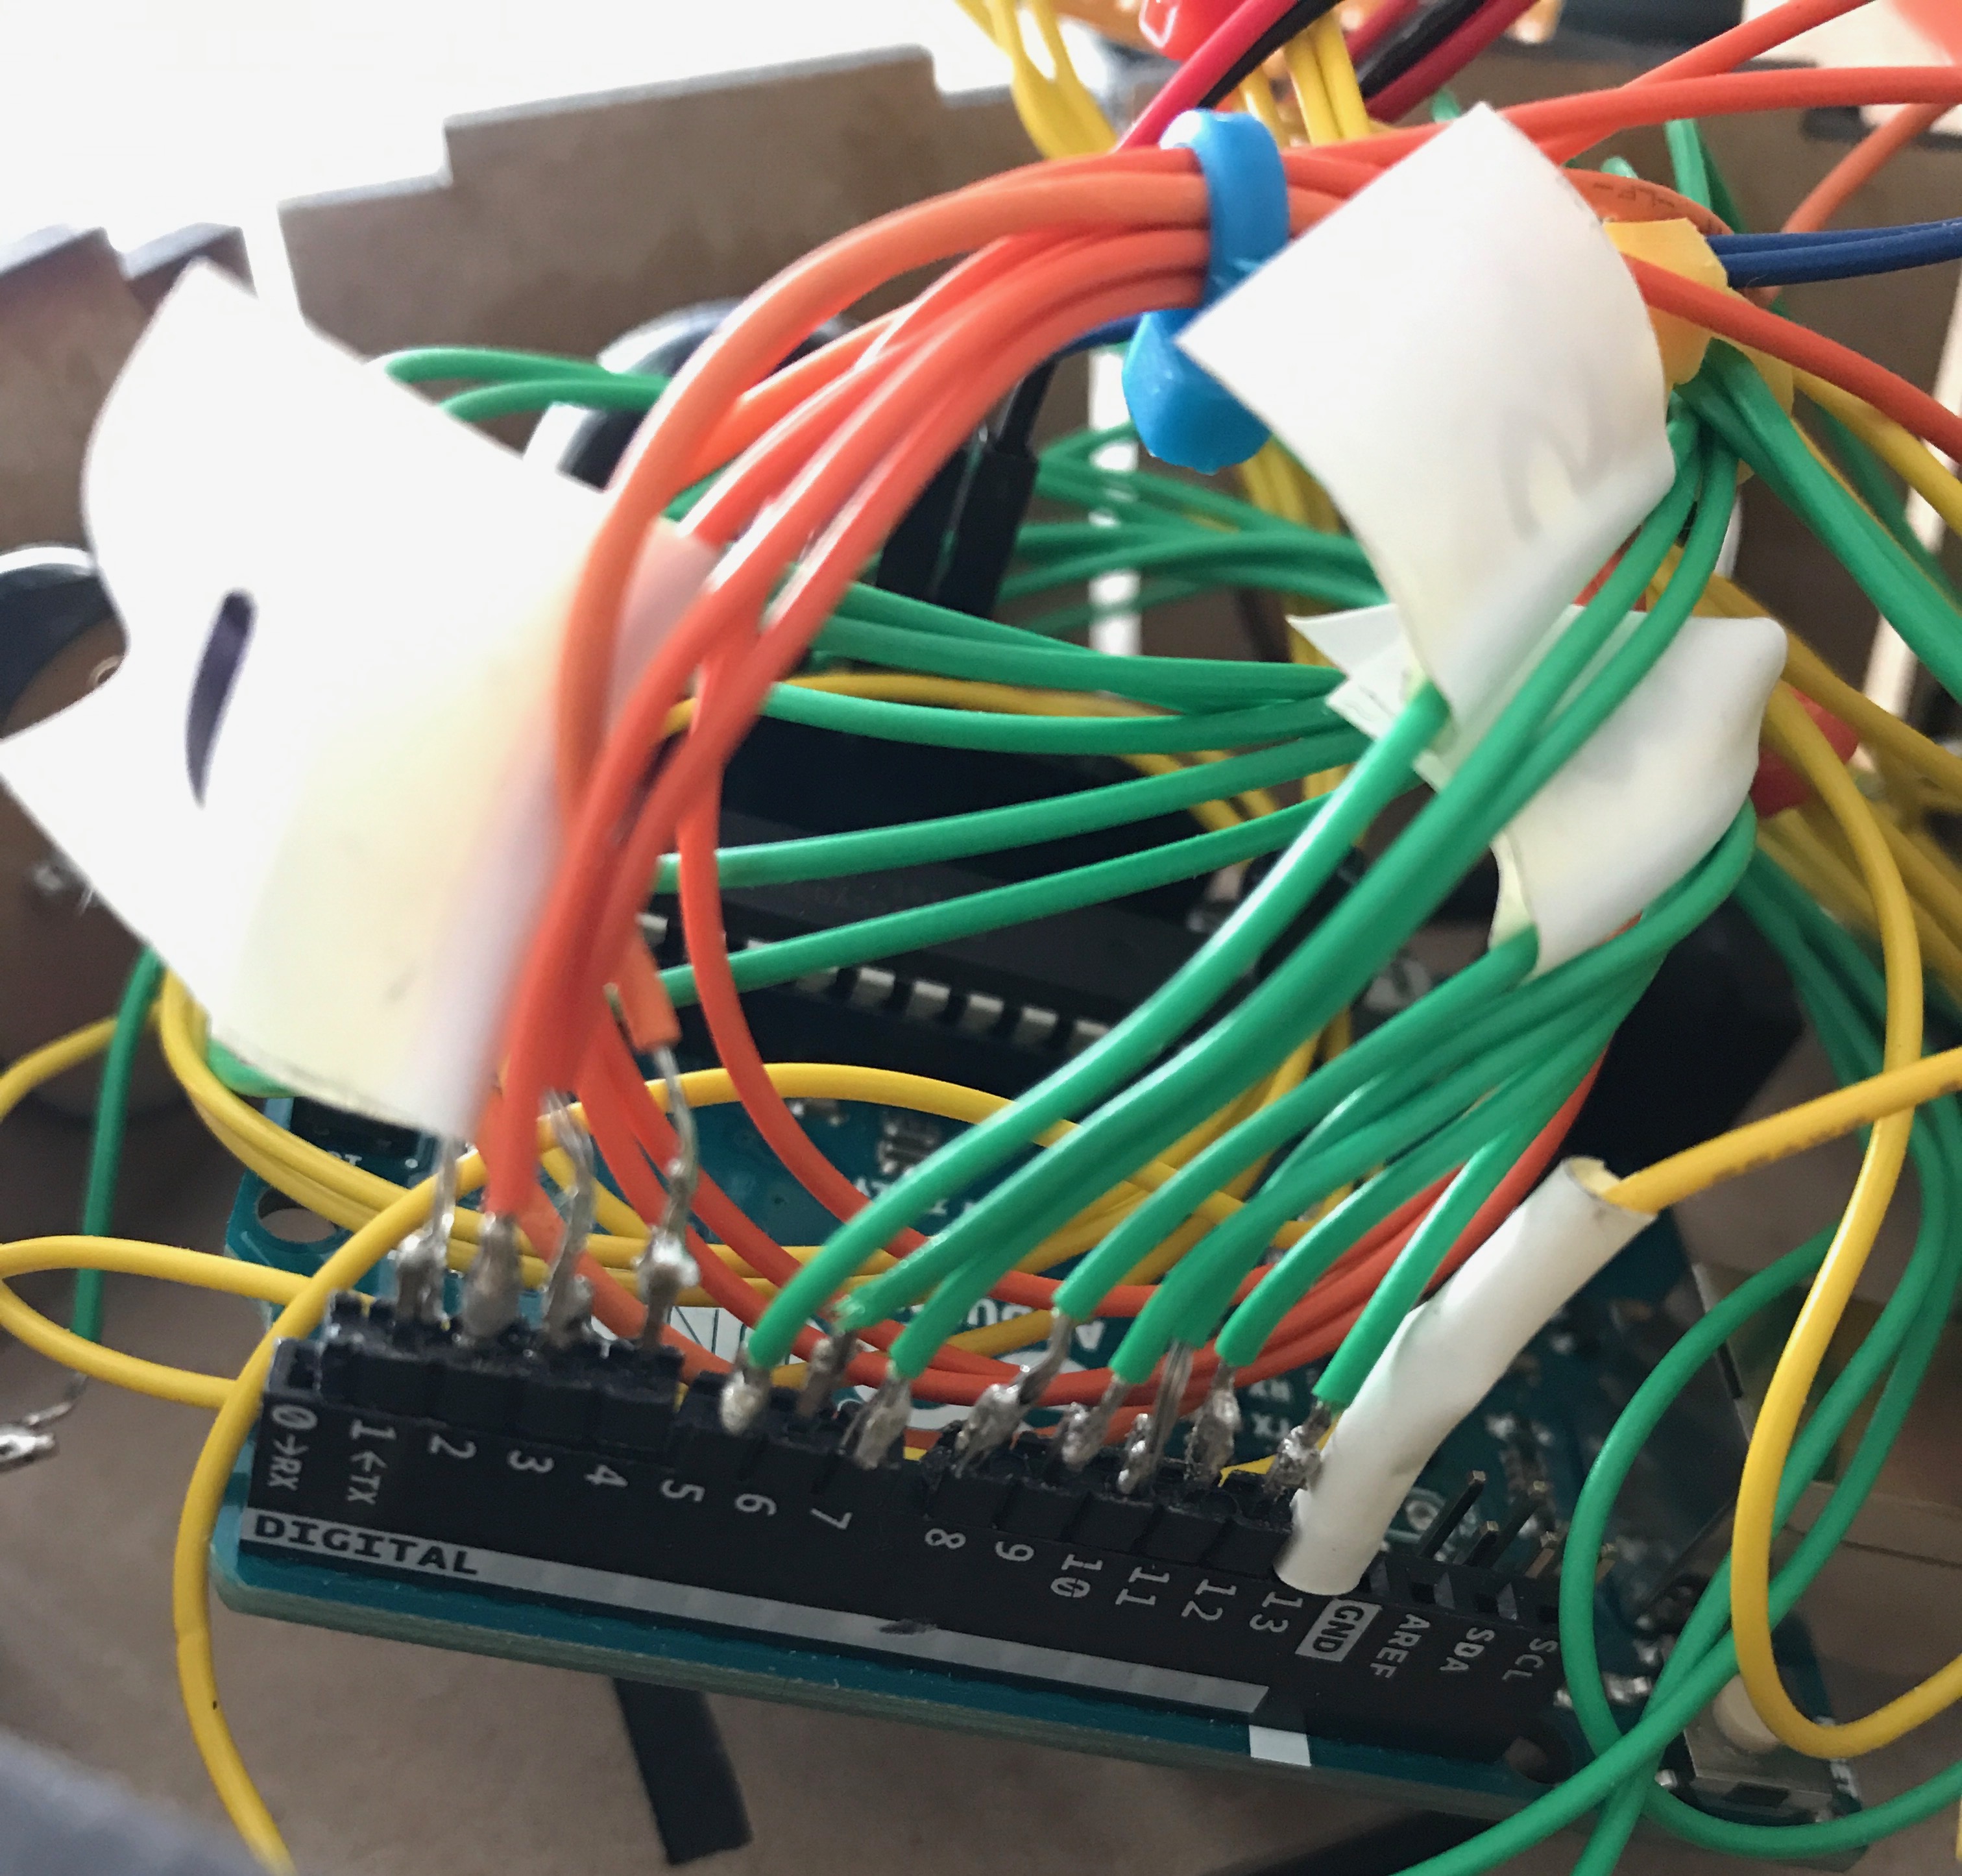
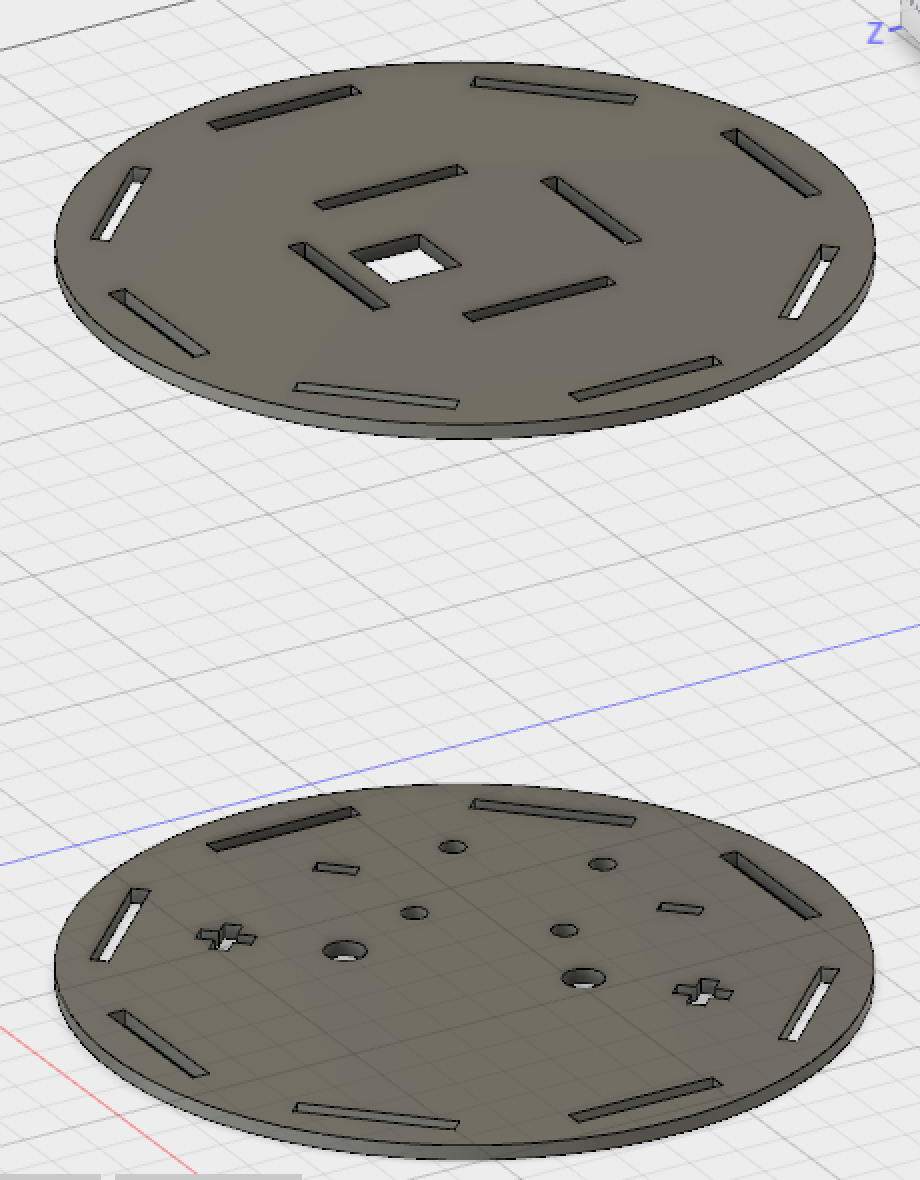
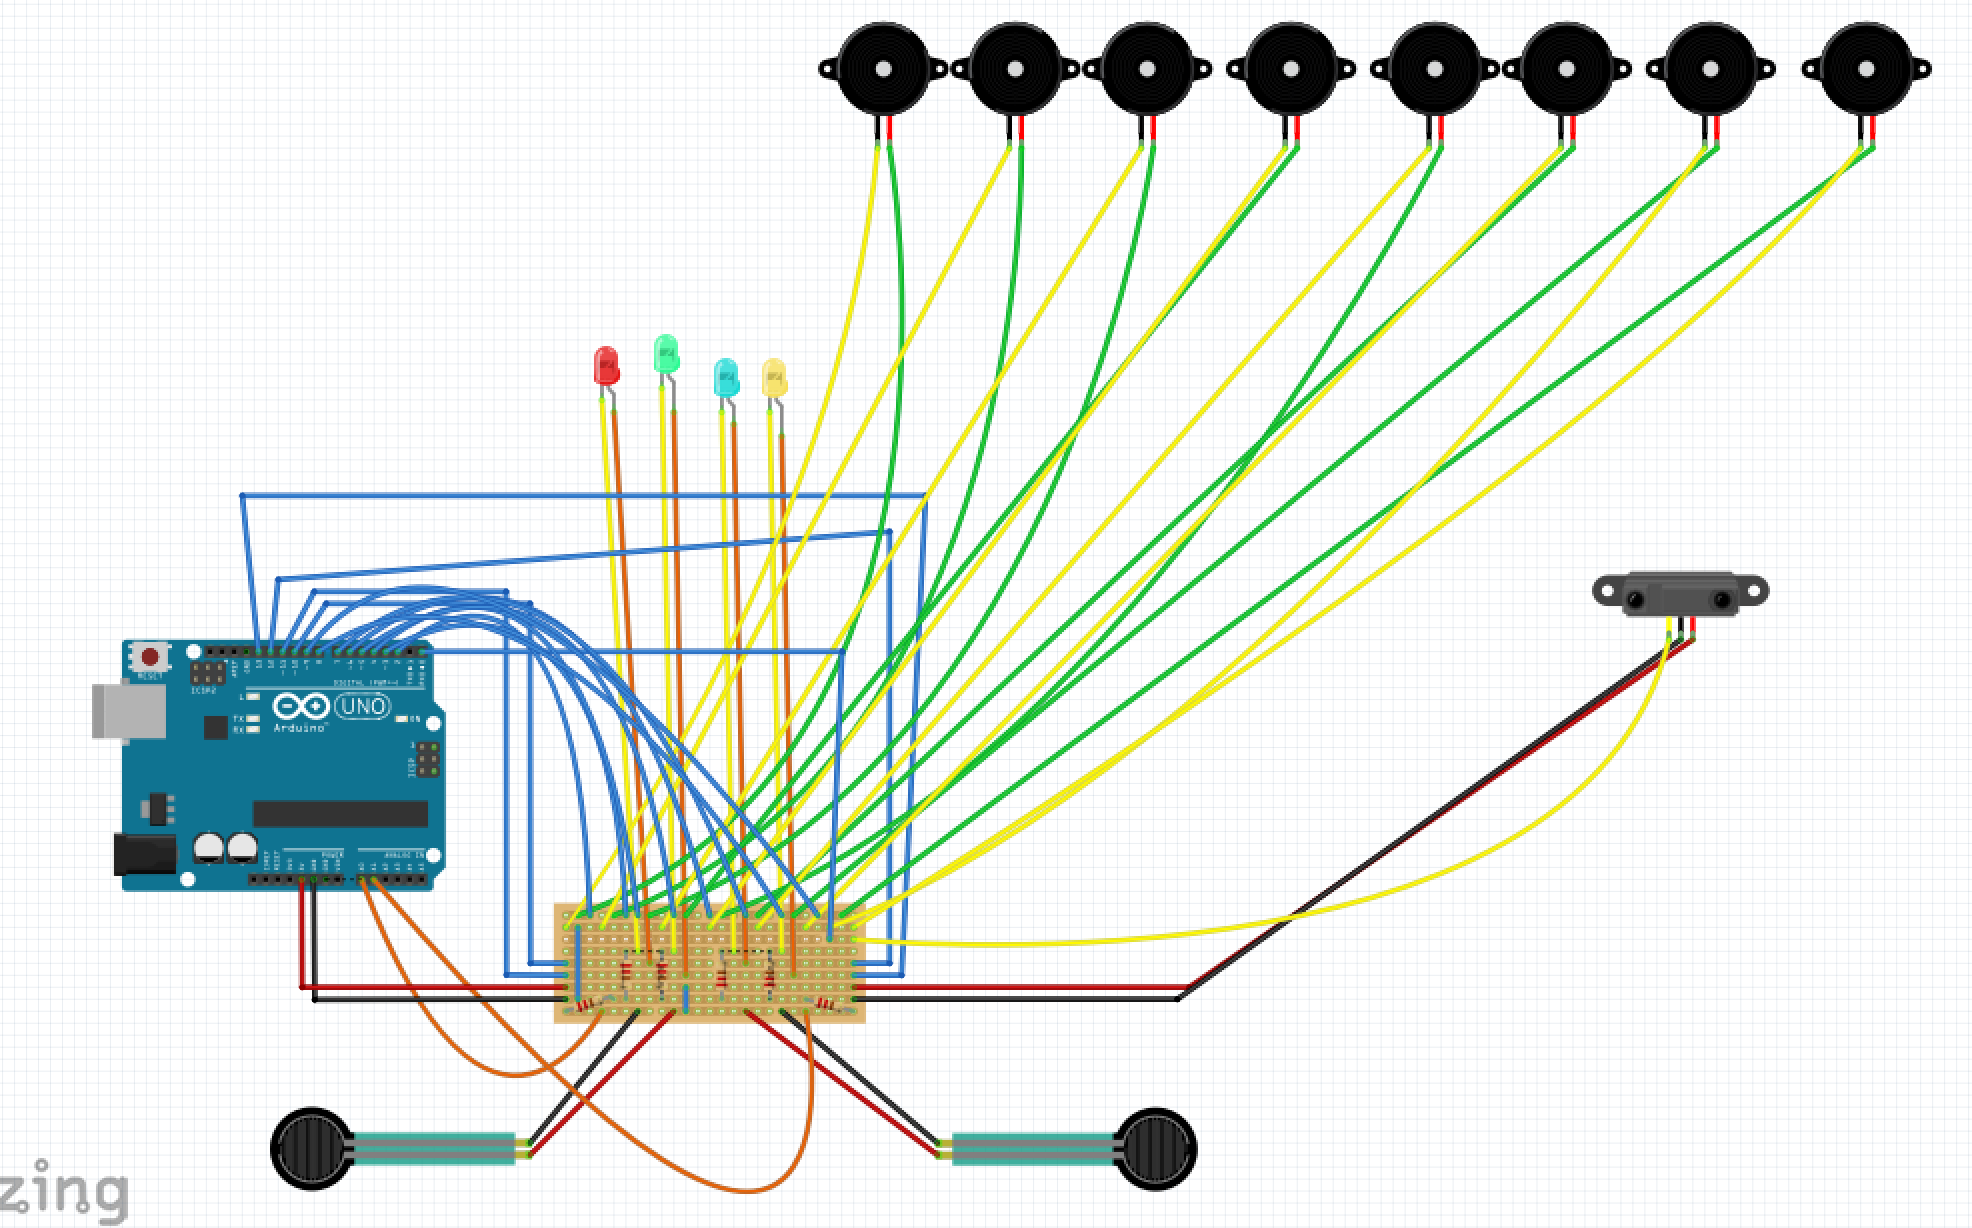
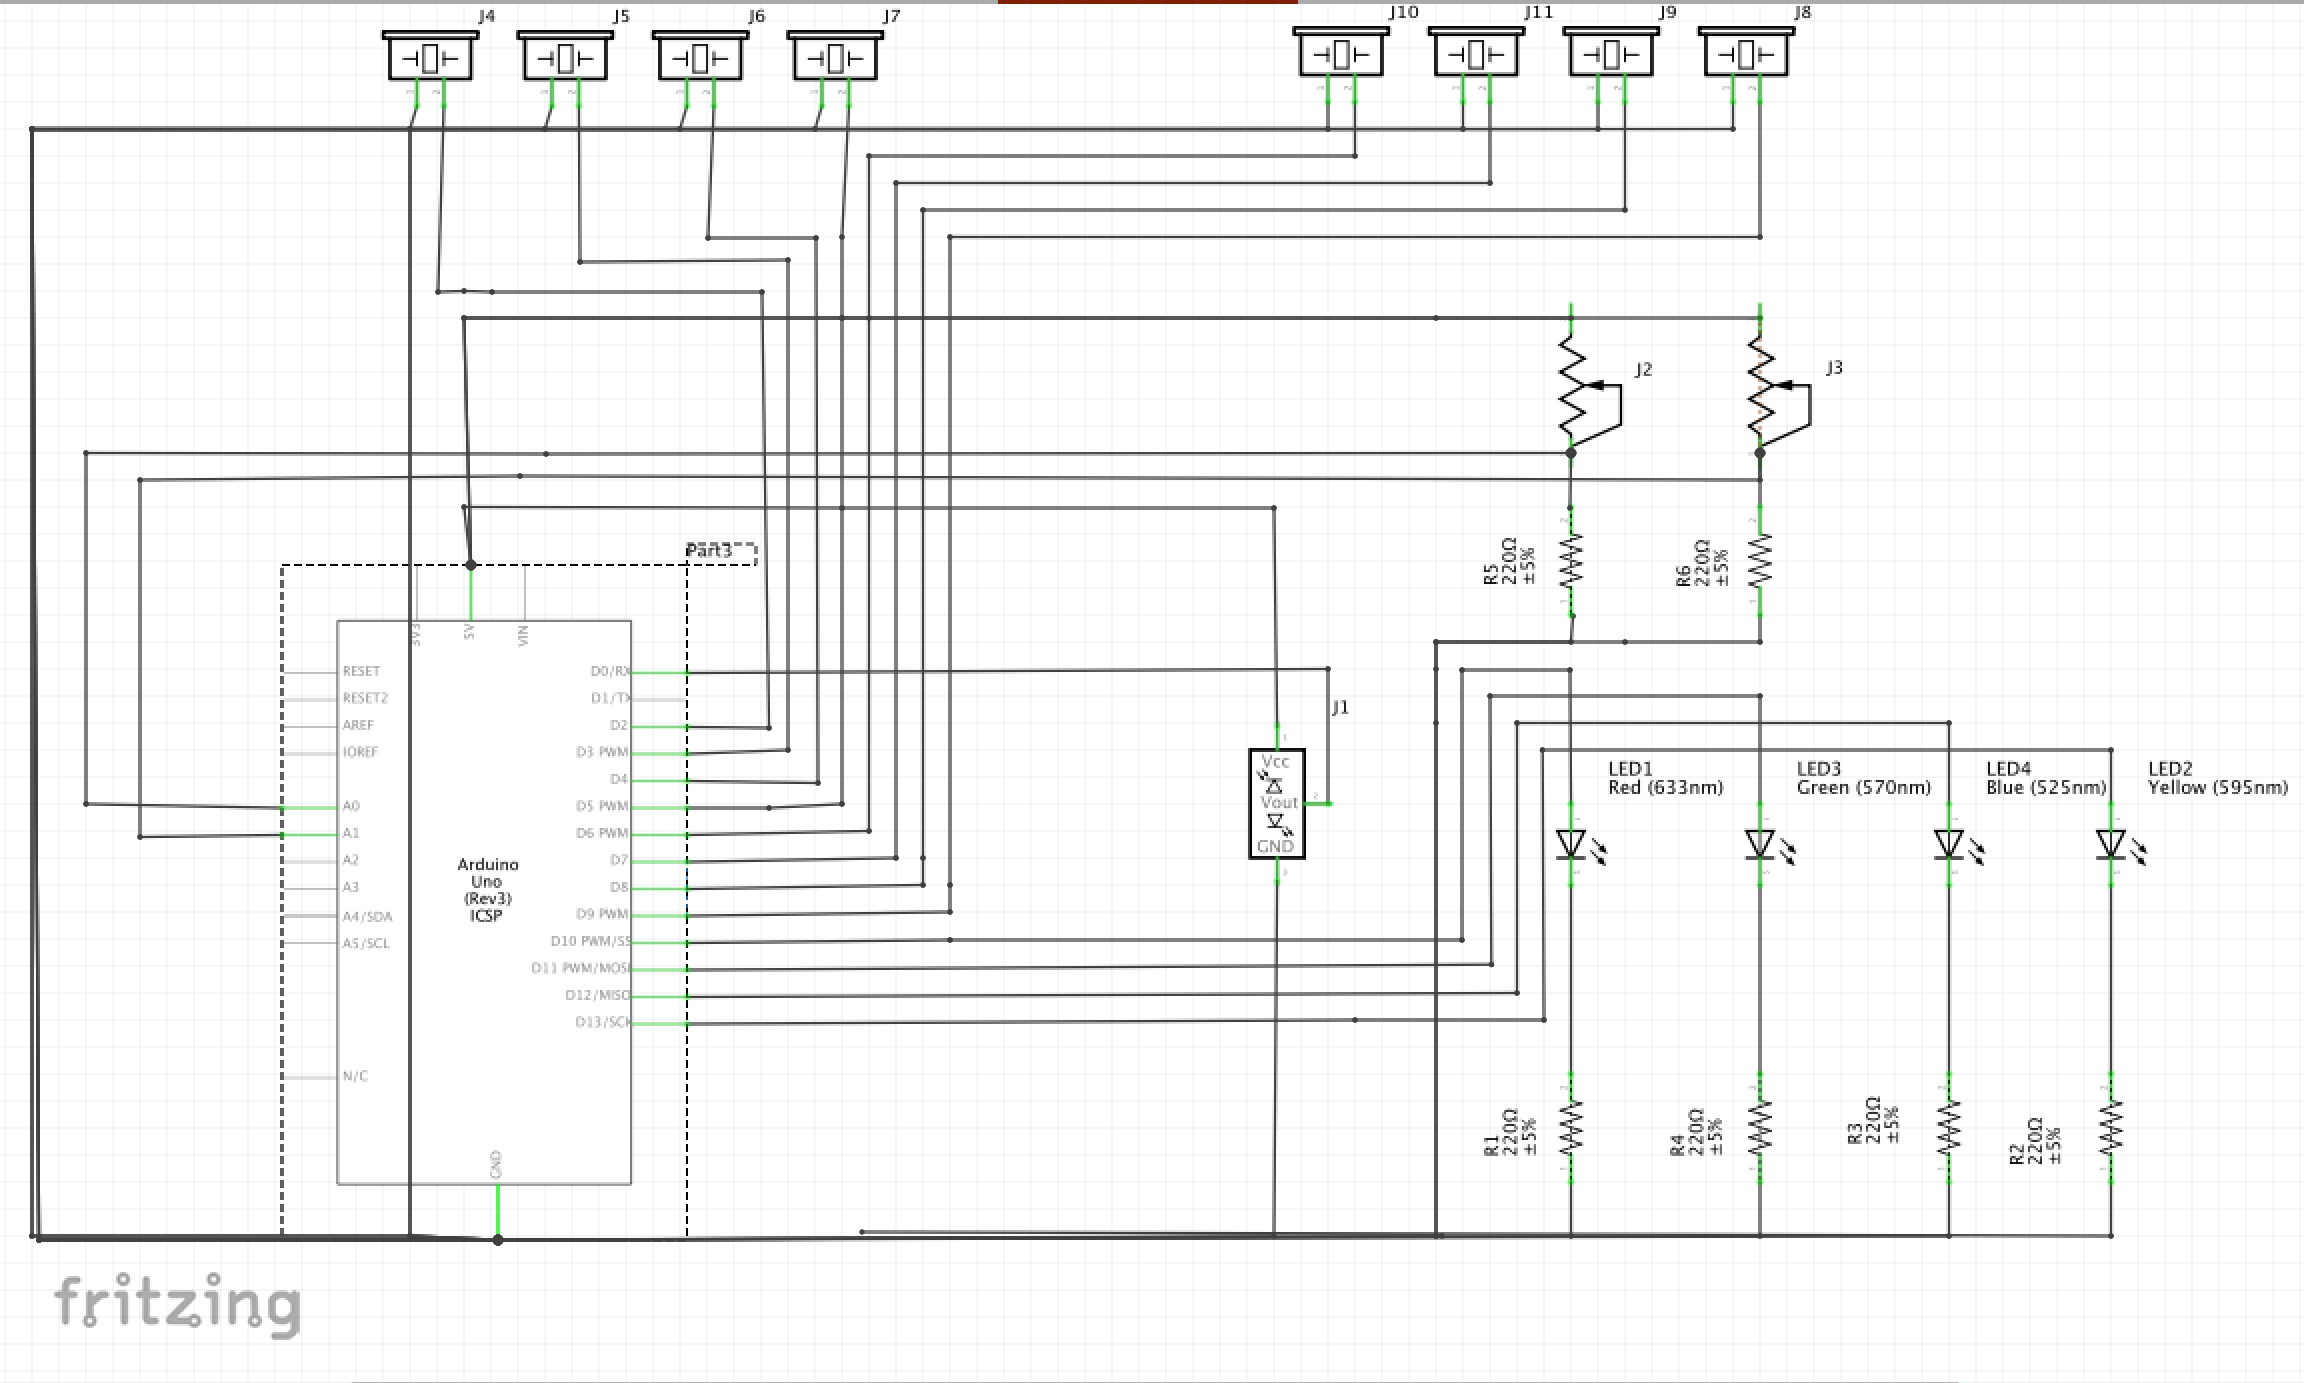
The end product is a circular enclosure housing eight piezos in a 360 degree array. Two antennae protrude from the top surface raising the IR sender and receiver, providing space for the hand to comfortably move in and break the signal. One force sensing resistor makes the playback of an eight note sequence begin, and also controls the playback speed. The other force sensor elongates the notes with greater force applied. There are four LEDs to indicate which functions are active: red for no playback, green for playback, blue for note length being altered, yellow for IR sensor activity. Each note of the sequence is played back through a different piezo, creating a spatial distribution of sound. The order in which the piezos are used can be either clockwise, anticlockwise, one of a few preprogrammed irregular patterns, or a random distribution.
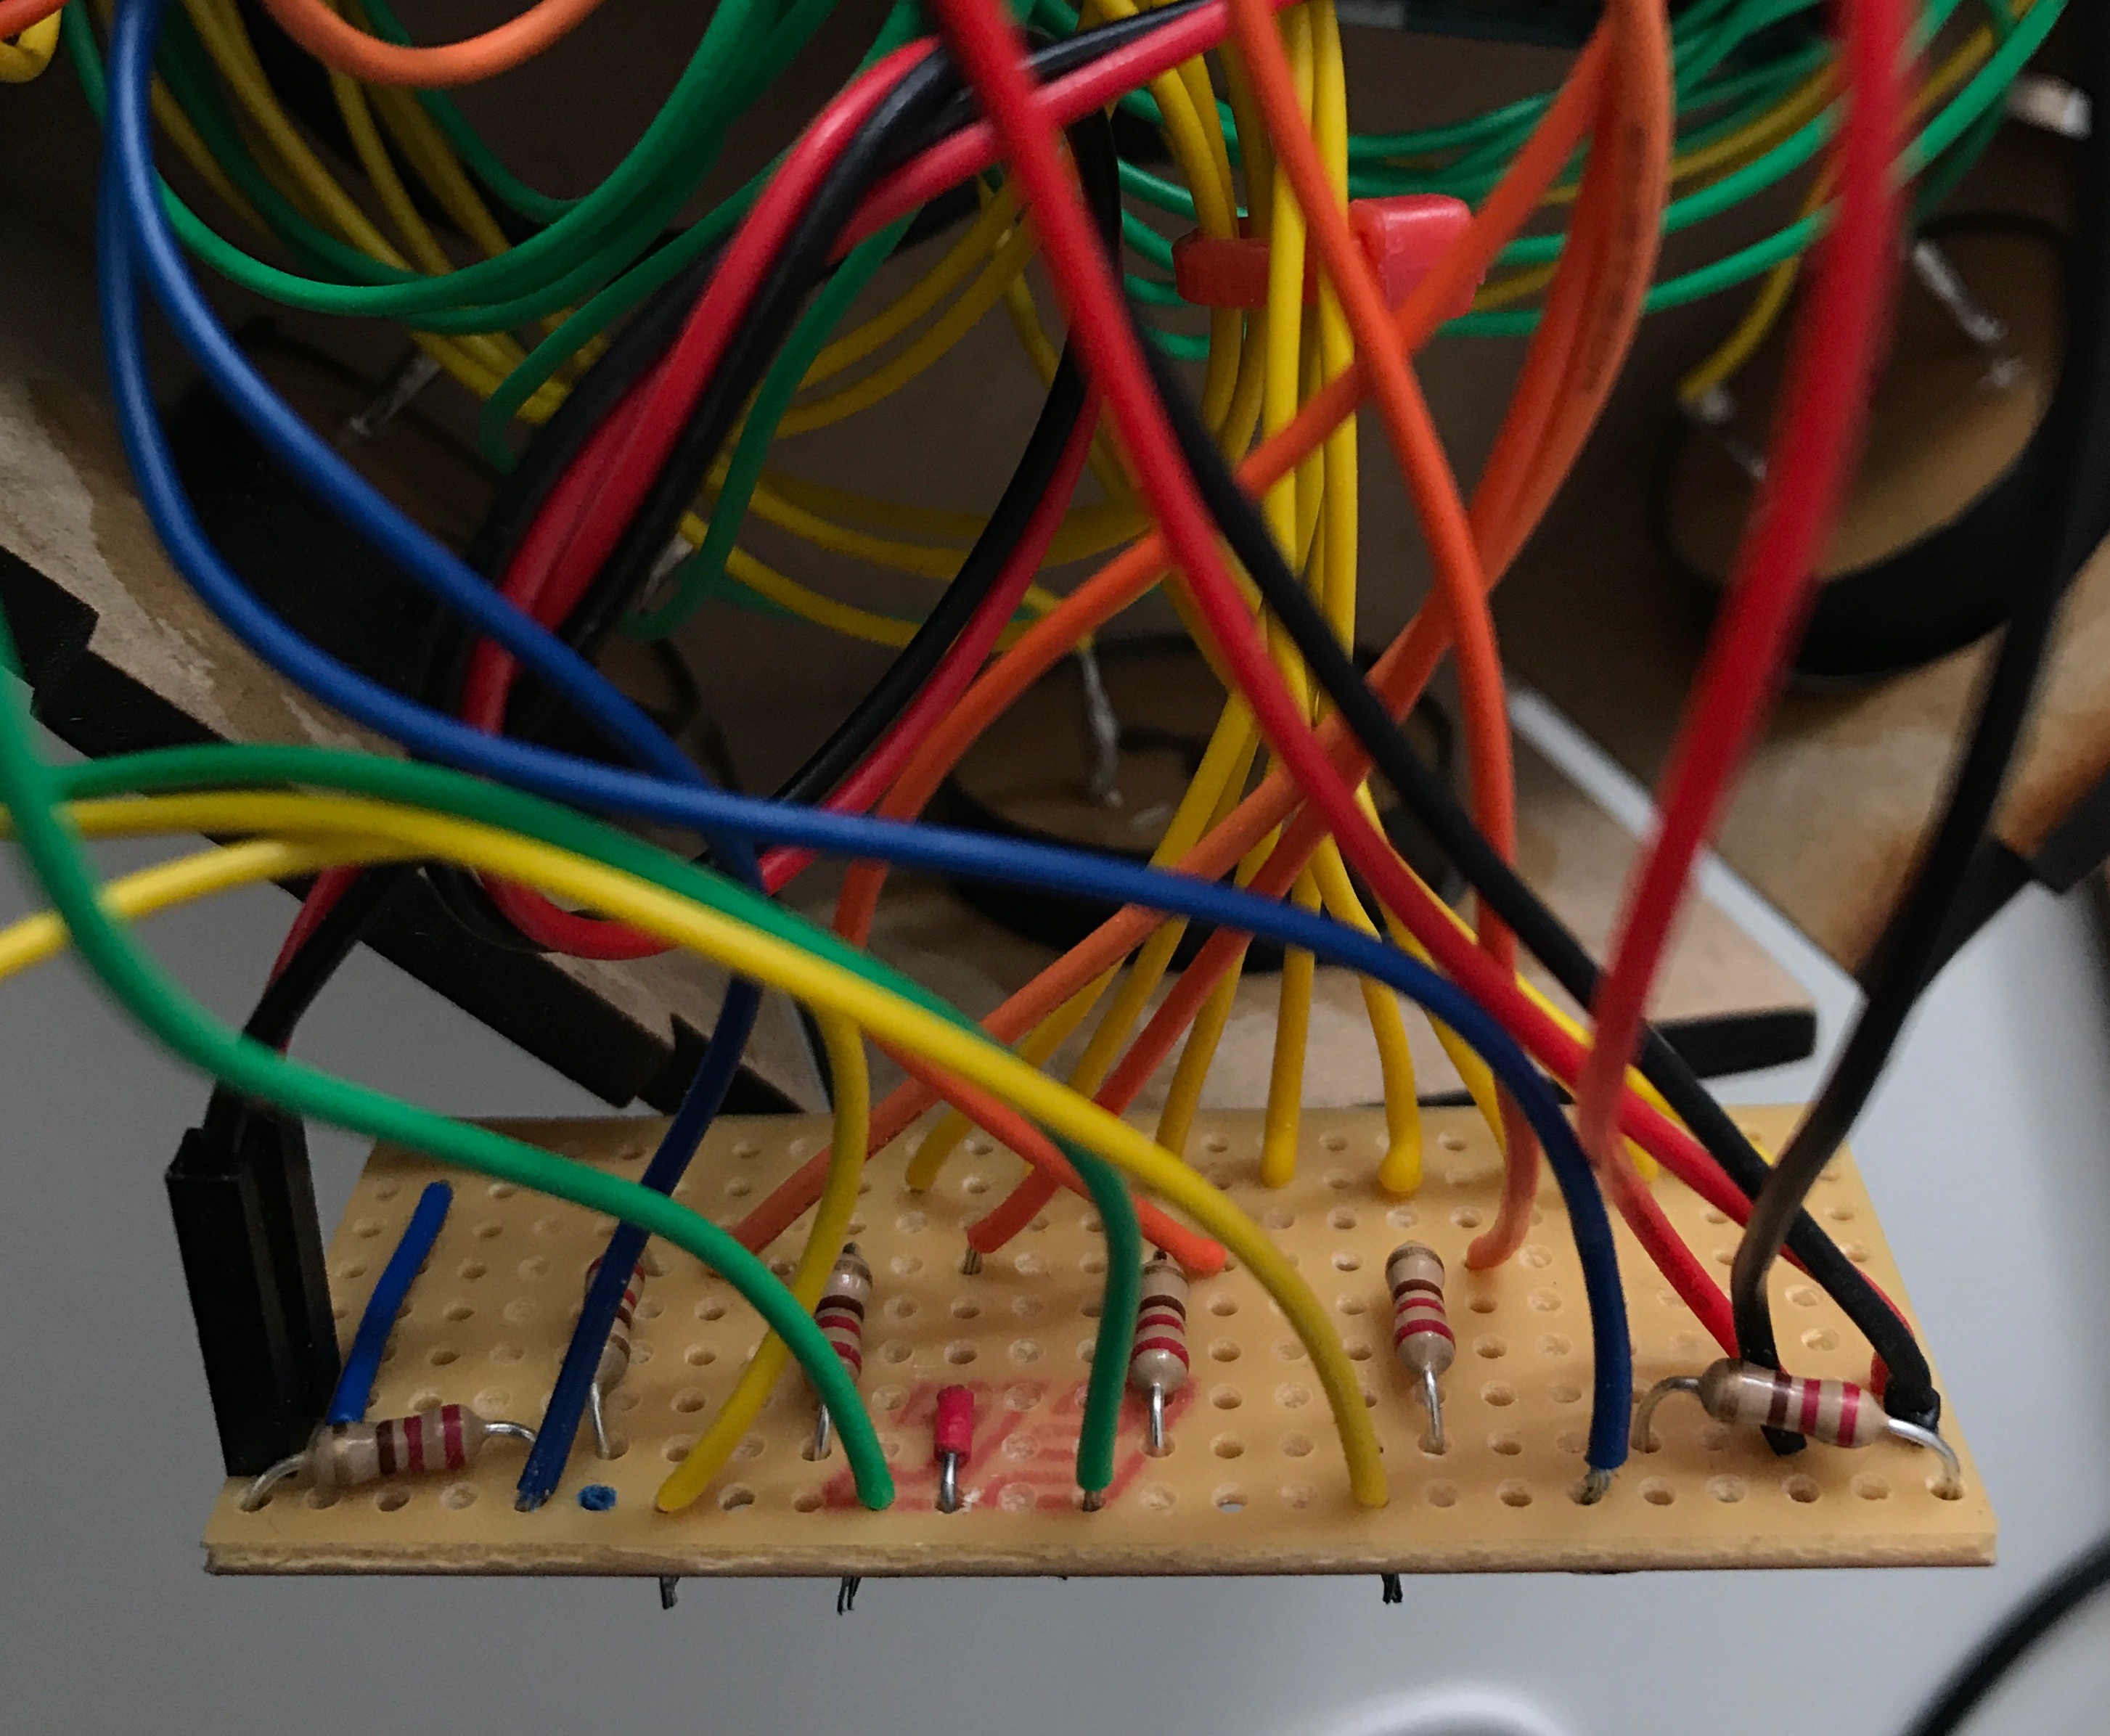
After experimenting with the photoresistor and taking inspiration from the light theremin project from our Arduino projects book, I found that in group testing the inconsistencies in lighting and the need to calibrate the sensor rendered that approach less appealing for first time users. I then explored the SparkFun ZX IR gesture sensor which introduced other technical problems that were beyond my skill level and time constraints. I eventually settled on some less complicated components including two force sensing resistors and an Infrared sensor. These provided reliable and smooth inputs into the Arduino, with the resistors to be used for playback and tonal controls, and the IR sensor providing another input if the signal is broken.
The bulk of my code comes down to a series of eight if statements used to progress through each step of the sequence. Three conditions are checked for each statement: The main playback sensor must be in use, the sequence step must be at a certain number between 0 and 7, and the the millisNow variable must be greater than the time at which the last note was played, plus the time of the current noteSpacing variable. Upon completion of one if statement, the sequence step variable increases by one, allowing the next if statement in line to be addressed. All of this allows for the if statements to be stepped through in a logical sequence and stops the program from trying to assess all of them at the same time.
The other important elements of the code are the two multidimensional arrays, one housing the note sequences (a selection of chosen frequencies in hertz), and a second one providing some default patterns or orders for the speakers to be used. Discovering multidimensional arrays (with some help from the forum) allowed me to have several preprogrammed patterns, for both notes and speakers, and to flip between them very easily by pointing the program to a different layer in the array. The infrared beam was then utilised in the final code to change the note sequence and the speaker pattern. When the beam is broken, a new random sequence and a speaker pattern is chosen.
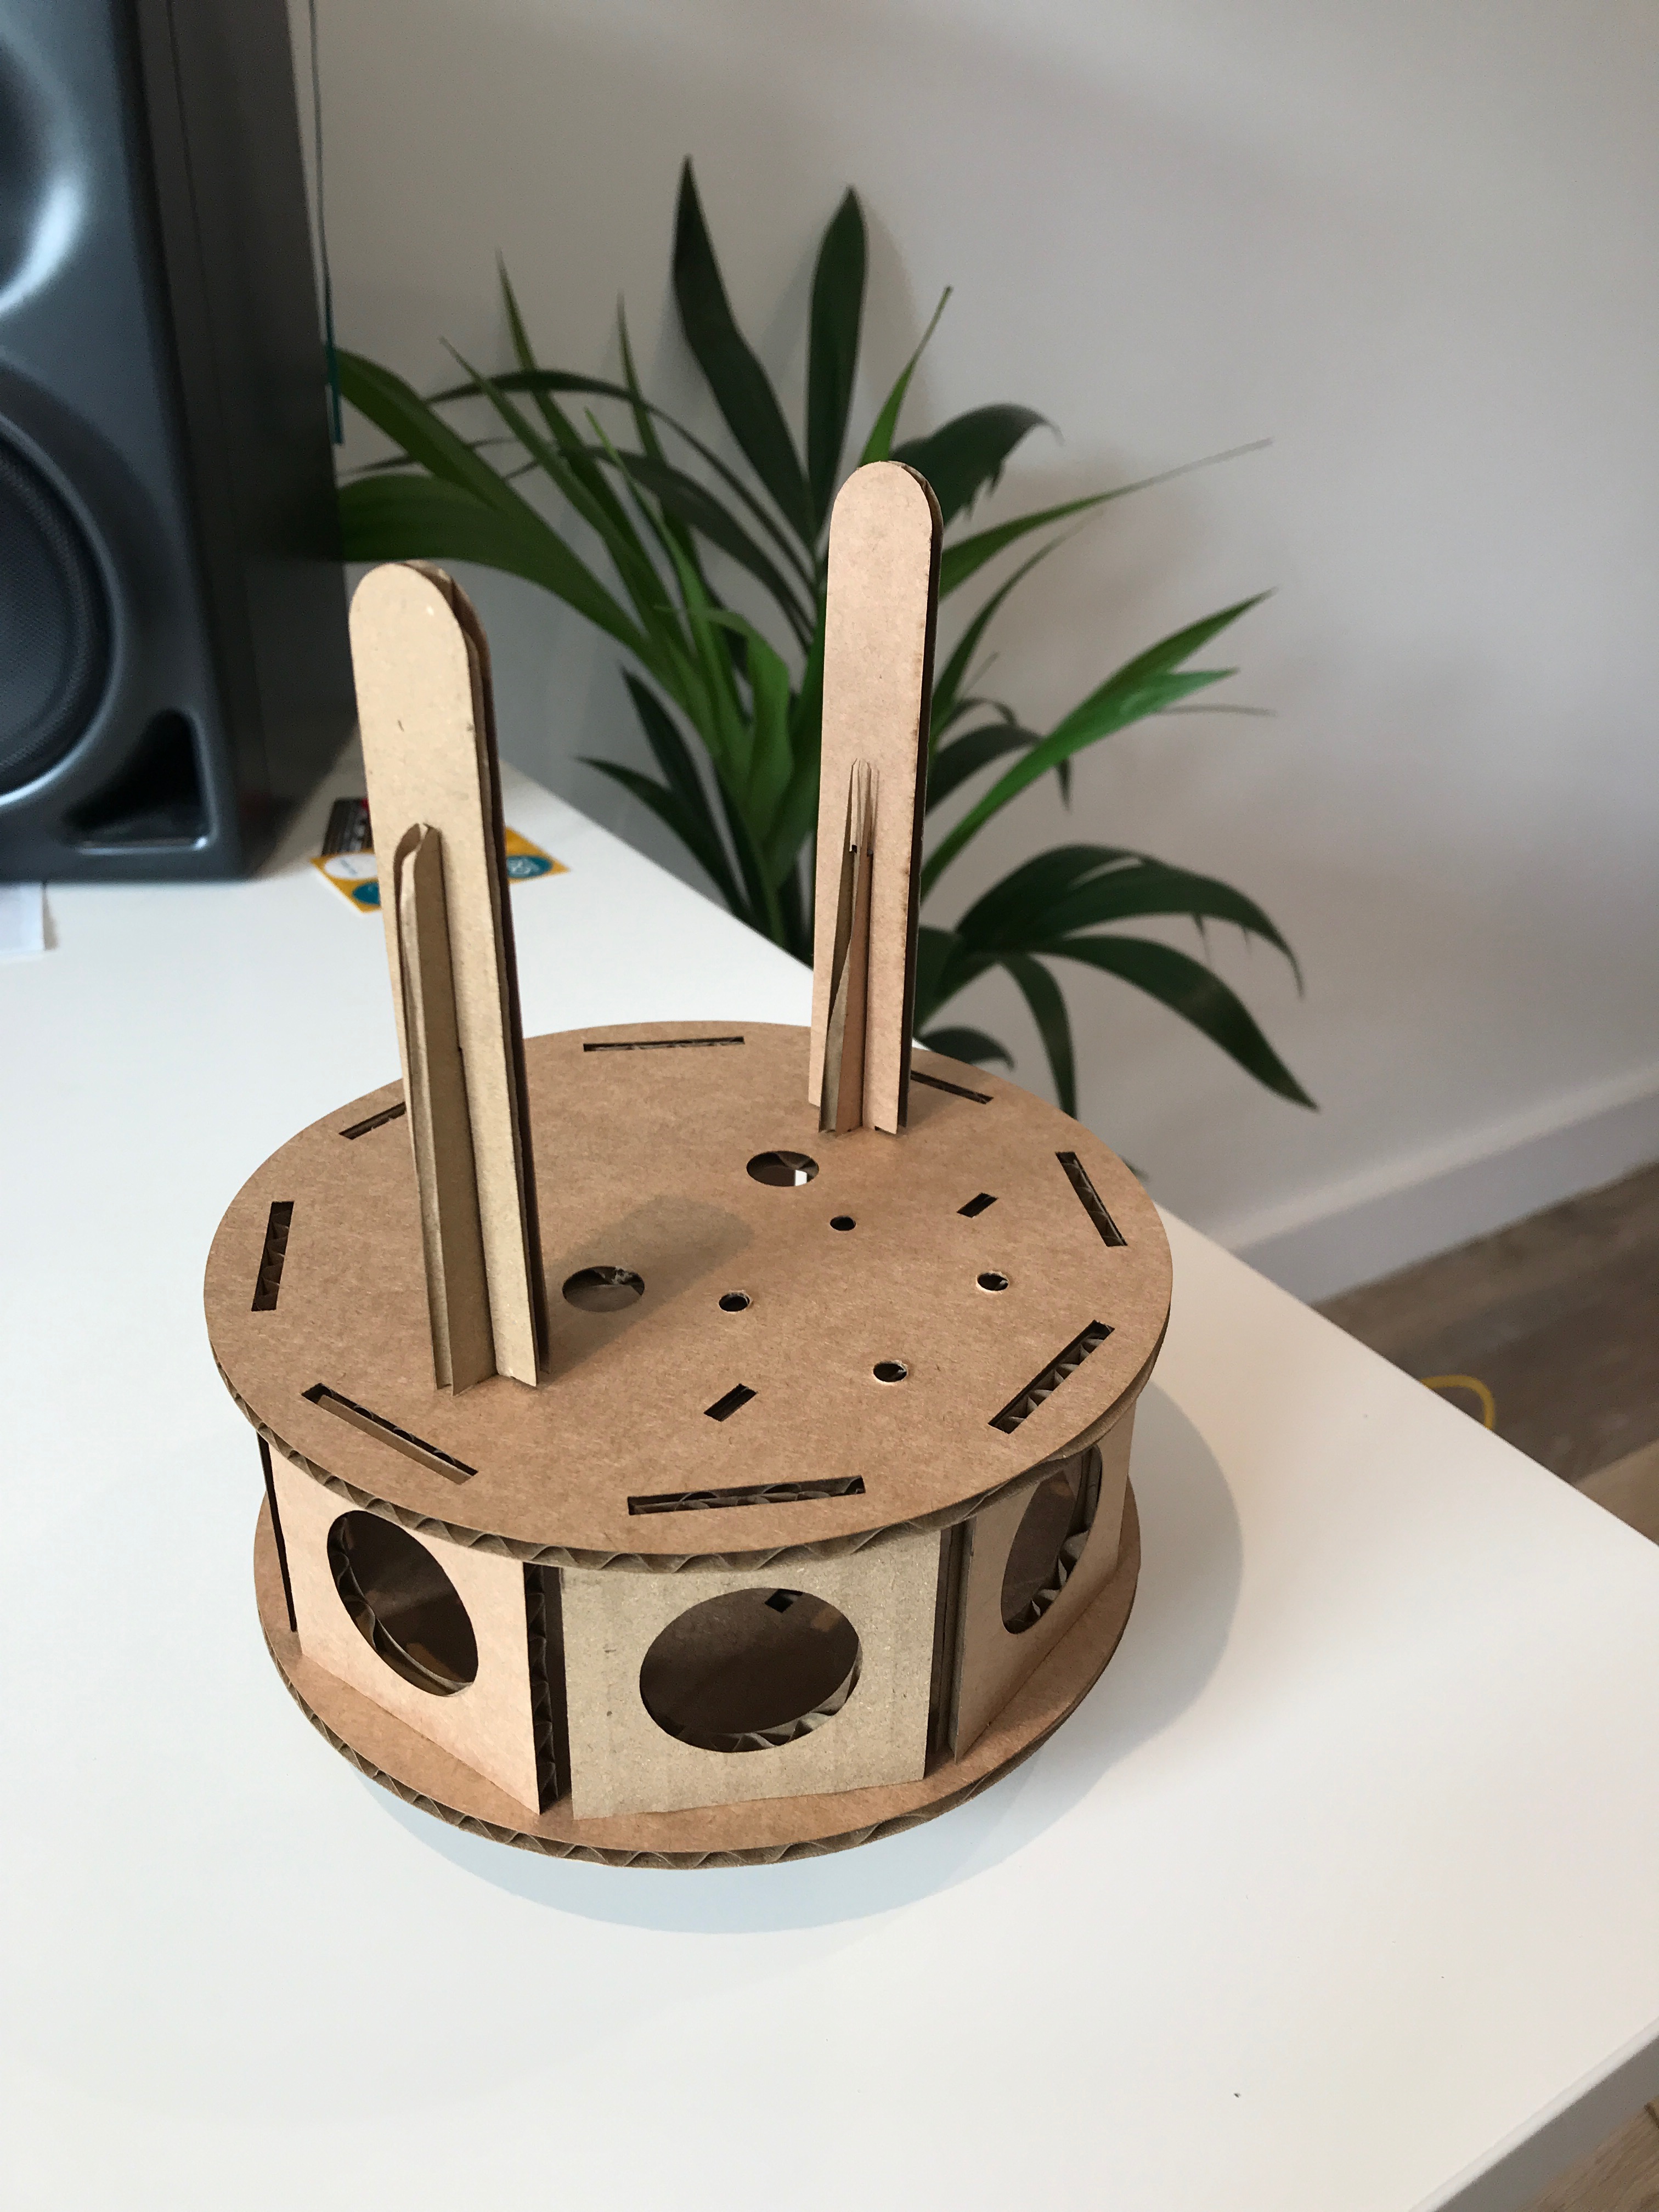
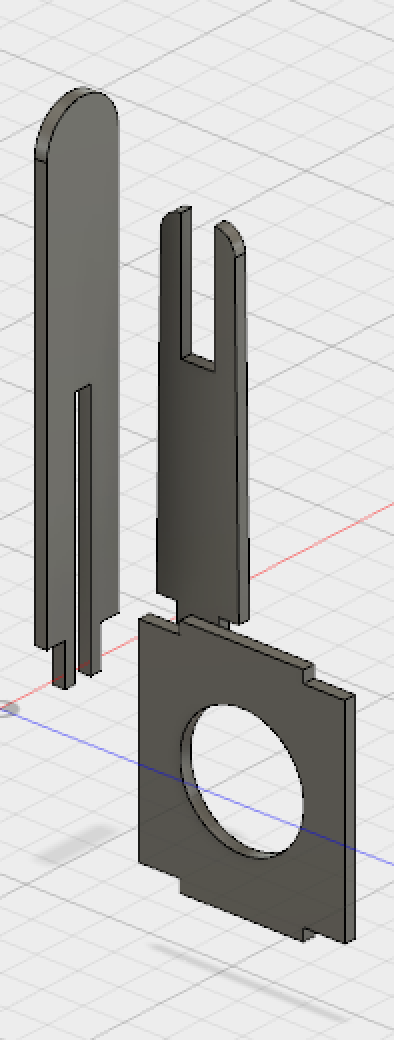
The fabrication was a challenging aspect of the project for me having never used CAD software before, however I am happy with what I was able to achieve in Fusion 360 after watching many tutorial videos.
Ideas for further development include the possibility of polyphonic operation, creating chords and utilising the multiple audio outputs available. Also, the possibility of a redesigned enclosure that is actually some sort of hat/helmet, allowing for the user to experience the spatial movement of the sound more directly, instead of hearing the diffused sound within the room which certainly lessens its impact.
References
Tutorial 24: Multi-Dimensional Arrays with Arduino (AKA Matrix)
https://programmingelectronics.com/tutorial-24-multi-dimensional-arrays-aka-matrix-old-version/
How and Why to avoid delay()
https://playground.arduino.cc/Code/AvoidDelay
Arduino Video Tutorial - 04 Light Theremin
https://www.youtube.com/watch?v=WLLiiyWKxs8&index=4&list=PLT6rF_I5kknPf2qlVFlvH47qHvqvzkknd