


Anemone
Anemone is a pneumatic soft robot that can sense its environment.
produced by: Eevi Rutanen
Concept
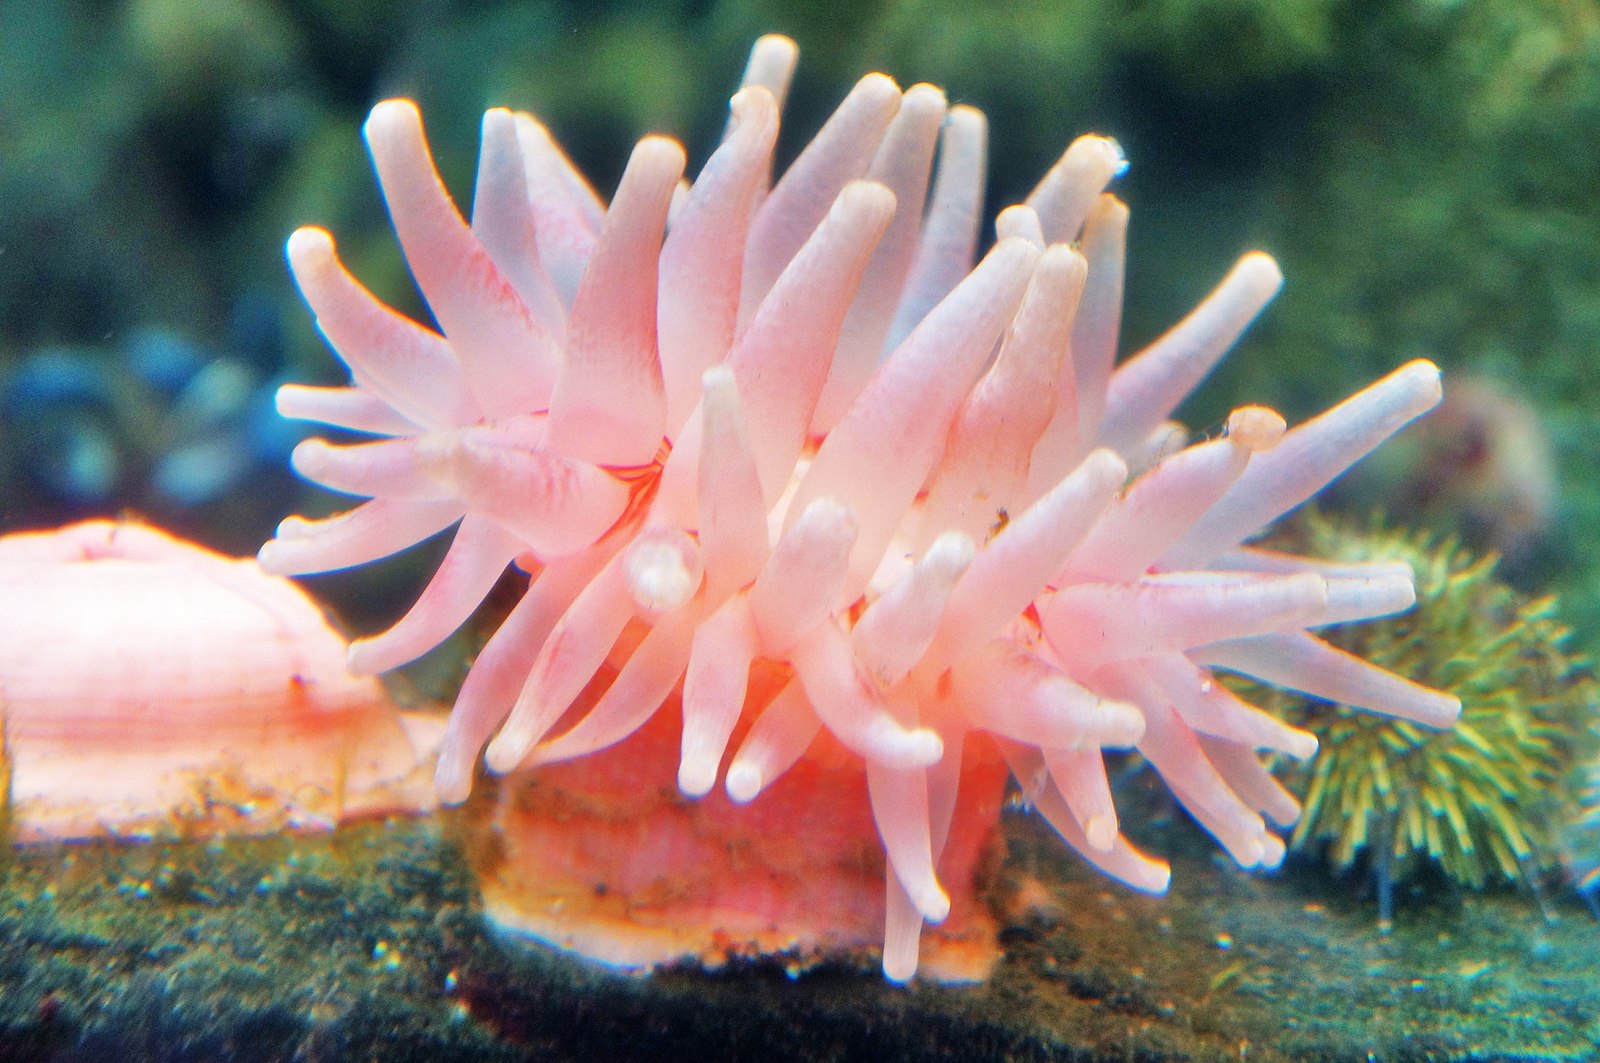
In my physical computing project I wanted to explore the concept of artificial life by creating a computational object that mimics the qualities of biological lifeforms. I was interested in the subtle ways an inanimate object can obtain and display lifelike characteristics, and the exhilarating yet uncanny effect caused by the contrast of lifelike and artificial. Furthermore, I wanted to incorporate unexpected and organic-feeling materials and forms to further accentuate the contrast. Limited engineering skills and material resources proved both a practical boundary and an evolutionary frame of reference for my artificial creature: with primitive technology one can only mimic primitive organisms. Inspired by the research of the Whitesides Group at Harvard (Soft Robotics Toolkit, Ilievski et. al., 2011; Sepherd, 2011), I decided to create an Arduino-controlled pneumatic silicone soft robot. Like a living organism, I wanted the soft robot to be able to interact with its environment based on sensorial stimuli. Based on the primitive light-sensing organs on jellyfish, sea stars and slugs, I decided on using light dependent resistors as the input for the robot’s movement.
Silicone Actuator
For the design of the inflatable silicone actuator, I first tested Ben Finio’s (n.d.) modified version of the quadruped gripper model originally developed by the Whitesides Group (Ilievski et. al., 2011). The design required 3D printing a mould for casting the silicone, but I found that the mould I made with Ultimaker and PLA filament was too porous and uneven, so that the solidified silicone was too difficult to remove without damaging the intricate forking air chambers.
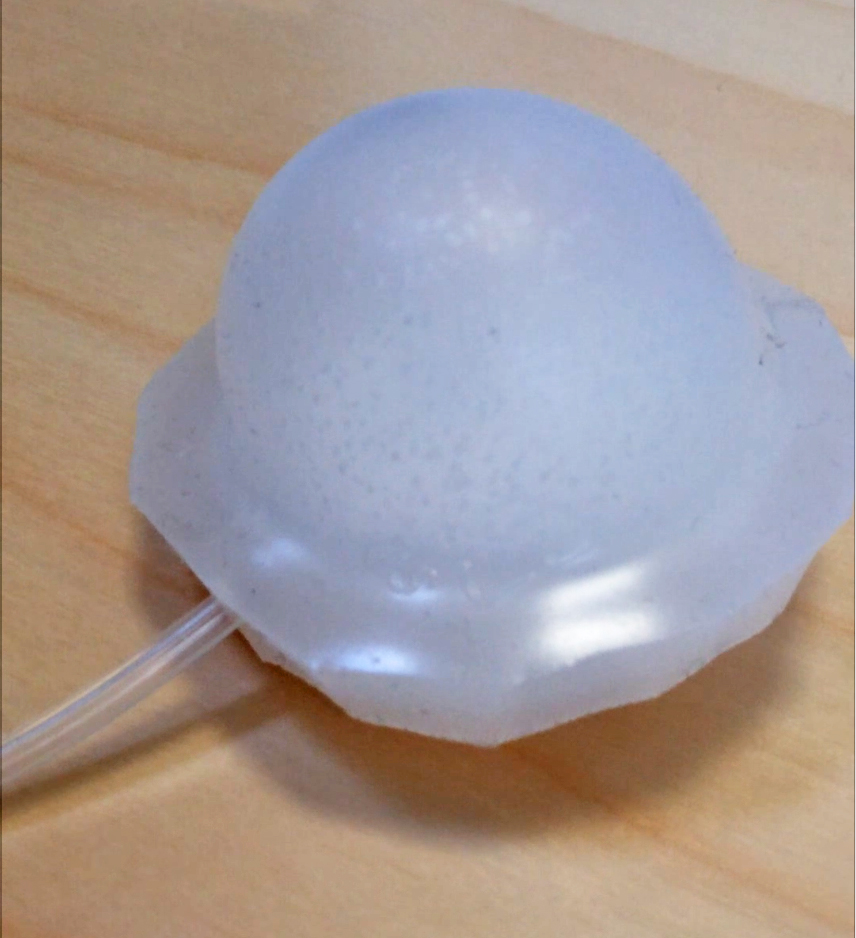
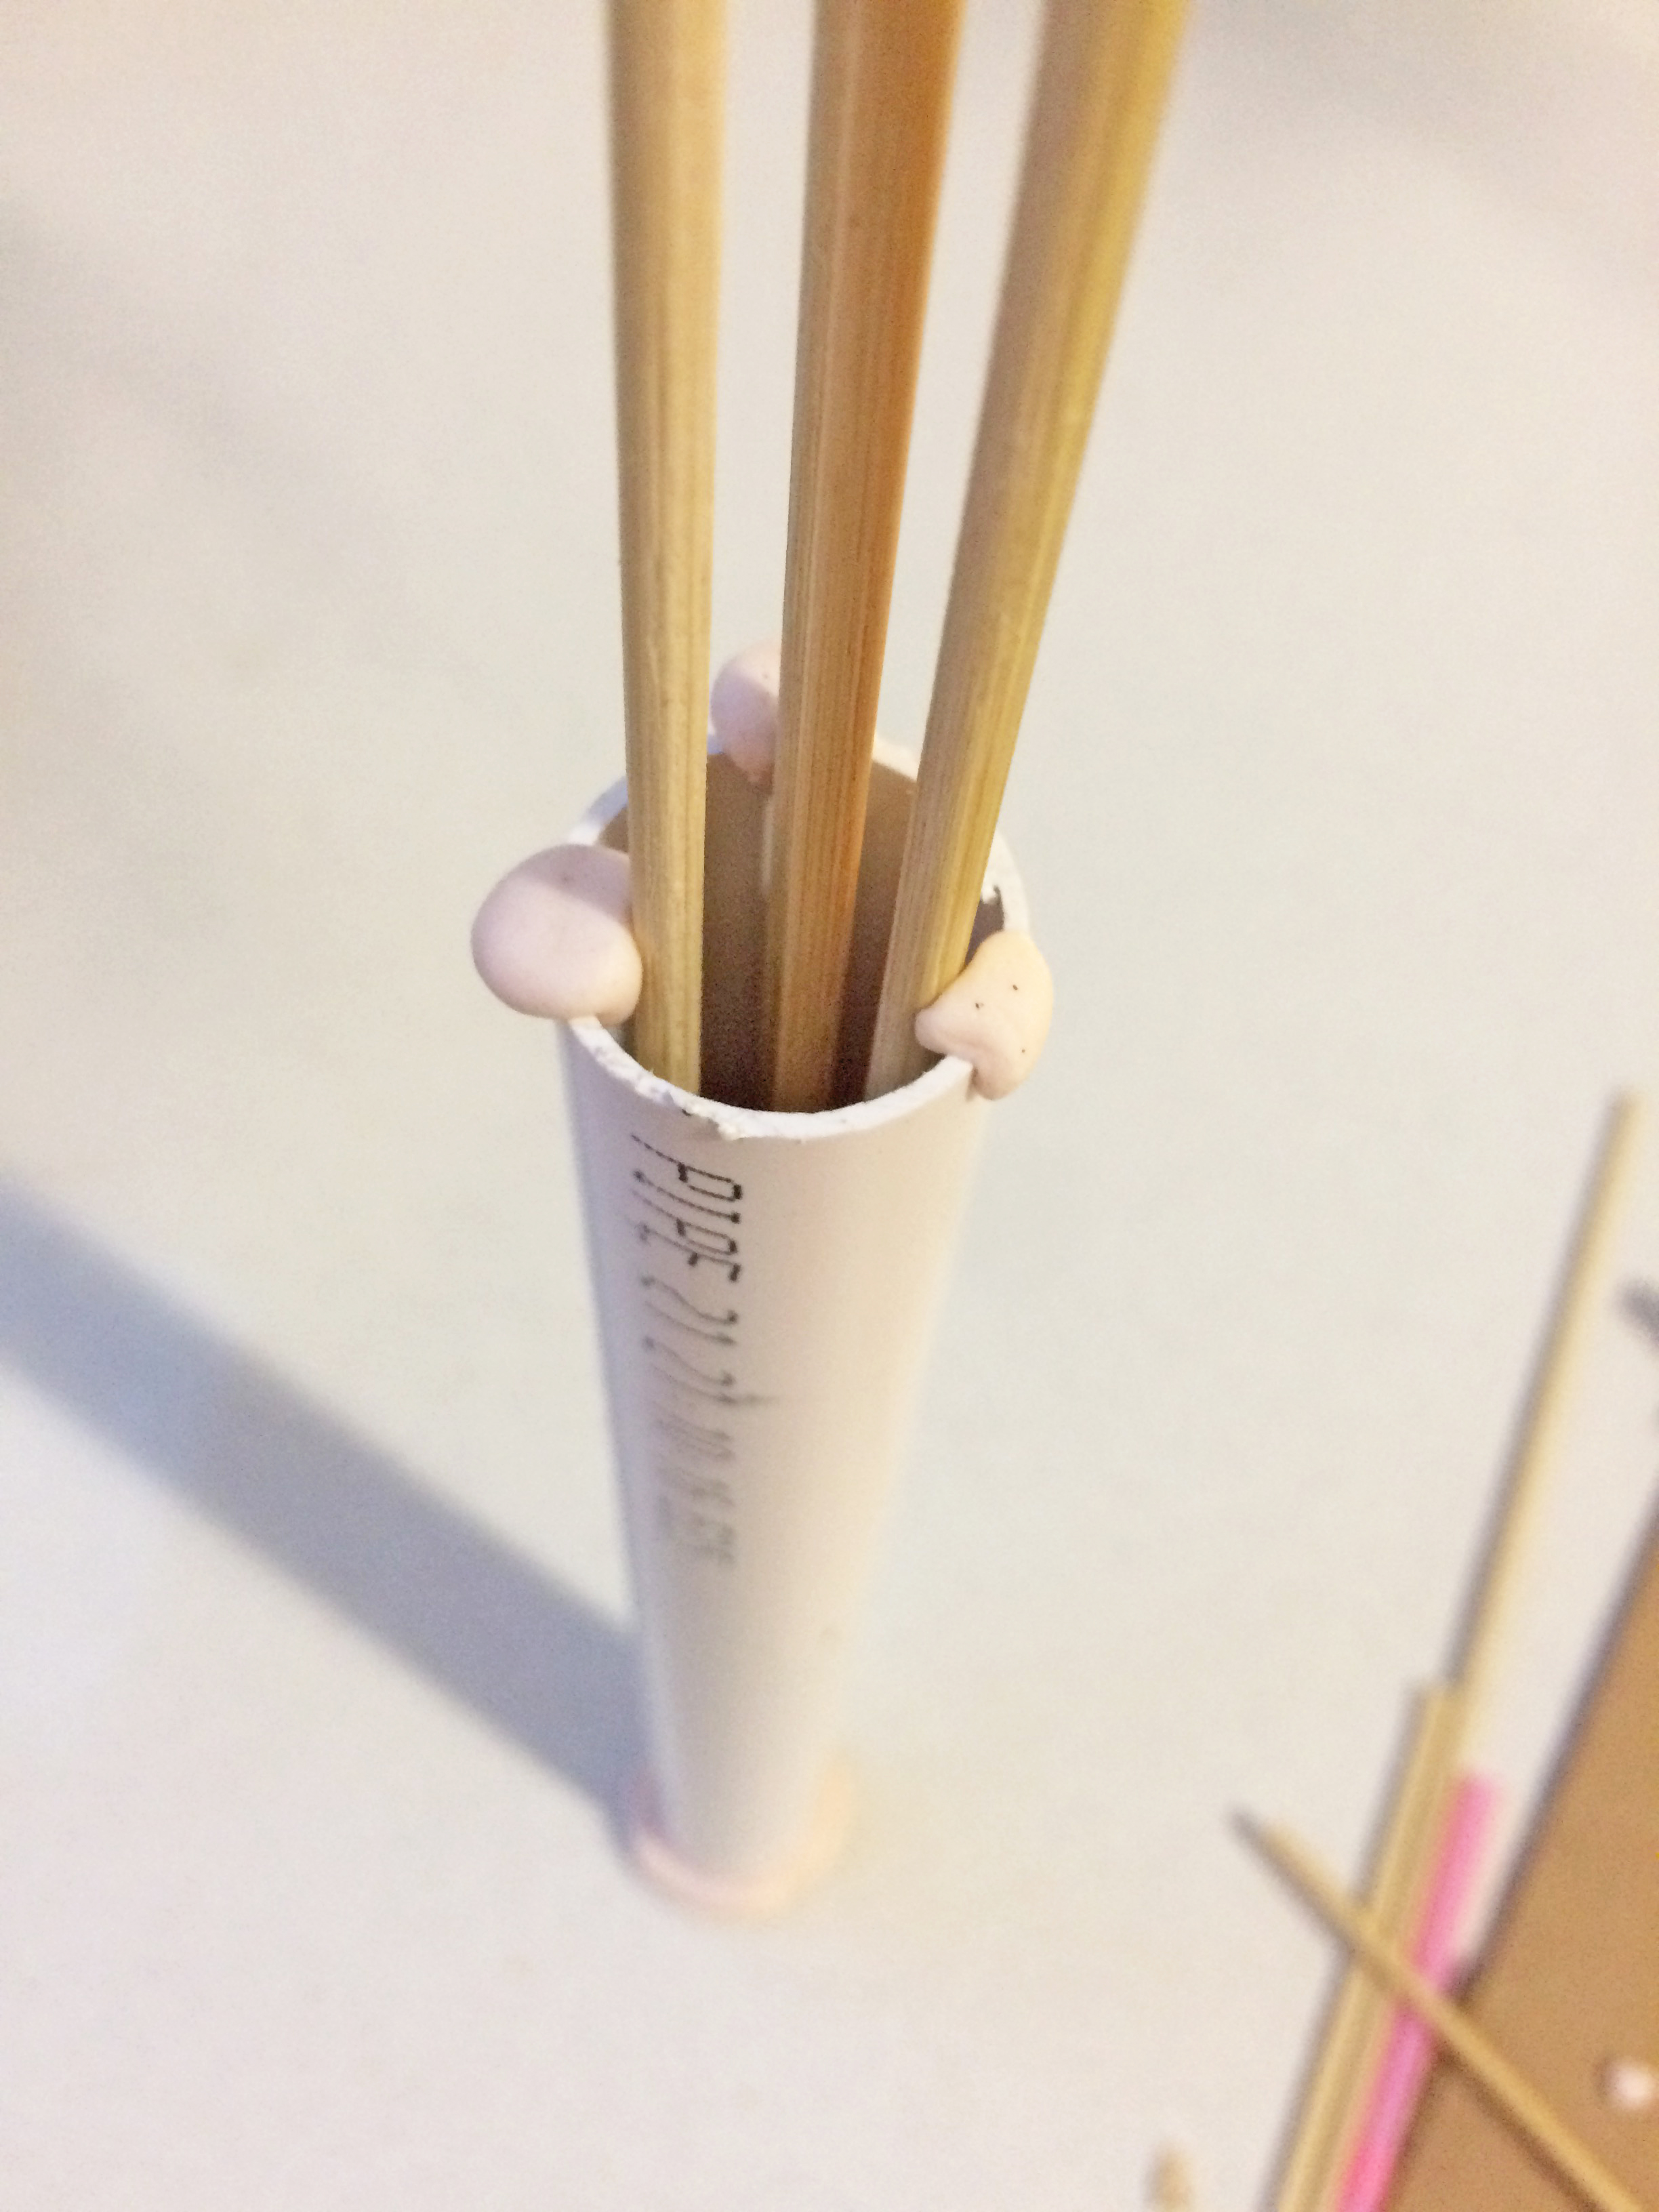
I decided to go for a more simple actuator design with a one-chambered airway. This would make the fabrication of the cast easier and the actuator less prone to defects. I experimented with a couple of different mould designs using various materials, and practiced casting the silicone, of which I had no previous experience. Inspired by some existing projects found online (Borgatti, 2015; Harrison_89, n.d.) I settled on a tentacle-like design. By combining multiple single-chambered actuators in one shape, it would still be possible to produce a variation of different movements and states. In stead of connecting individual actuators together, like in Harrison_89’s (n.d.) example, I aimed to have a single-skinned shape with three individual chambers and three air sources, somewhat alike Borgatti’s Trefoil Tentacle (2015). My final mould was constructed out of PVC piping, barbecue skewers and moulding clay. I originally tried to integrate the light sensors to the tip of the tentacle and have the wires running inside the actuator in a fourth central cavity, but four chambers turned out to be too difficult to fit inside the mould without being too close to each other and causing the airways to burst. I also experimented with conductive silicone by mixing graphite powder to the solution, but the silicone didn’t solidify properly.

Electronics
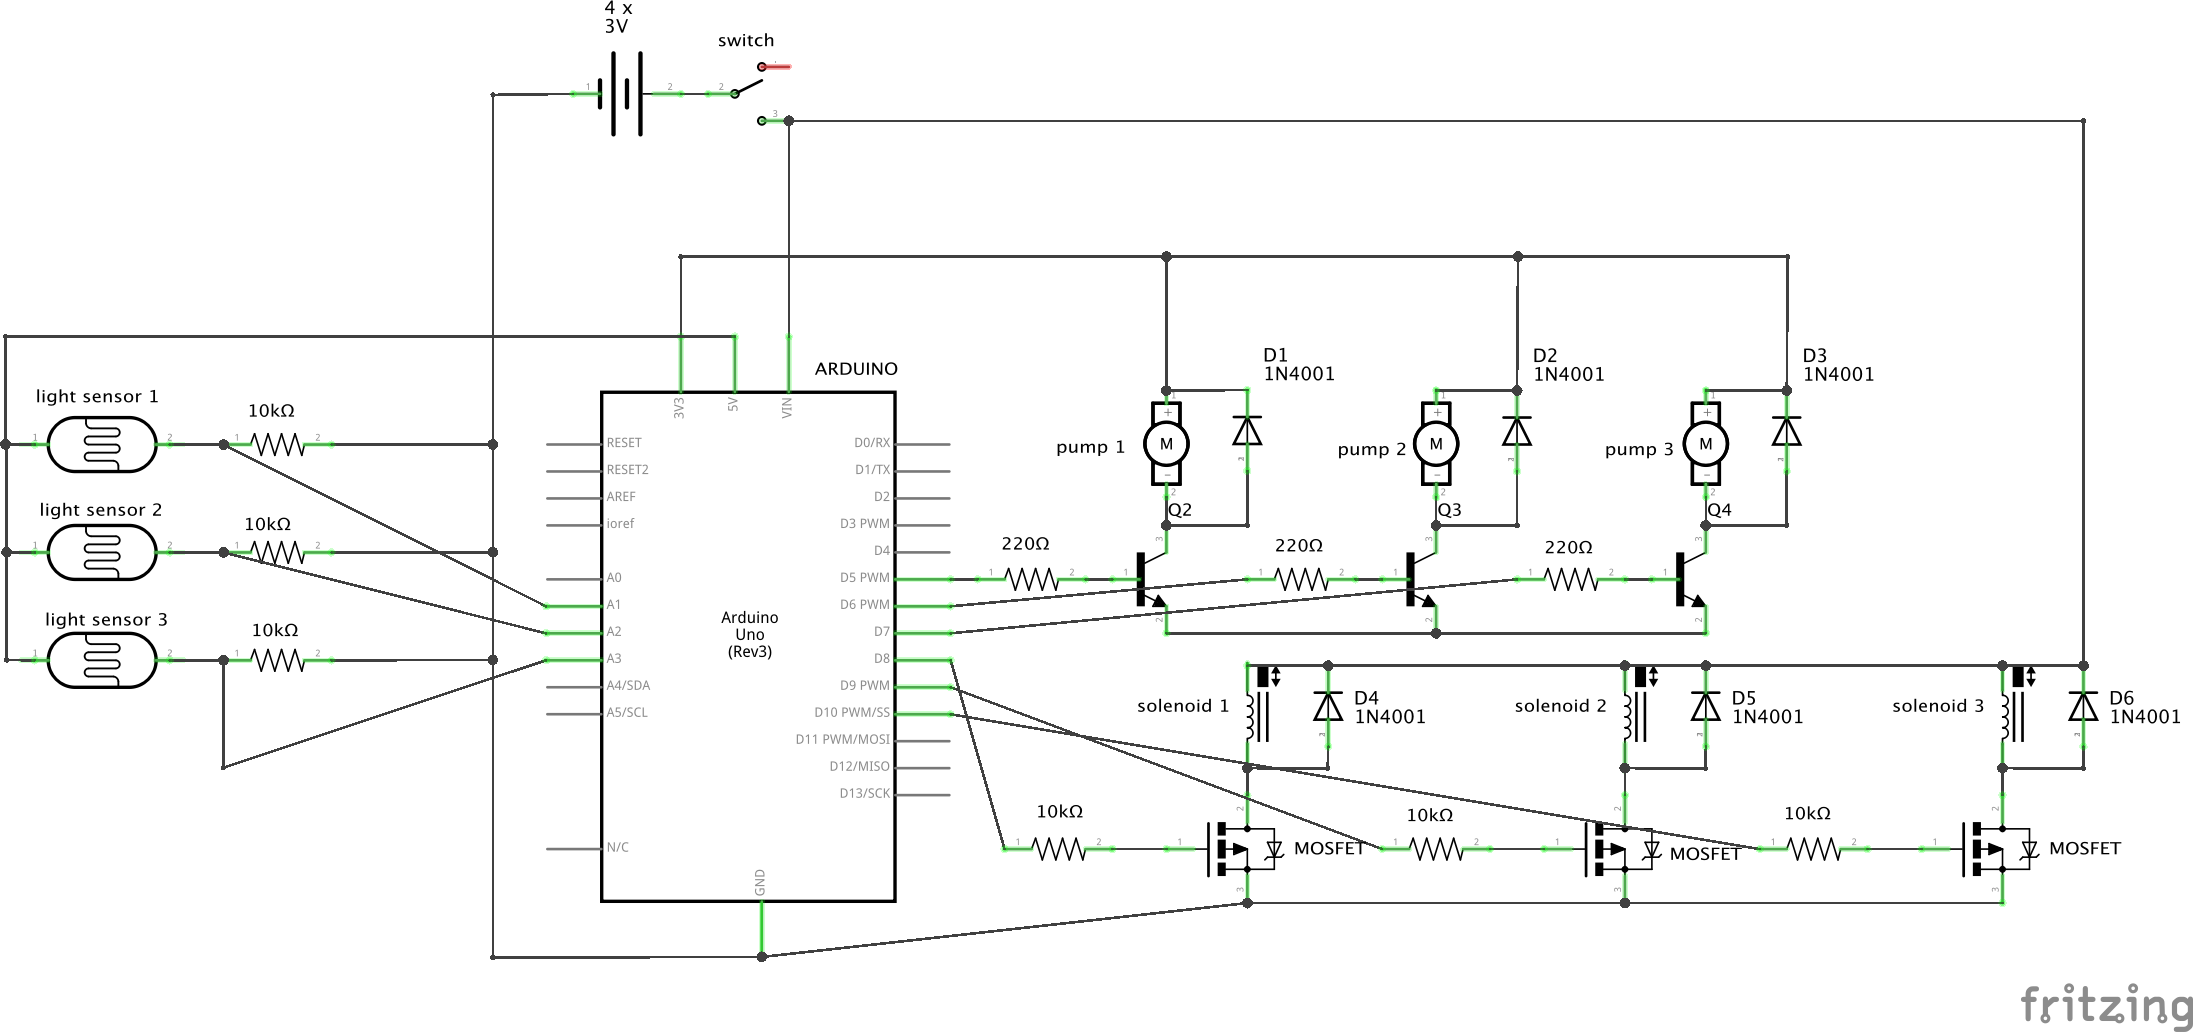
For inflating the individual airways inside the soft robot I used three miniature 3V air pumps usually used for airing the water in aquariums. The pumps are basically small DC motors, so the circuit was identical to a basic DC motor setup with a transistor switch, e.g. Arduino Project 09 (Fitzgerald, 2012). Because of the low 3V voltage I used a common PN2222 transistor. I placed a 1N4001 diode across the connections of the pump to protect the micro controller from any reverse current spikes from the pump (Monk, n.d.).
For controlling the air flow and maintaining the air pressure inside the actuator once inflated I used three miniature 2-position 3-way 12V solenoid valves. When there is no current in the solenoid, the air passes from the pump to the actuator. When the solenoid is powered, the valve lets the air out from the actuator to the atmosphere. The solenoid is an inductive load similar to a motor, so also this circuit was interchangeable to a DC motor setup (Chris, 2015). However, unlike the pumps, the solenoids require a high voltage of 12V, so I used IRF520 MOSFET transistors suitable for higher current loads.
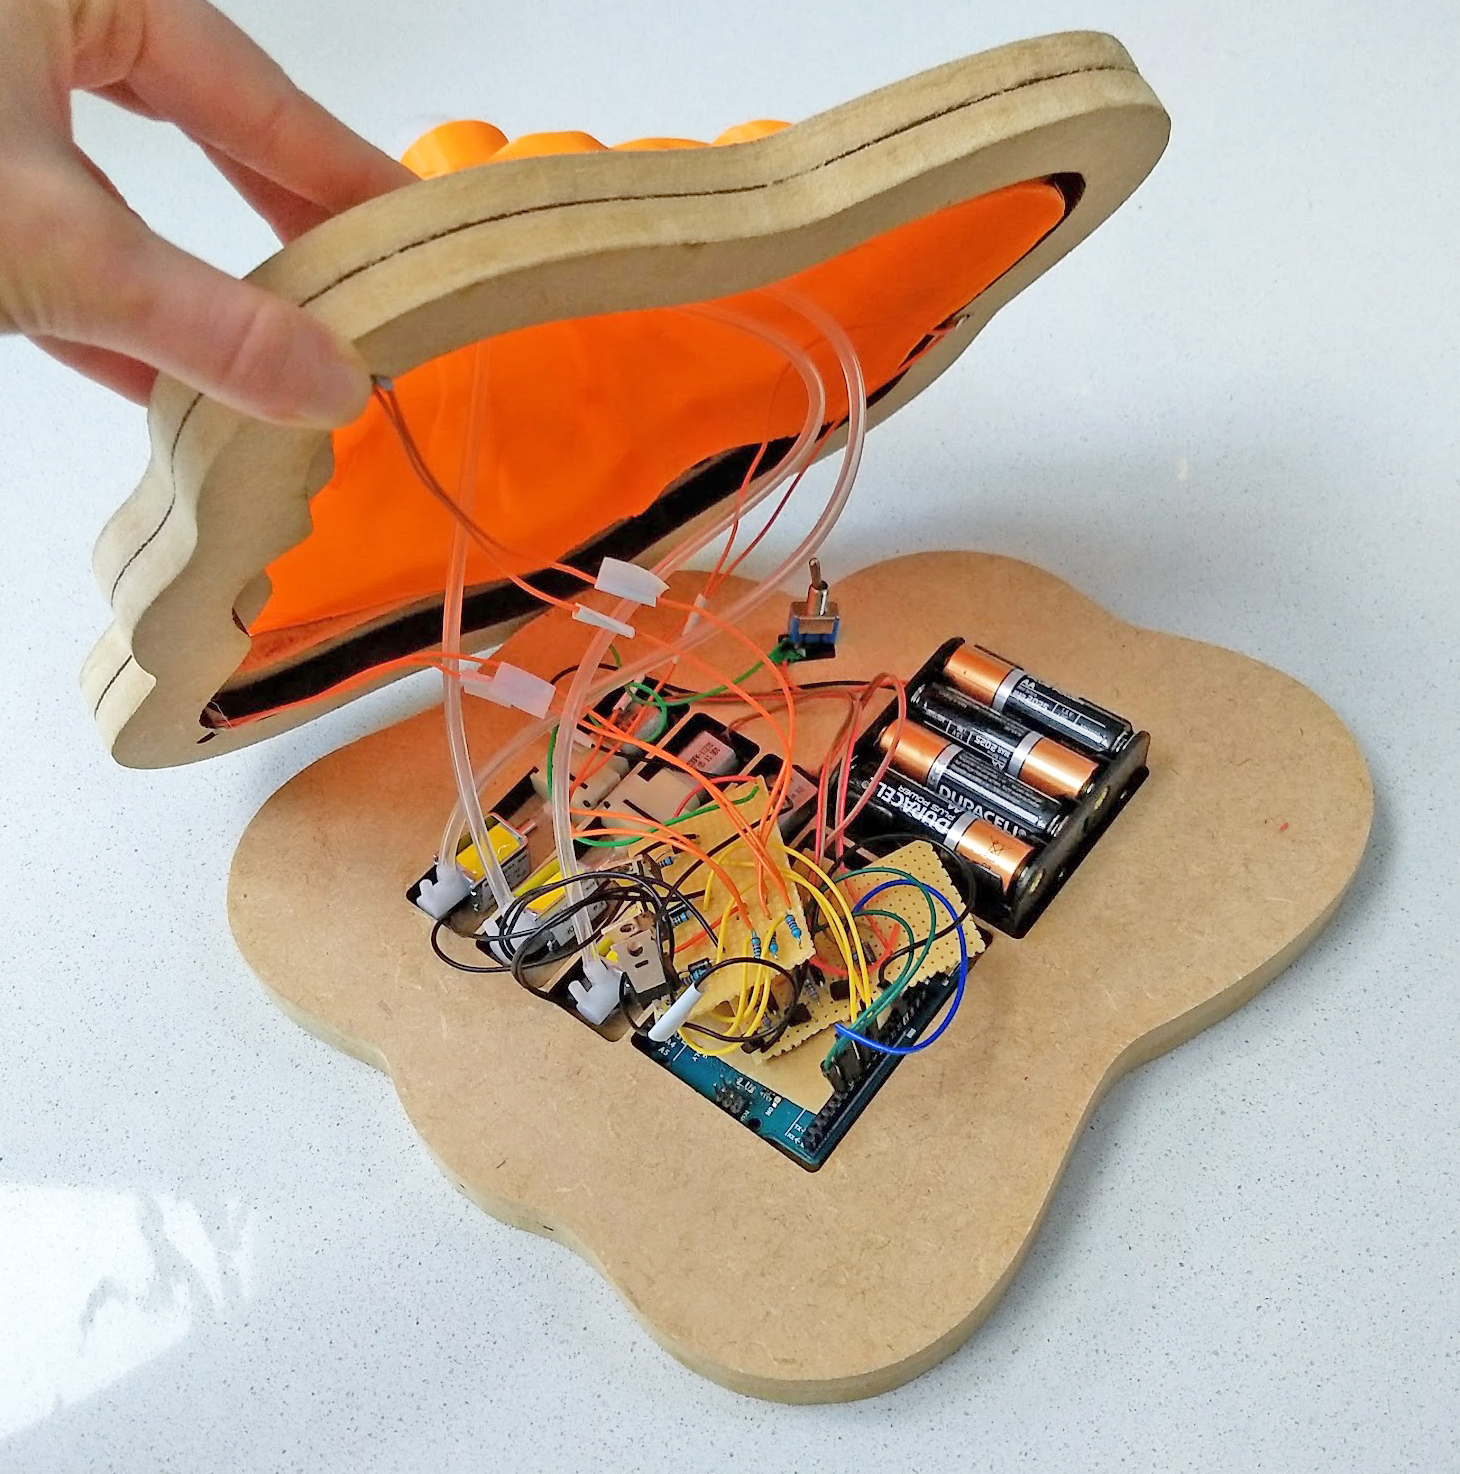
I wanted to keep the project contained and portable, so I had to come up with a solution to power the solenoids (12V), pumps (3V) and the Arduino (5-12V) from a power supply. I ended up using eight 1.5V AA batteries to power the solenoids and the Arduino (through VIN), and drawing 3.3V for the pumps and 5V for the light sensors from the Arduino power pins. I also connected a toggle switch between the power supply and the VIN pin and the solenoids for switching the power on and off.
The LDRs were simply connected from the other leg to 5V, and other leg to the analog pin and ground across a 10 kilohm resistor, similarly to the Arduino Project 06 (Fitzgerald, 2012).
After testing the circuit on a breadboard, then soldering the parts on a stripboard and eventually frying the circuit, I decided to resolder everything. I wasn’t able to obtain more stripboards on time, so I ended up using perfboard without any copper connections. Because I couldn’t solder any header pins to the perfboard, it wasn’t possible to place the circuit directly on the Arduino pins, so I had to use wires for connecting everything. This unfortunately made the layout less organised.
Arduino Code
Based on the analog readings of the LDRs, the pump on the side with the least light is switched on (while other pumps are switches off). The pumped air inflates the chamber and forces the tentacle to bend towards the light. A counter is used to measure the time a pump has been on, and when the chamber is inflated to its maximum the corresponding solenoid is switched on and the chamber is deflated.
Enclosure
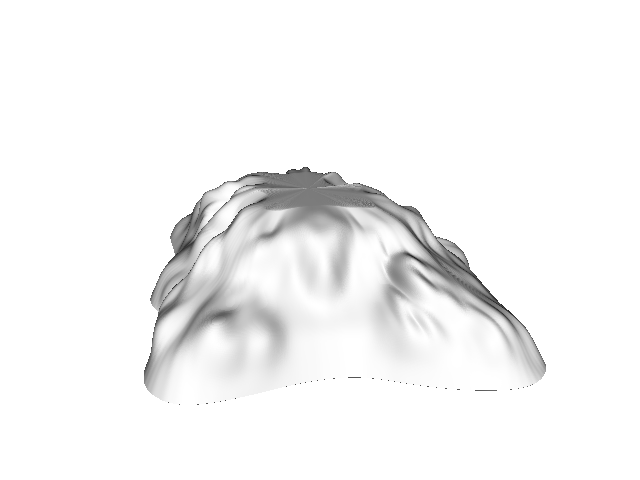
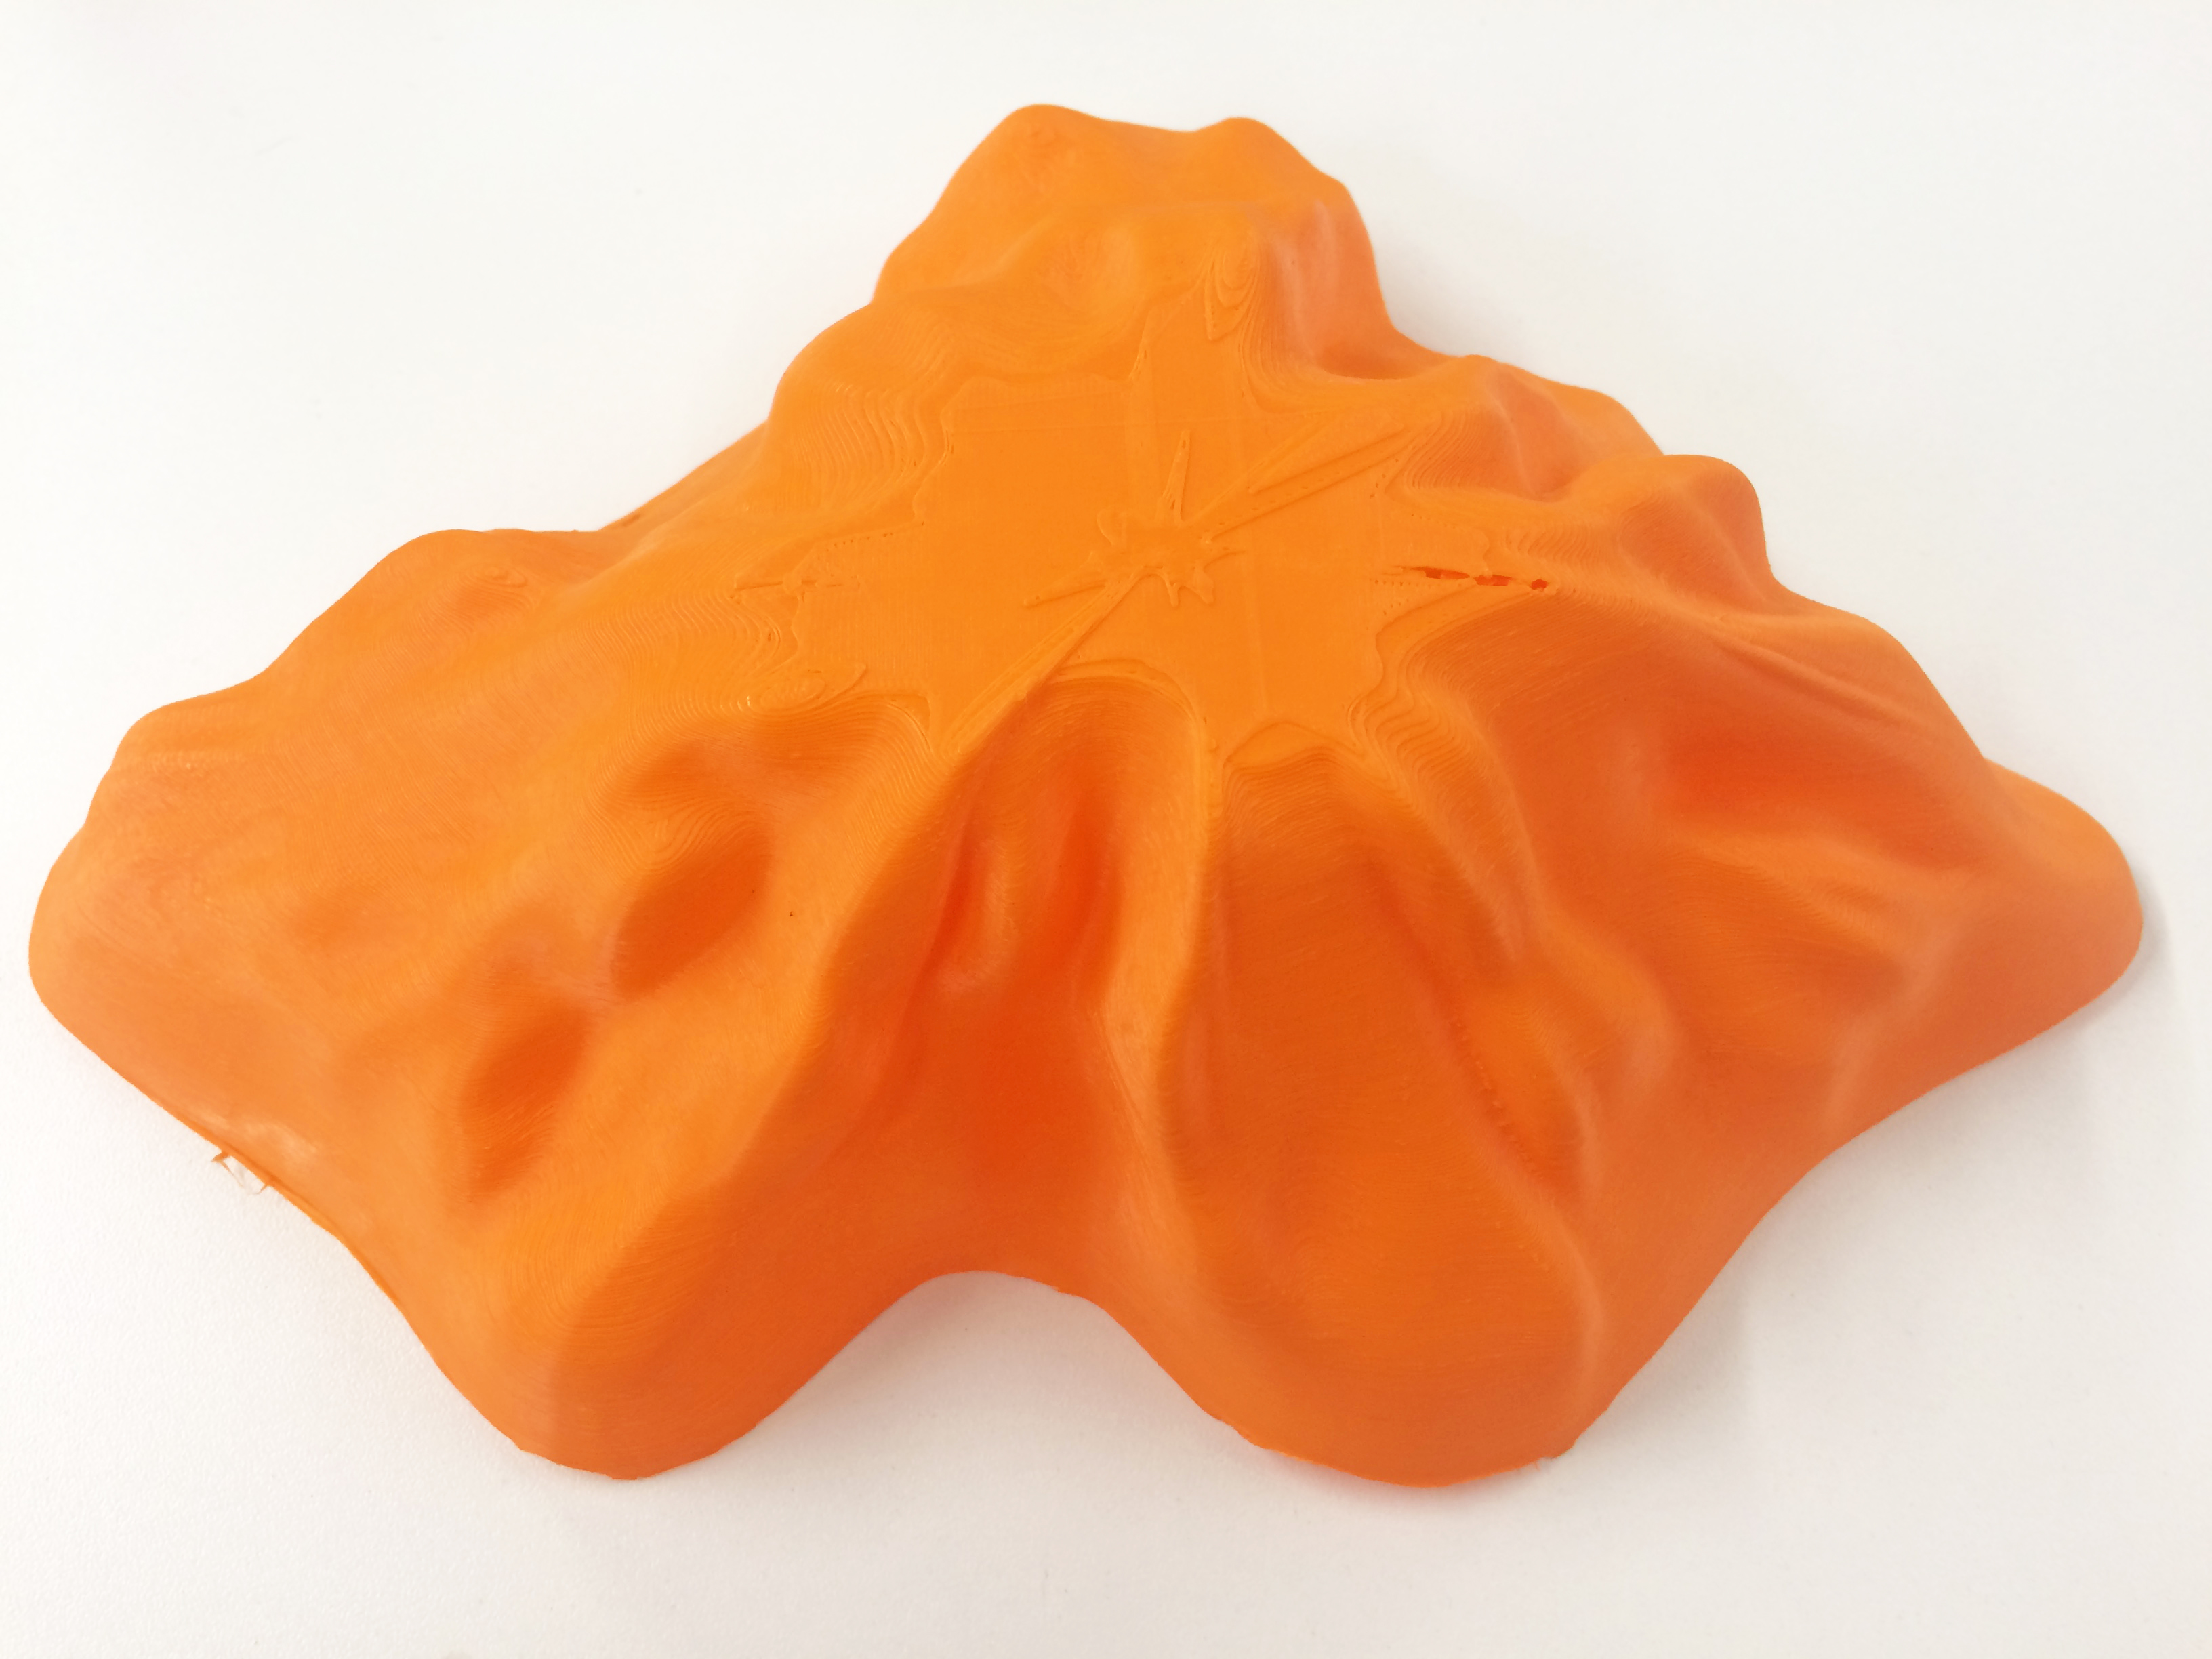
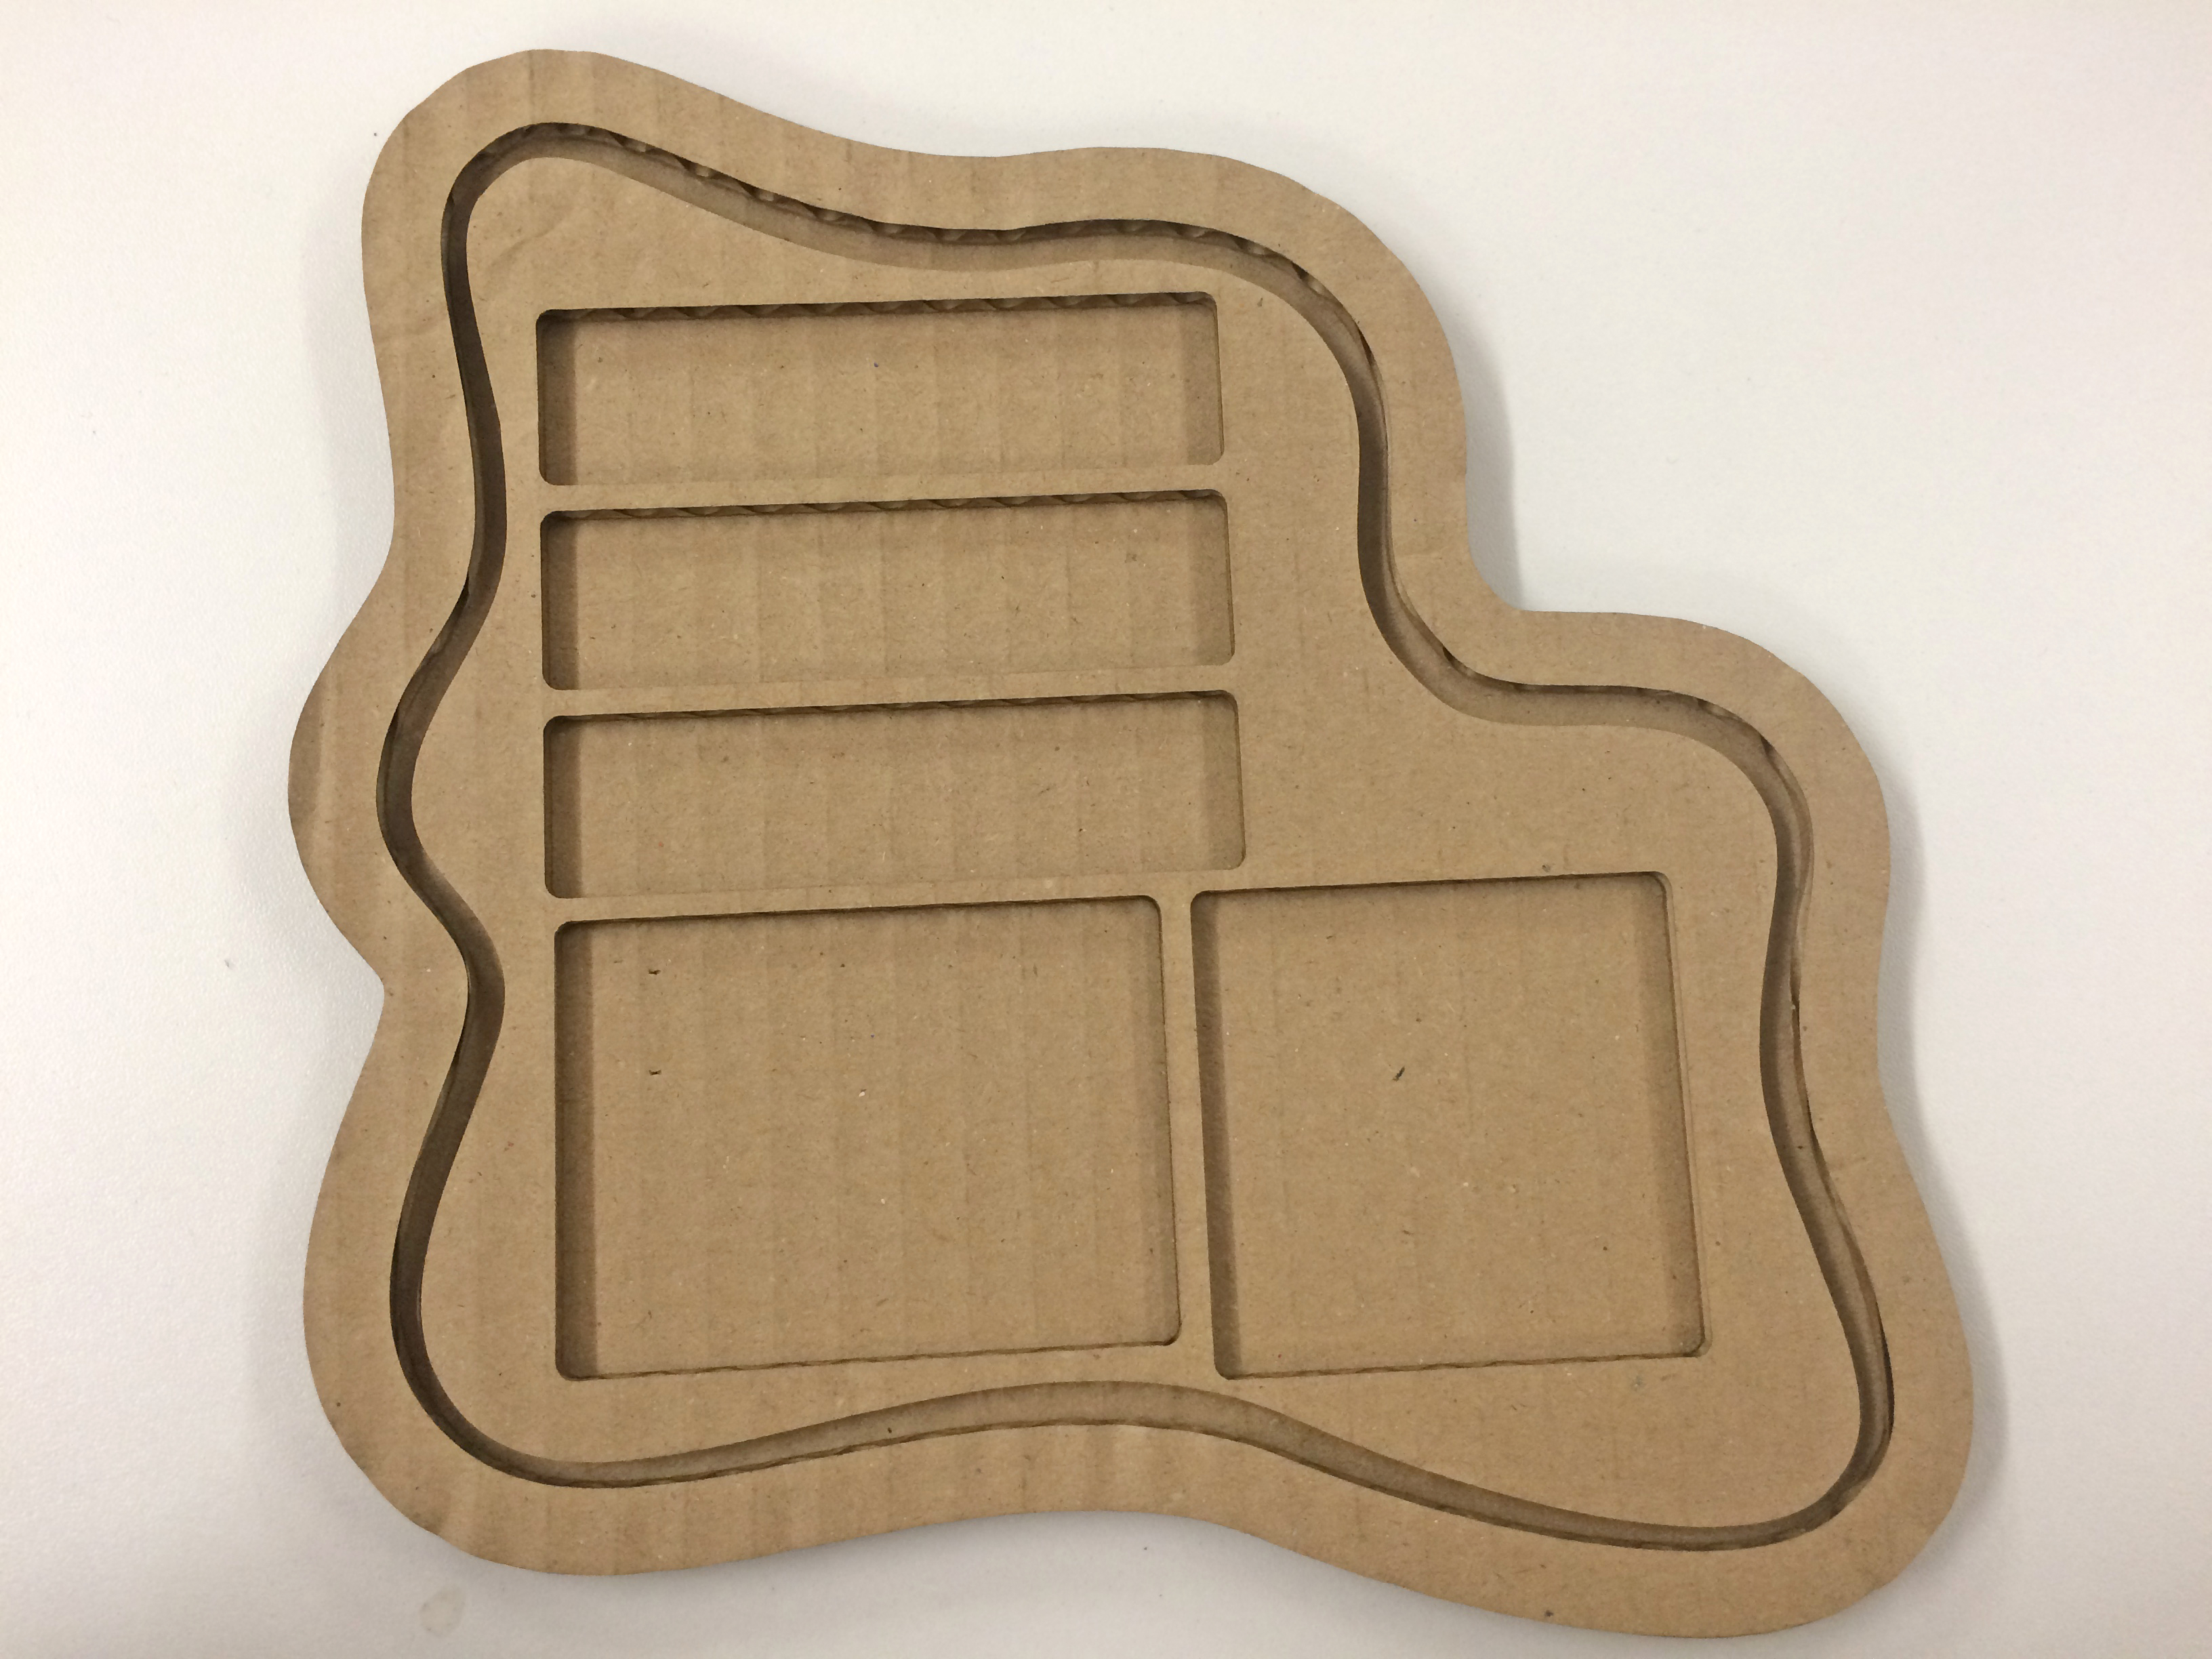
To play up the association with sea anemones and other marine life, I designed an enclosure that resembles a rock formation. I modelled the casing in Blender and 3D printed it. The layered base with compartments for all the electronic parts, LDRs and the power switch was designed in Illustrator, first prototyped in cardboard, then laser cut form 9mm MDF, glued together and sanded. I used a cable tie to seal the connection between the silicone actuator and the air tubes, so I also 3D printed a small cylinder to hide the connection.

References
Borgatti, M. (2015) Silicone Robo-Tentacle https://learn.adafruit.com/silicone-robo-tentacle/a-little-background
Chris (2015) Controlling A Solenoid Valve With Arduino. BC Robotics. https://www.bc-robotics.com/tutorials/controlling-a-solenoid-valve-with-arduino/
Finio, B. (n.d.) Air-Powered Soft Robotic Gripper. http://www.instructables.com/id/Air-Powered-Soft-Robotic-Gripper/
Fitzgerald, S. (2012). Arduino Starter Kit Project 09 — Motorized Pinwheel.
Fitzgerald, S. (2012). Arduino Starter Kit Project 06 — Light Theremin.
Harrison_89 (n.d.) DIY Soft Robotic Tentacle http://www.instructables.com/id/DIY-Soft-Robotic-Tentacle/
Ilievski, F.; Mazzeo, A. D.; Shepherd, R. F.; Chen, X. & Whitesides, G. M. (2011) “Soft robotics for chemists”, Angewandte Chemie, vol. 123, pp. 1930–1935.
Monk, S. (n.d.) Arduino Lesson 13. DC Motors. Adafruit Learning System. https://cdn-learn.adafruit.com/downloads/pdf/adafruit-arduino-lesson-13-dc-motors.pdf
Shepherd, R. F. et al. (2011) “Multigait soft robot”, Proceedings of the National Academy of Sciences, vol. 108, pp. 20400–20403.
Soft Robotics Toolkit https://softroboticstoolkit.com